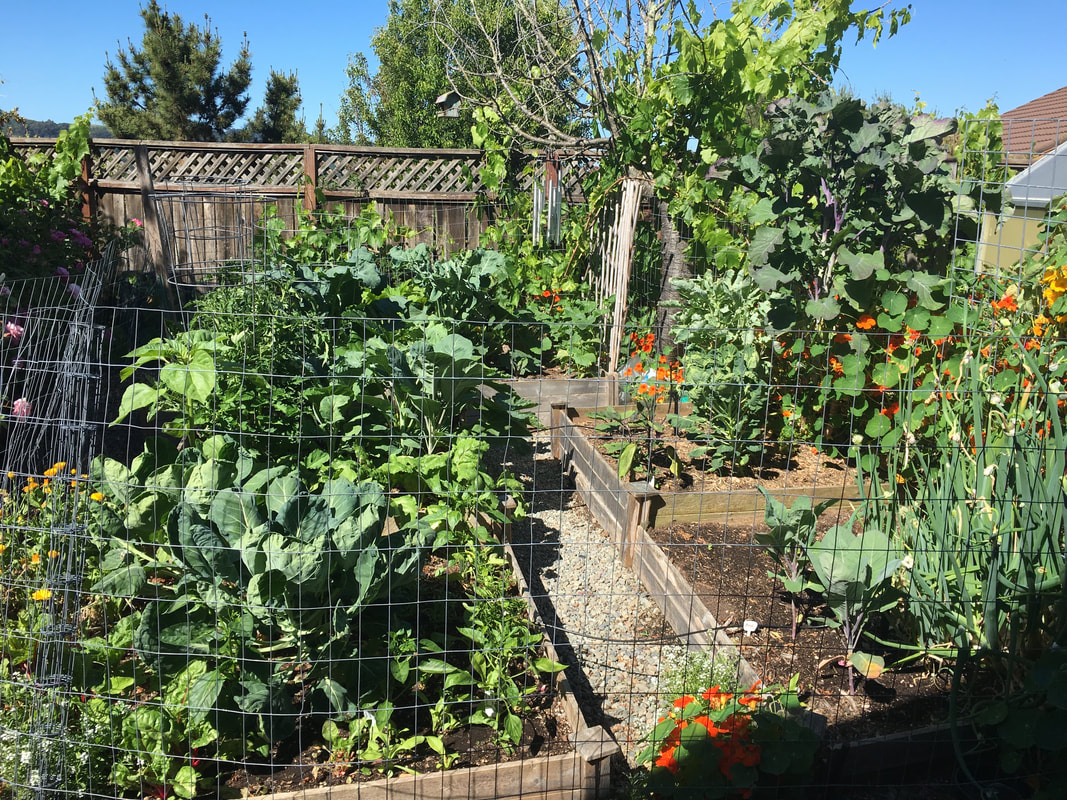
 No garden has made any fool happier.
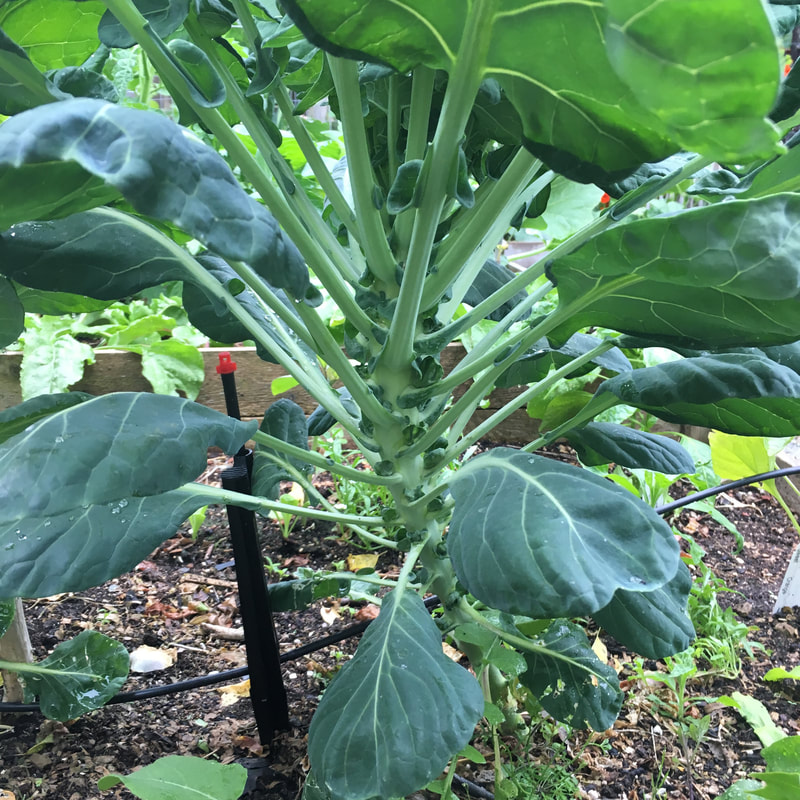
Man-eating brussel sprouts. Still waiting for sprouts, but the plant looks really healthy. You can see from the side view where the sprouts will grow, and the leaves must be edible too. So far they've just been chicken food though.  Zucchini is coming up quickly, and hopefully all the other summer squash are not far behind. I learned about pollination recently and now every female plant that comes up I have to wonder if the bees are doing their job. But so far so good.  Last year's itsy-bitsy little walking onion is threatening to take over. I'm still a little confused about the whole walking part, so more on that once I've figured it out. I think the bulbs at the top get heavy, fall to the ground, and root, but I'm waiting to see. And more importantly, when can I eat them and what part?? 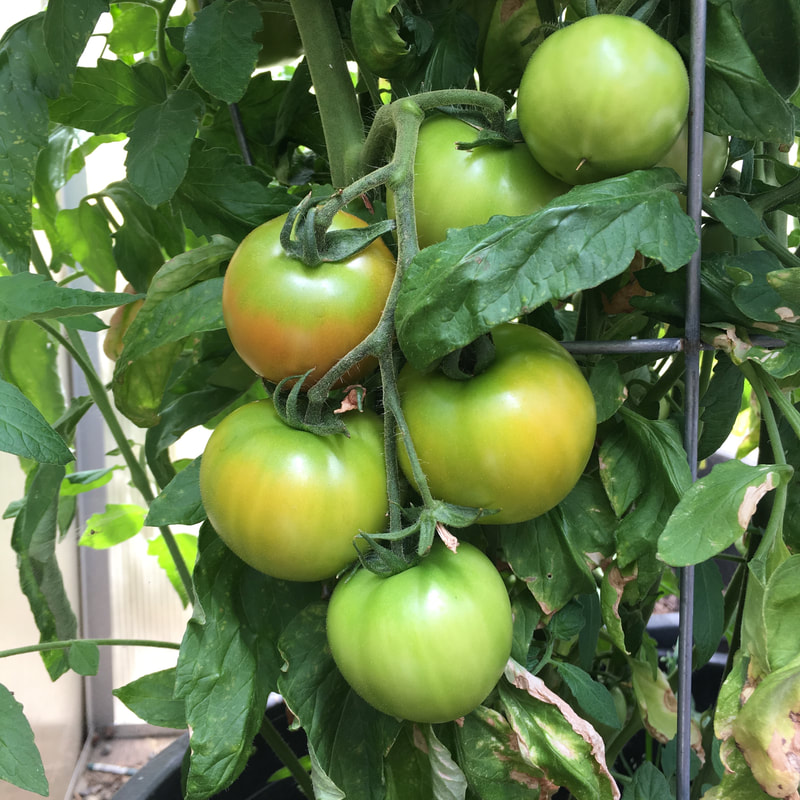 This is my cheater greenhouse tomato. I bought this in March just in case none of my seeds germinated or I killed them all. I'm leaving that plant in the greenhouse in case the squirrels return and eat everything for the second year in a row. 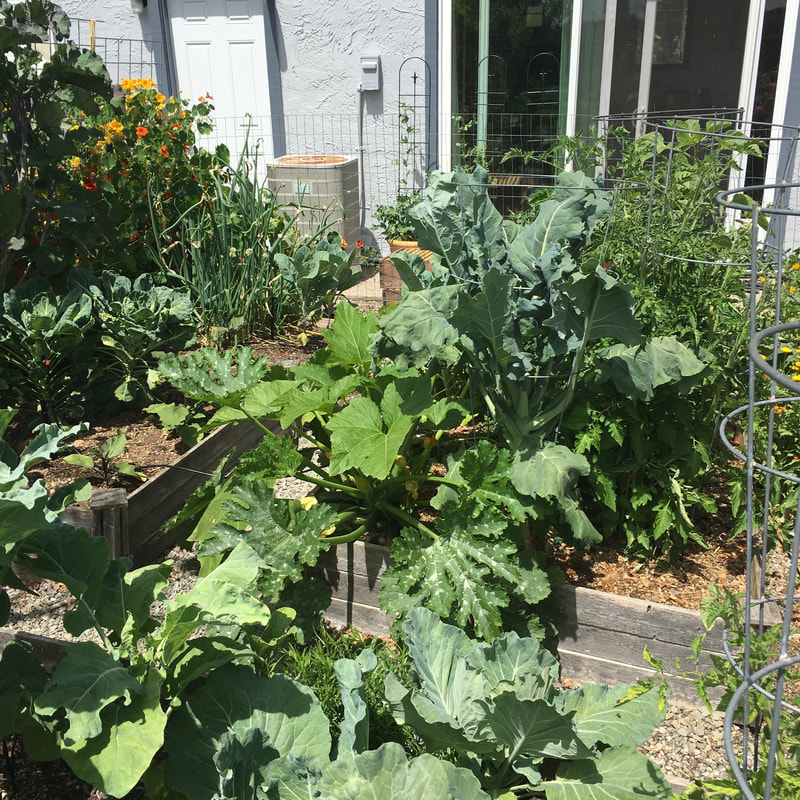 Another gratuitous garden picture in case you were longing to see it from the other angle.
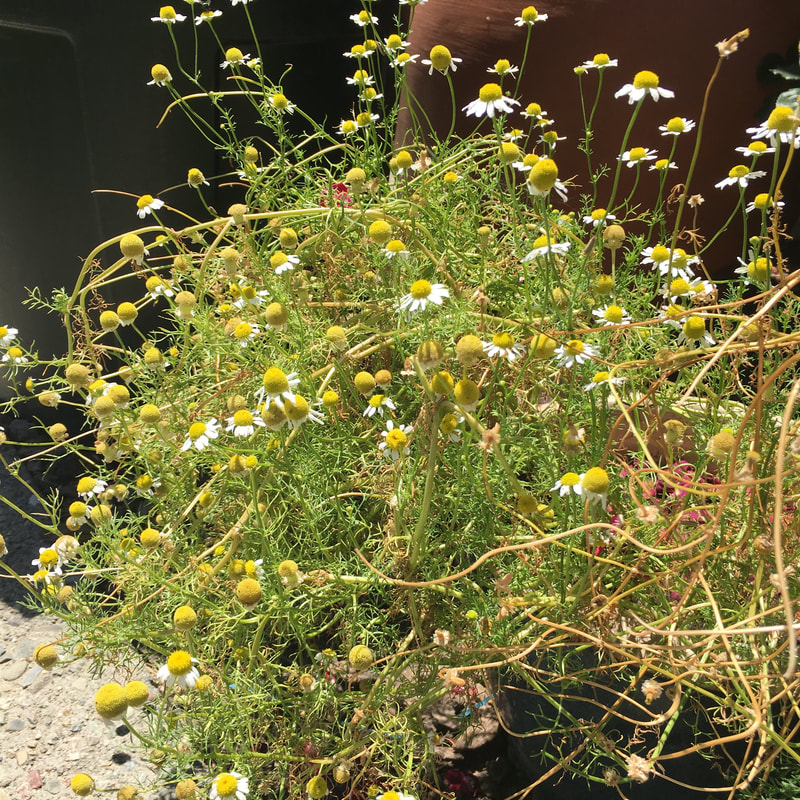
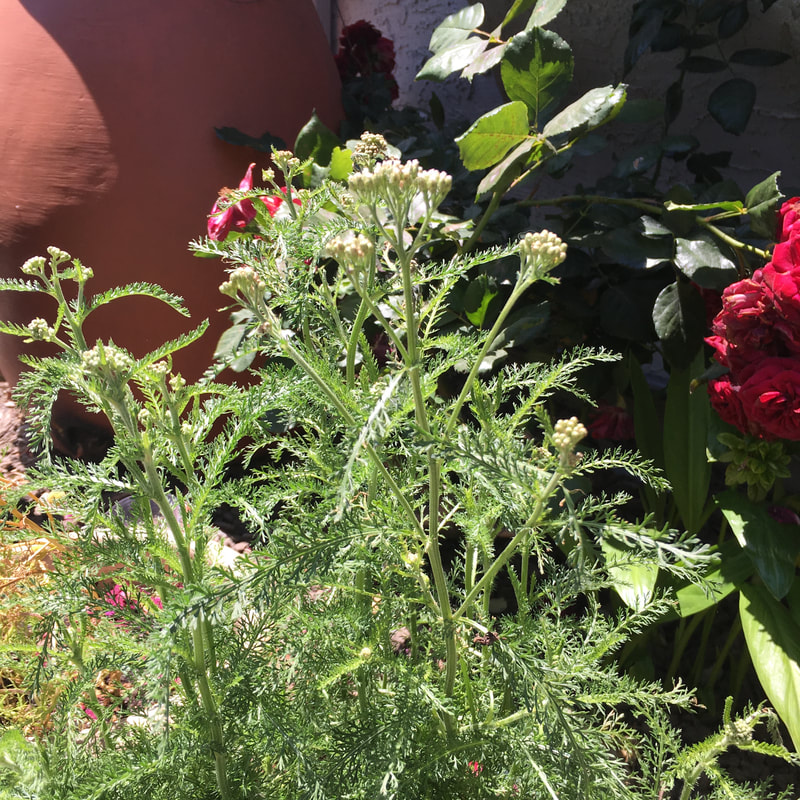
Chamomile on the left and yarrow on the right. I'm trying to grow more herbs and learn how to use them. The chamomile flowers smell amazing.
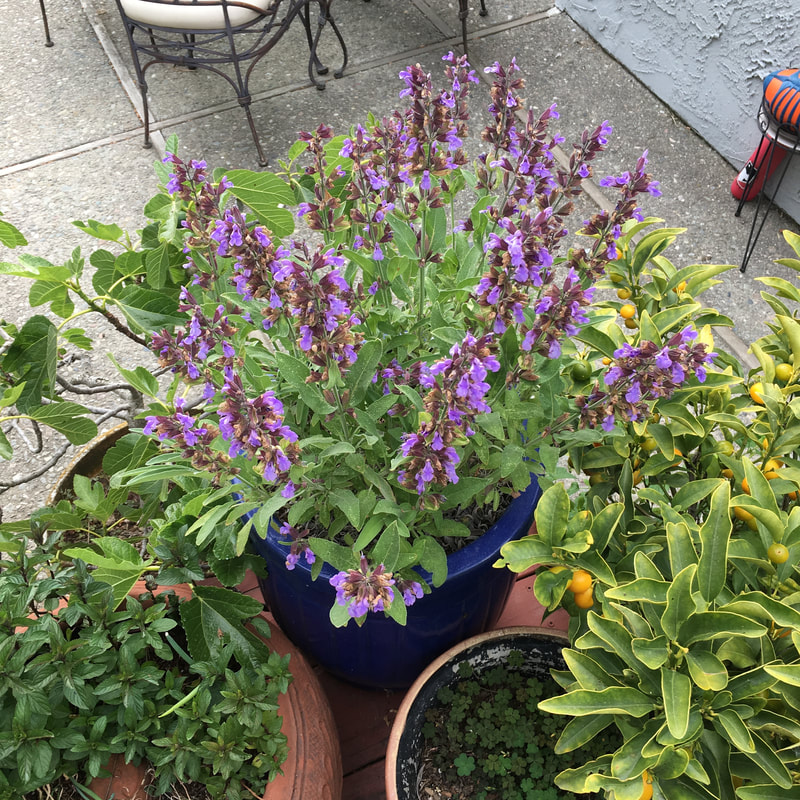
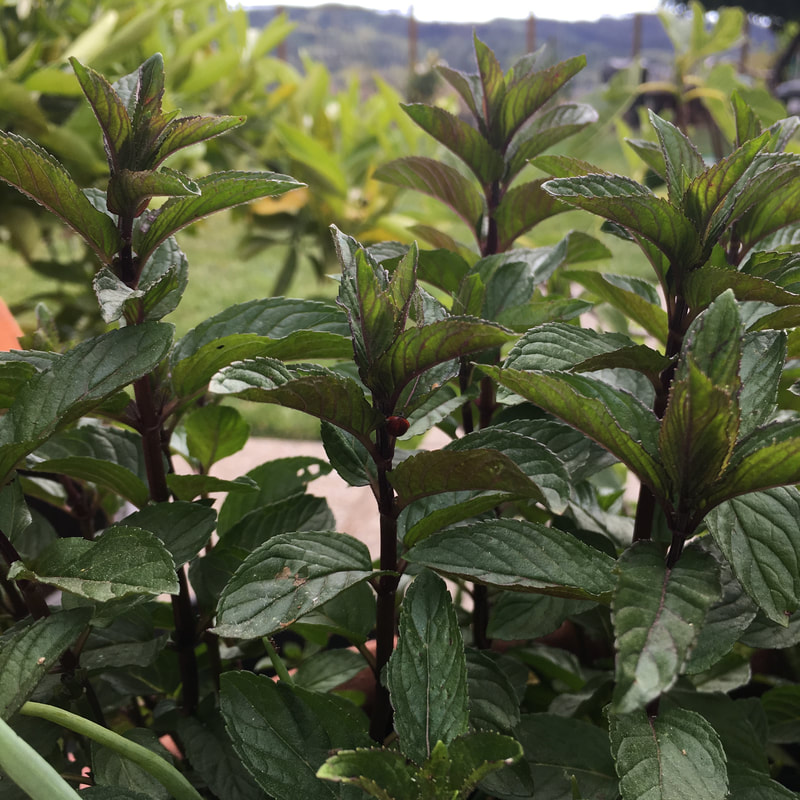
Flowering sage on the left. I saw a picture of it on Instagram this morning- someone bought it at the farmer's market and was planning on breading it and frying it. I'm not sure about that. I'll keep watching and see if they post about it afterward. On the right is chocolate mint, my son's favorite. It makes a nice tea fresh or dried.
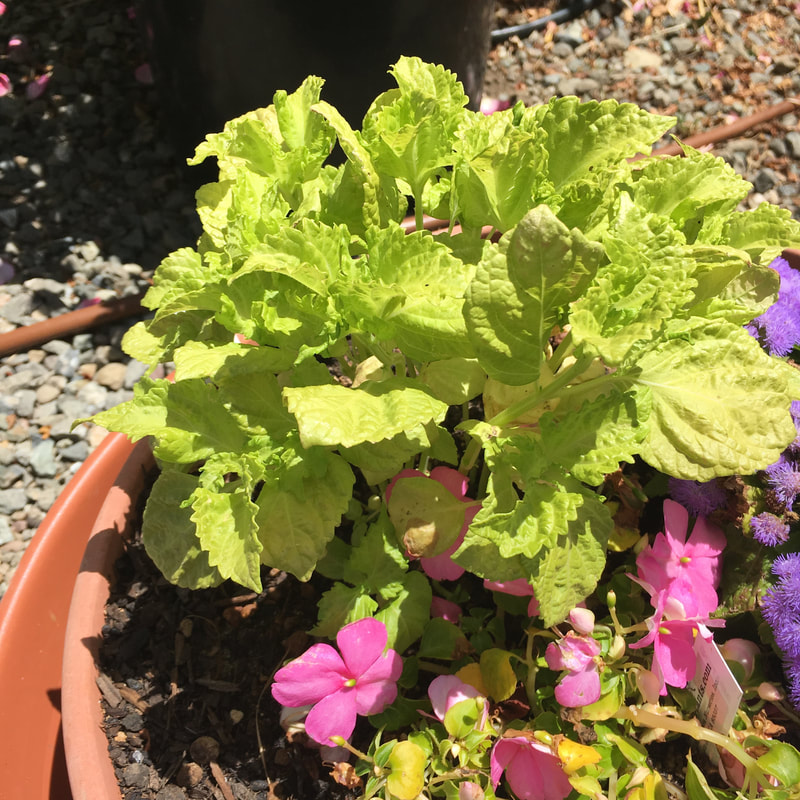
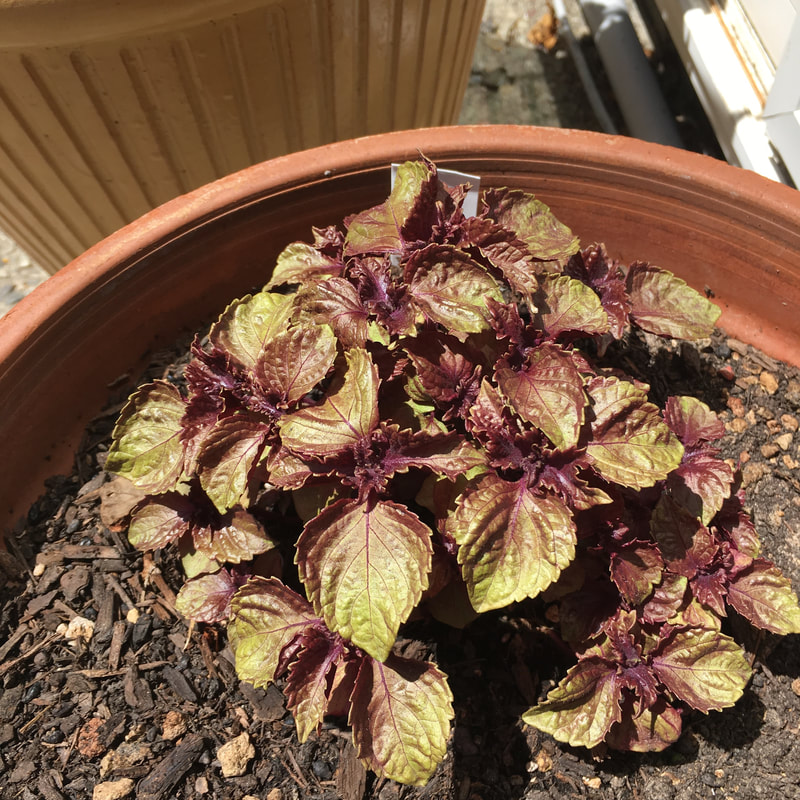
Green and red shiso. The leaves are still really small, but when they get a little bigger I'll start using them in hand rolled sushi, pickles, and anything else I can think of. They taste similar to basil to me.
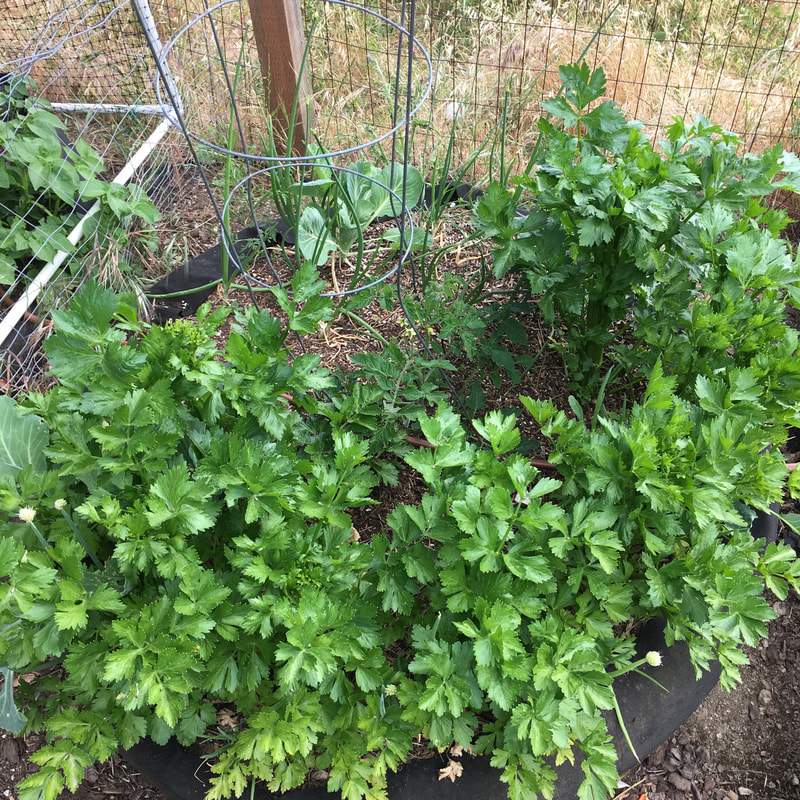
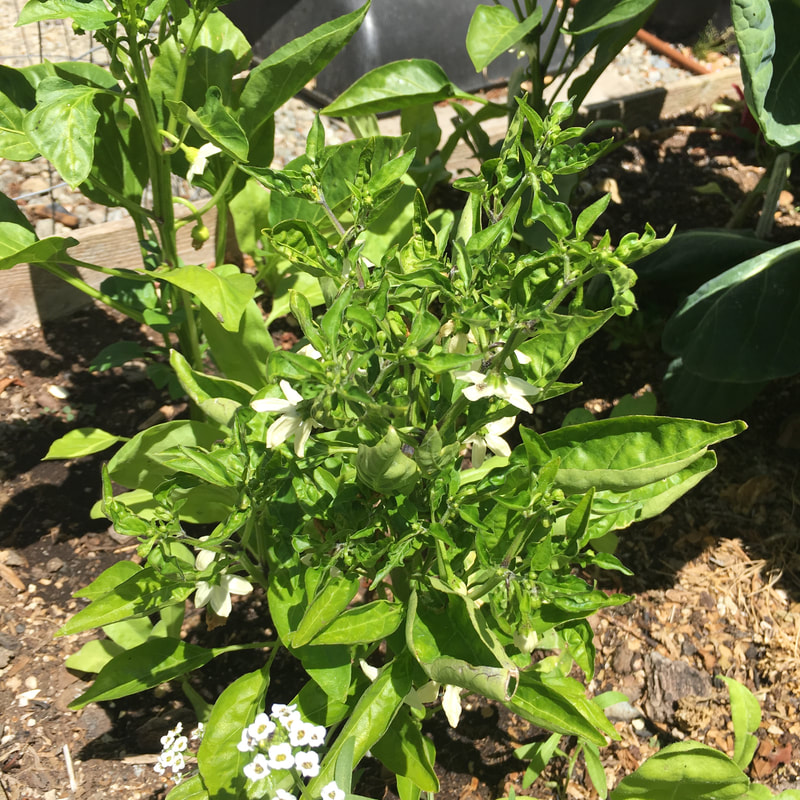
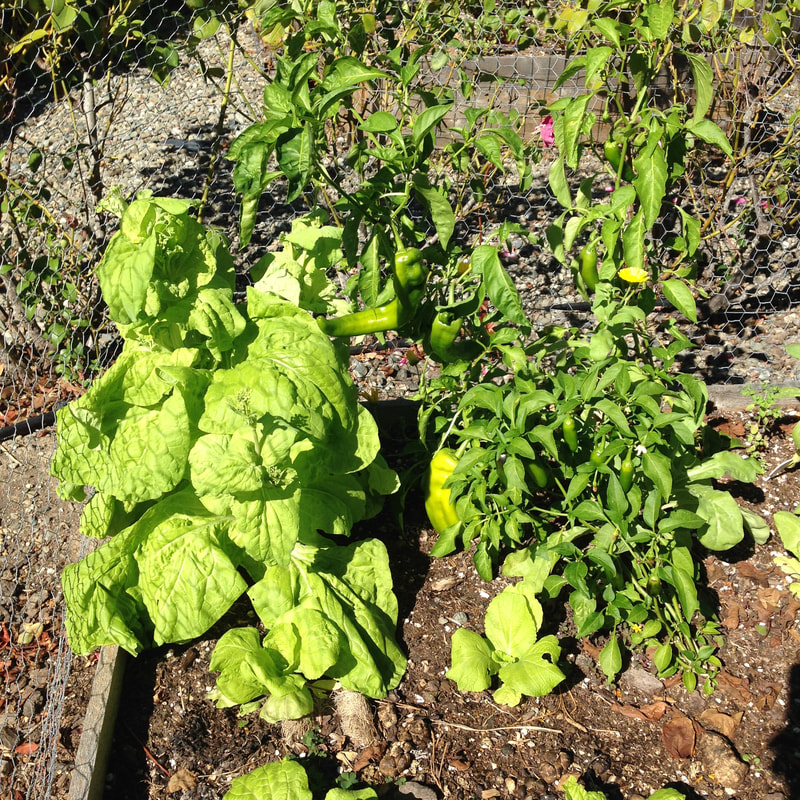
I planted the celery last fall and it took FOREVER to grow. I should've started picking it when it was smaller. This fall I will try a pink variety if I can get a hold of the seeds. On the right is a pepper plant. I forgot all the varieties I planted, but I bought them at the UC Master Gardener's sale in early May. It seems like you just can't start peppers early enough!
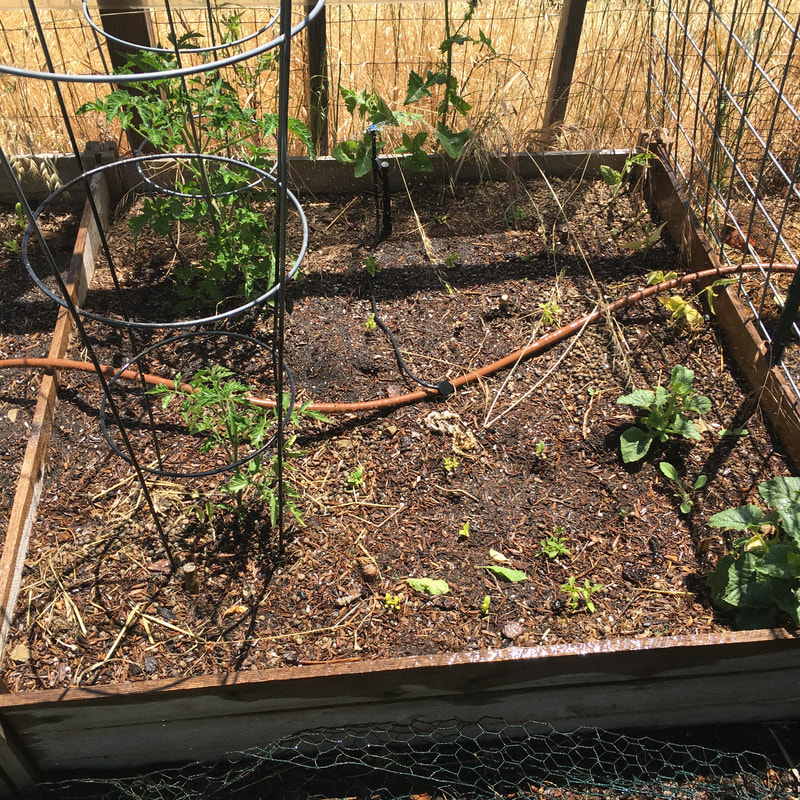
The beds above I replanted three times. Gophers!!! Three tomato plants and two watermelon plants sucked down from below. I tried the castor oil pellets and one of those annoying stakes that make noise, but in the end I had to line it with a metal mesh. So far, so good. I shouldn't have planted summer vegetables in these beds. They don't get as much sun and they get a lot of wind. I looked back and discovered that I'd make the exact same observation last year. If only I had re-read it in time! I'm trying ground cherries, melons, and Asian winged beans for the first time.
On the left are beans, both pole and bush varieties. Some lettuce, calendula and kale that won't grow and won't die, and a few tomatillo plants, also a first for me. We'll see how they do. The lettuce is pretty happy, so it probably isn't warm enough yet for anything else. On the right are tomatoes, melons, dying pole beans, and nearly microscopic basil. It's a little disappointing and I'm trying not to be impatient. Happy gardening!!! 
0 Comments
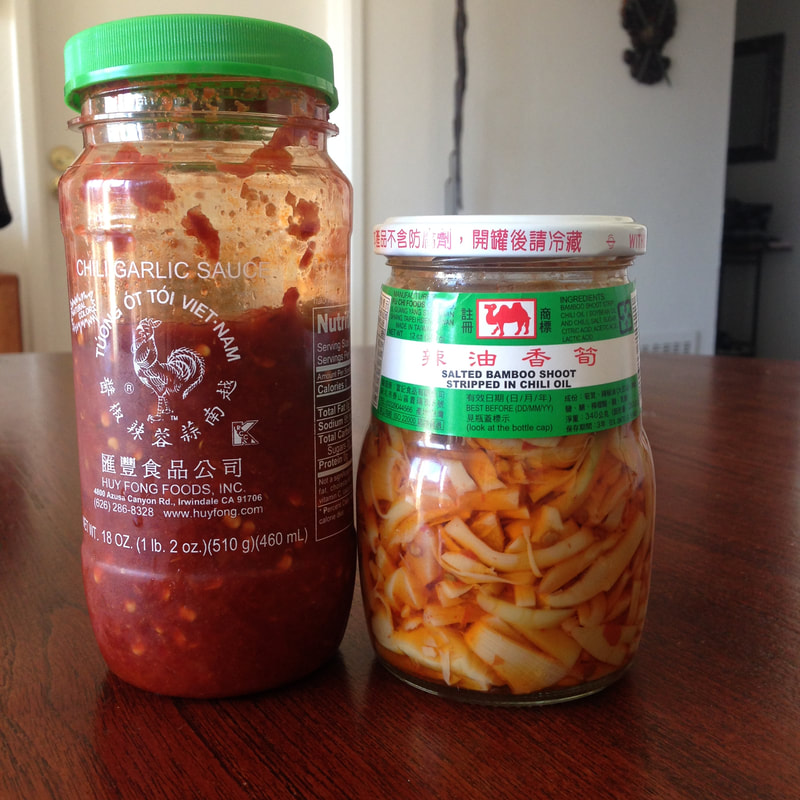
 When you throw together a bunch of random ingredients and make something SOOOOO good you never write it down because it was so simple. You didn't even follow a recipe! Well, you will also never make it again. I speak from experience. This morning's late breakfast was delicious, light, filling, warm... and I'll never make it again if I don't write it down. So here goes. Ingredients: a spoonful of pork cracklings and lard (or other cooking oil) 2 cloves of garlic, chopped 1 inch knob of ginger, shredded or chopped 1/4 of a head of cabbage, shredded 4-8 ounces of steak diced into small pieces a drizzle of sesame oil salt 2 Tablespoons sake about a quart of broth 2 bunches of fresh Korean noodles 1 scallion, thinly chopped into rings chili garlic sauce chili bamboo shoots Directions: 1. Warm the broth and add a little ginger, the scallion, and salt to taste. 2. In a separate sauté pan, heat a generous spoonful of pork cracklings and lard. Once it's hot and bubbly, add the rest of the ginger and all of the garlic. Add the meat, and once it has browned a little, add the cabbage. Season with some salt, and add the sake while the cabbage finishes cooking. Drizzle a little sesame oil over it. 3. Cook the noodles in plenty of fresh boiling water, strain, and rinse. Divide the noodles among the bowls and top with the cabbage mixture. Pour over the hot broth and serve. 4. Season with chili garlic sauce and bamboo shoots.
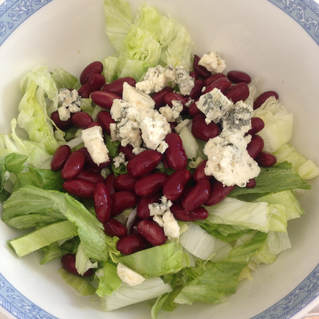
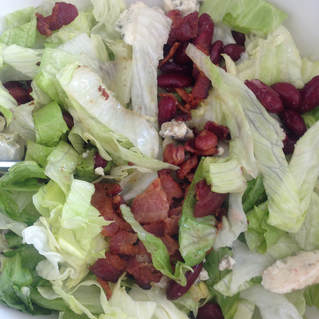
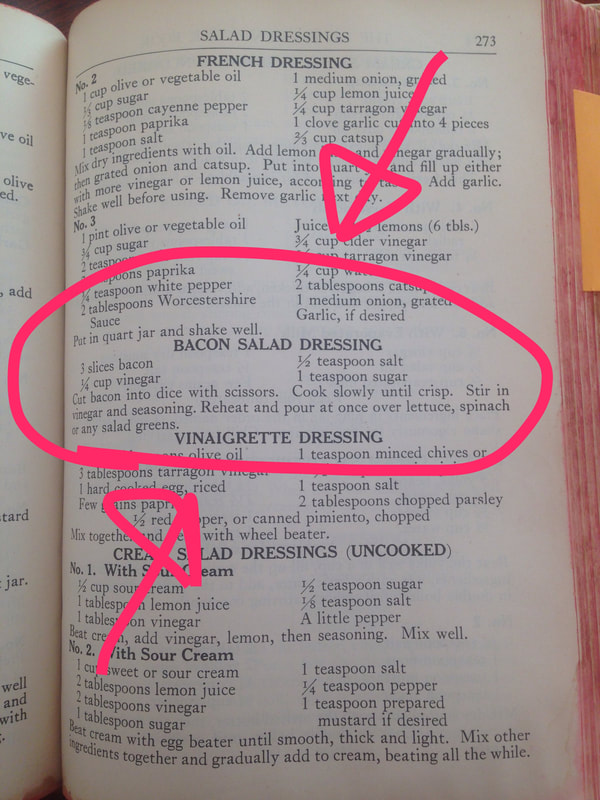
 I am still struggling to overcome my abhorrence of salads. Here's one that hit the spot. You'll need 3 strips of bacon, a teaspoon of sugar, 1/2 teaspoon of salt, and 1/4 cup of vinegar. I used apple cider vinegar, but next time I'll use rice vinegar since my kids found it a little sharp. Perfect for me, though. I don't know exactly how much salad this would dress, but it would be very simple to make more if you need it. 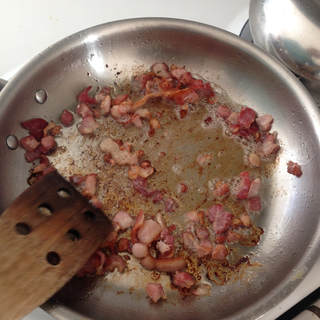 Chop up the bacon and cook it in a hot pan until the fat is rendered and the bacon crispy. 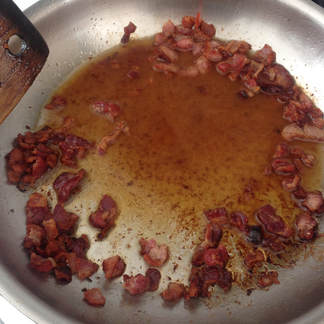 Stir in the salt, sugar, and vinegar. It won't look like much.
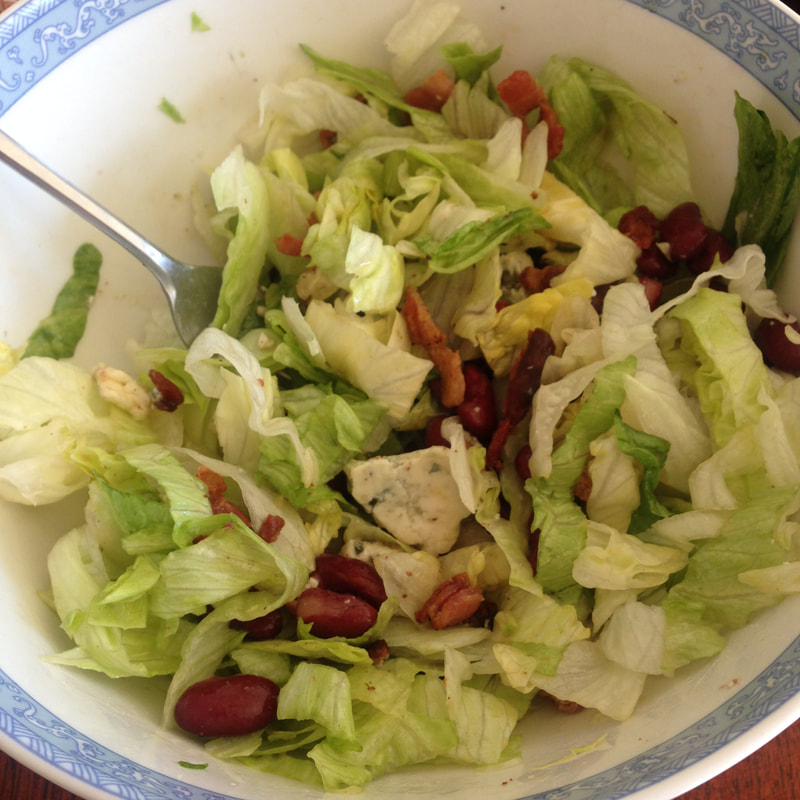
Assemble your salad. I'd like to try this with kale or spinach too, but this time I had iceberg lettuce, gorgonzola cheese, and kidney beans. Pour the dressing over, wilting your overly perky greens. Enjoy.
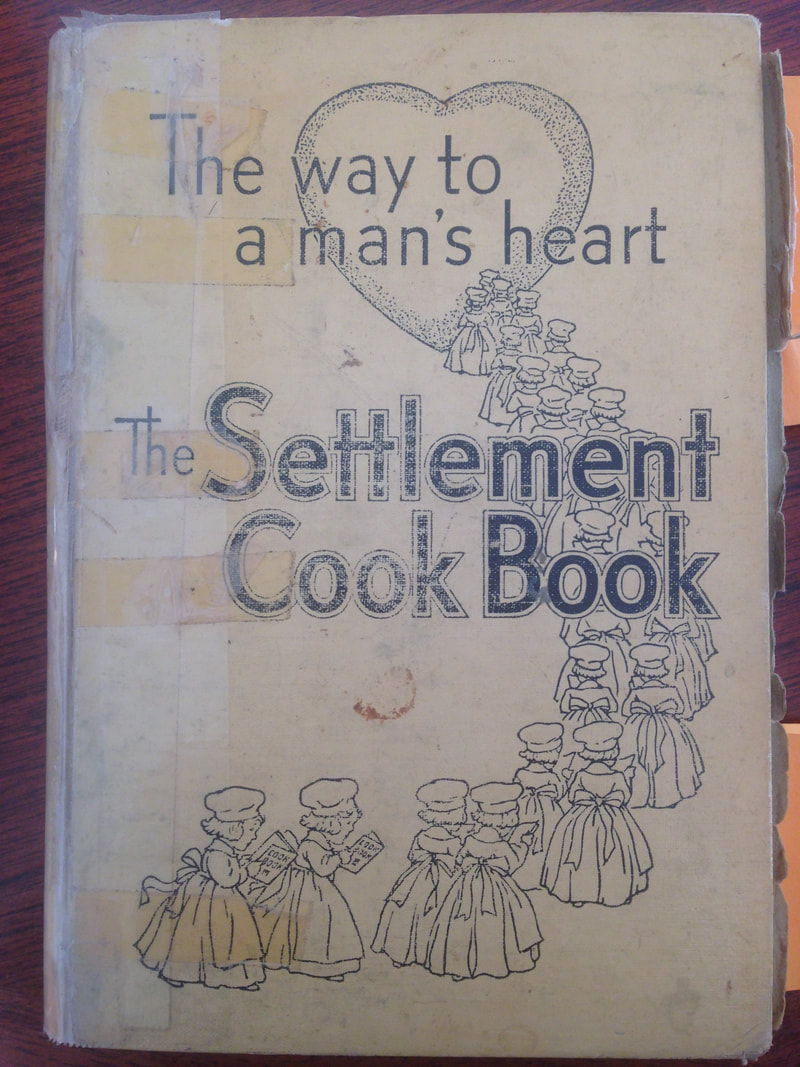
This recipe was in the cook book you see above, published in 1944.
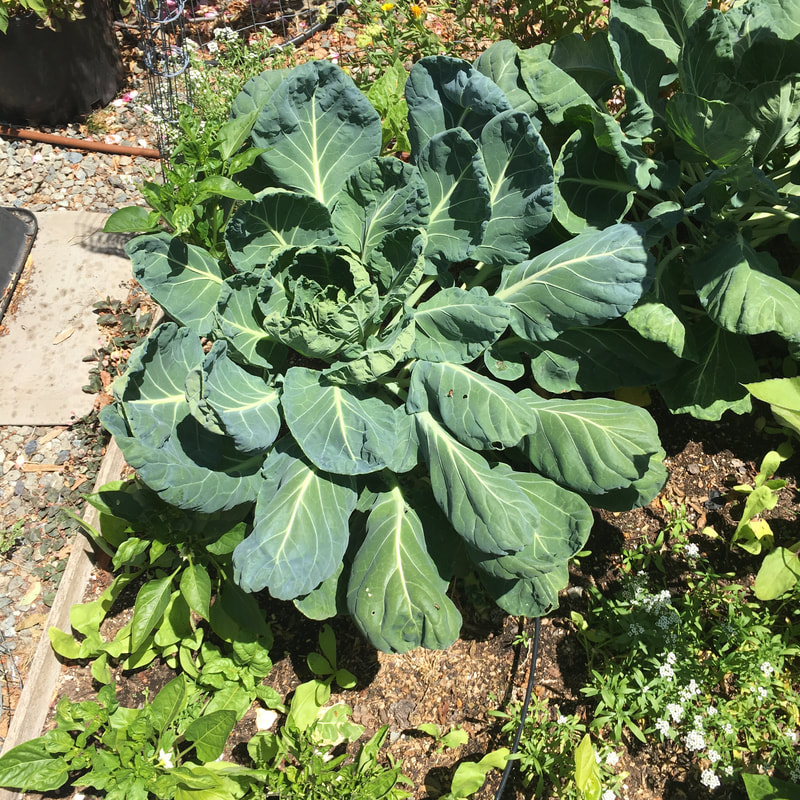
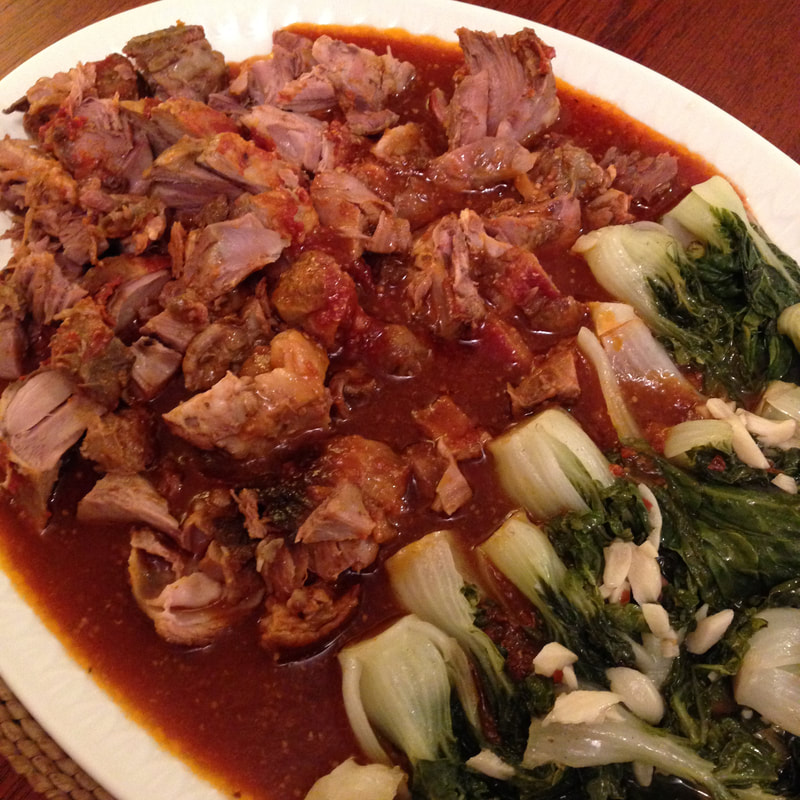 Fifty percent of my family loves lamb, but this recipe is for the other fifty percent. This recipe brings you to a farmhouse in the 1950s, the sort of dish made by a woman who believes that lamb and ketchup are soul mates, and though I would have mocked her yesterday, tonight she has earned my respect. The original recipe for "Barbecued Lamb Shanks" is from the revised edition of Farm Journal's Country Cookbook. Published originally in 1959 and revised in 1972 to reflect "modern" developments like the home freezer, I wasn't actually planning on cooking any of the recipes, but it came in handy when I needed to find recipes using lard. (A story for another day, obviously.) If you need a recipe for lamb shanks, here is a great one. I made the recipe for two, but here are the proportions to serve 4. 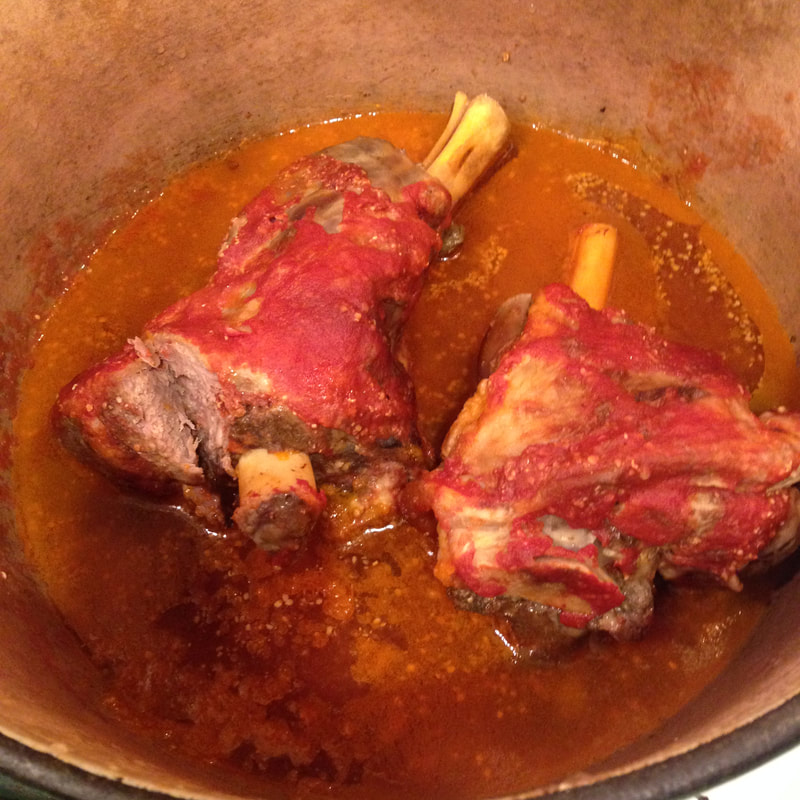 Ingredients: 4 lamb shanks 1/4 c. flour 1/2 t. salt 1/4 c. lard 1/4 c. brown sugar, firmly packed 1 t. dry mustard 1/4 t. salt 1/4 t. pepper 1/2 c. ketchup 1 T. apple cider vinegar 1-8 oz. can tomato sauce Directions: 1. Dredge the lamb in the flour and salt. Brown the meat in the lard in a Dutch oven, and then remove the shanks and pour off the fat. 2. Return the meat to the Dutch oven and mix together the brown sugar, mustard, salt, pepper, ketchup, vinegar, and tomato sauce. Pour it over the meat and then cover and simmer for 1-1/2 to 2 hours OR bake in a 350 degree oven for the same length of time. 3. When it is finished and tender, cut the meat off the bones and put on a plate. Boil the sauce for a few minutes to concentrate the flavors and then pour it over the meat. 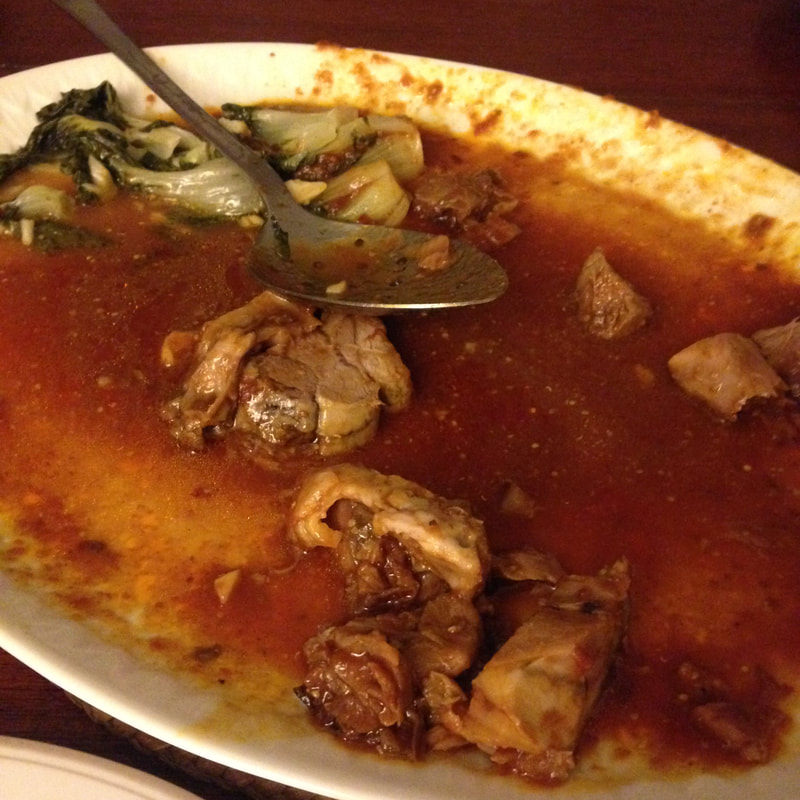 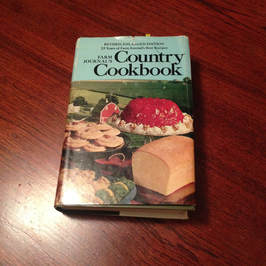 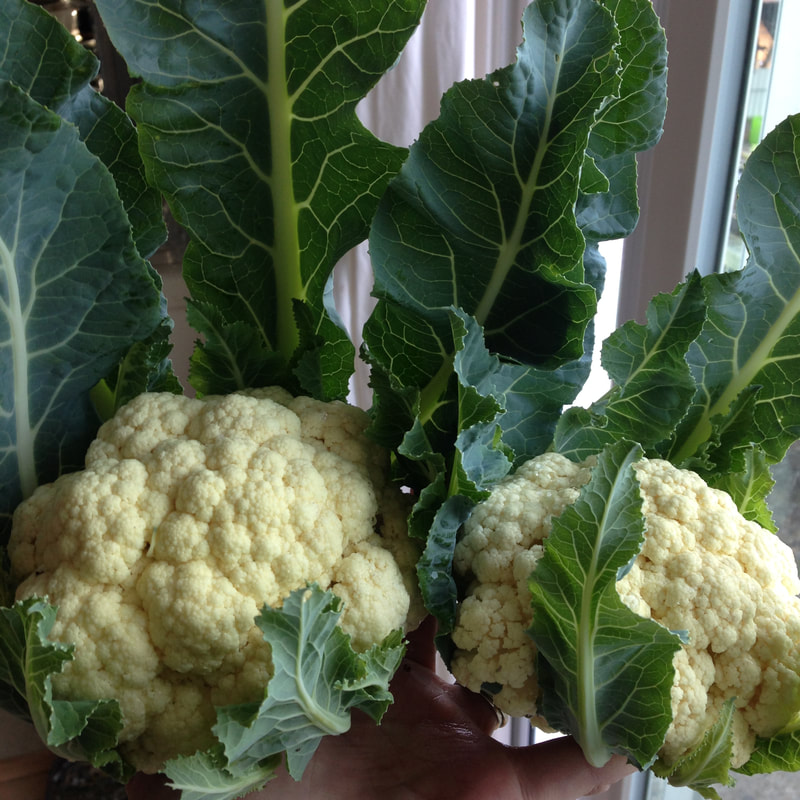 Aaah, the glory. The pride. Two decent looking heads of cauliflower. Does it get any better?
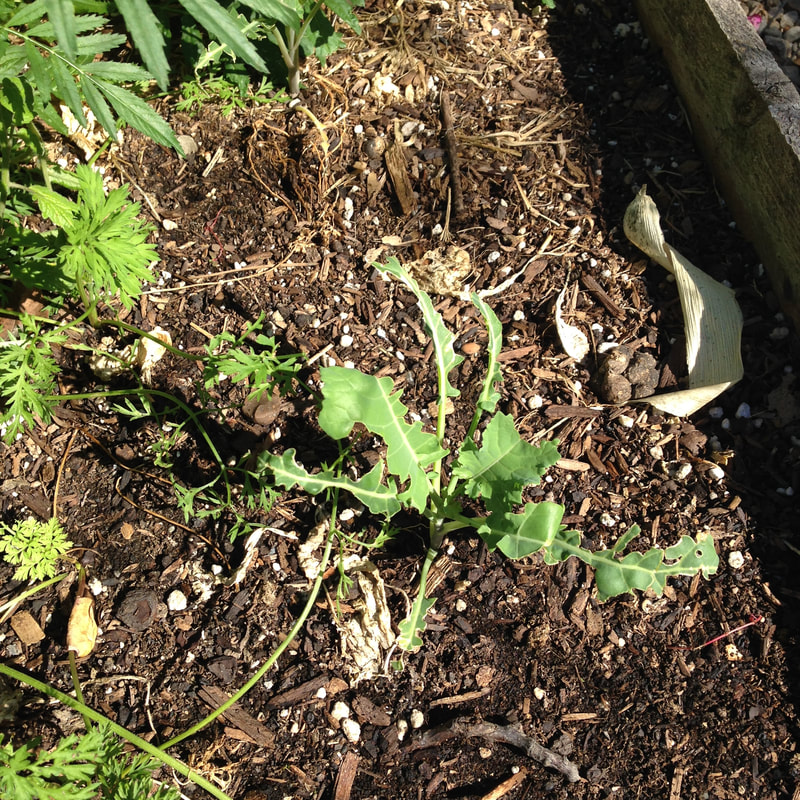
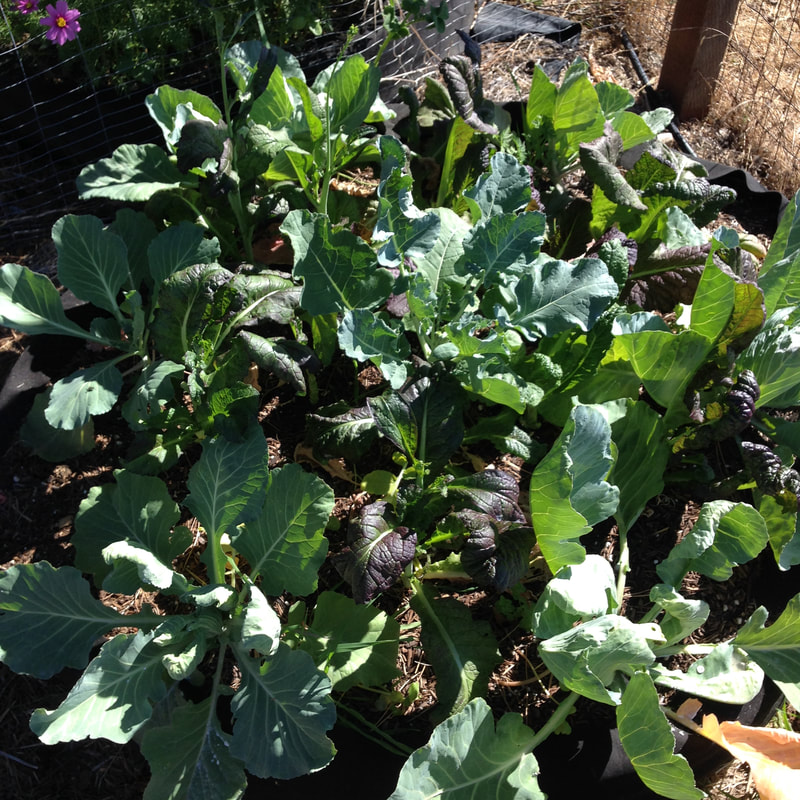
Ah, the destruction. The evil little birds that eat my spinach and broccoli. The pain. The suffering. I planted as much as I could of everything. Something has to make it.
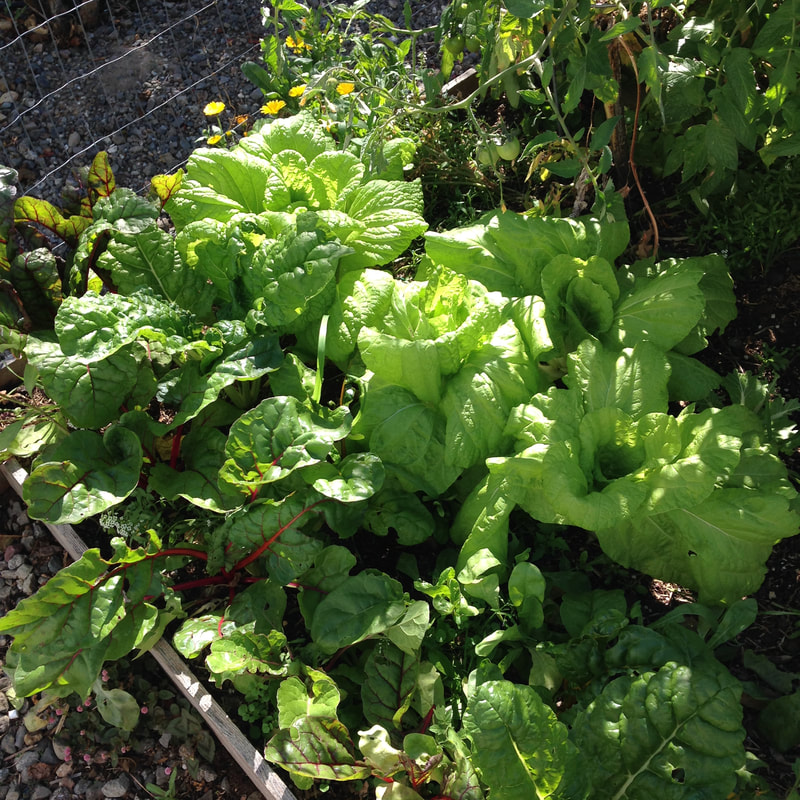
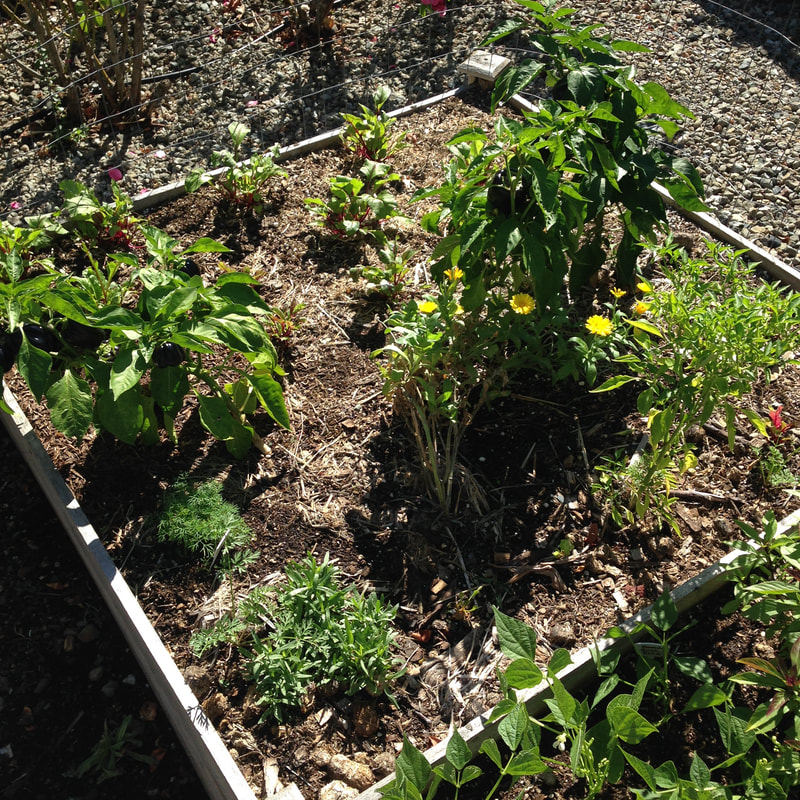
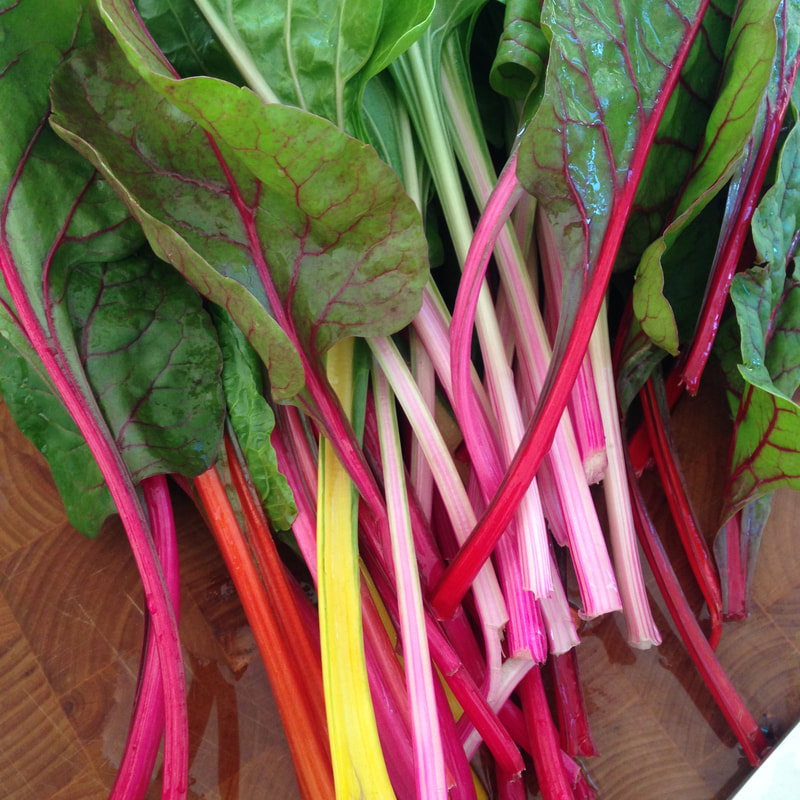
Meet my new love, chirimen hakusai. It's a loose-leaf napa cabbage. It's beautiful. I don't think the pictures do it justice. Whenever I need some I can pick the outer leaves instead of anxiously hoping the head develops soon and I can eat it before the caterpillars do. Victory! 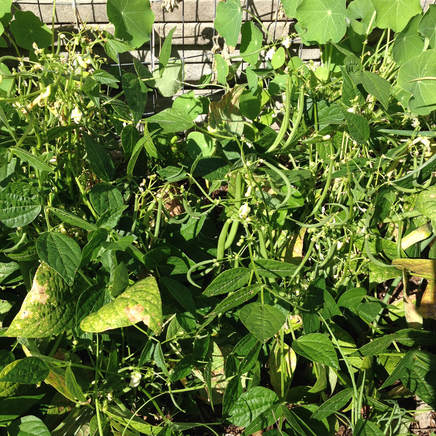 These are darling little French bush beans. They are cute and prolific, just like bunnies. 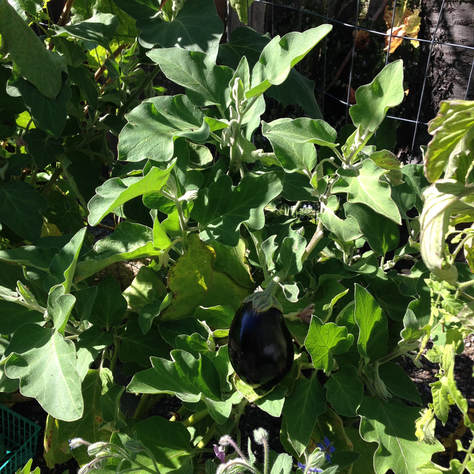 I don't know why I planted mini eggplants again. There's nothing wrong with them, they're just small. It has taken until almost the end of October for the plants to look like the monsters you see in pictures taken by real gardeners. Maybe I should start my eggplants, peppers, etc earlier next year. I think I started them in March... I'll just back it up to January next year. 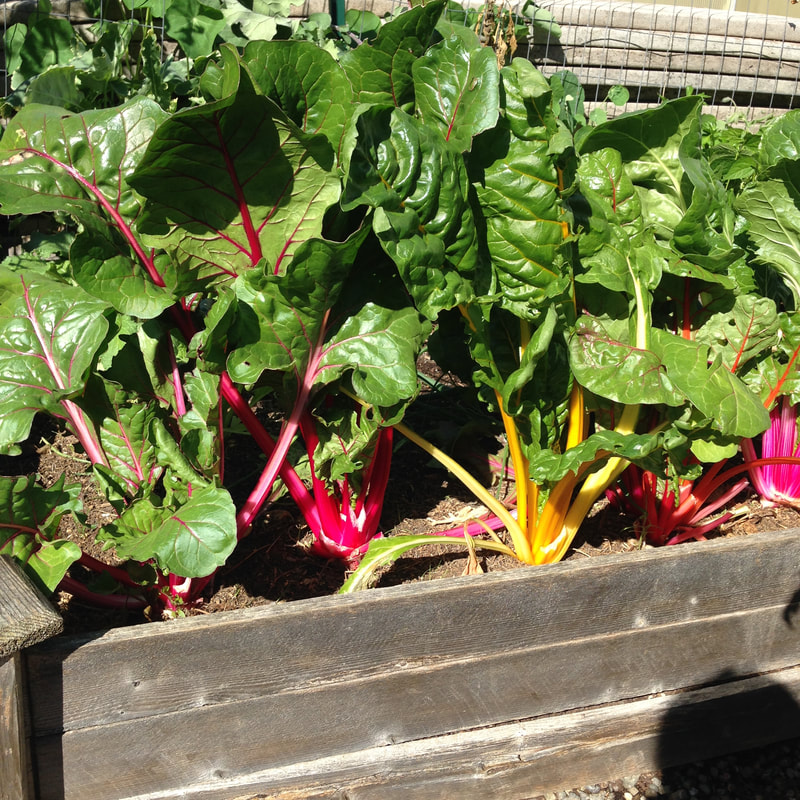 Swiss chard never made anyone happier. It's so bright and cheery! But I planted it last spring and they never really took off until fall. Better late than never.
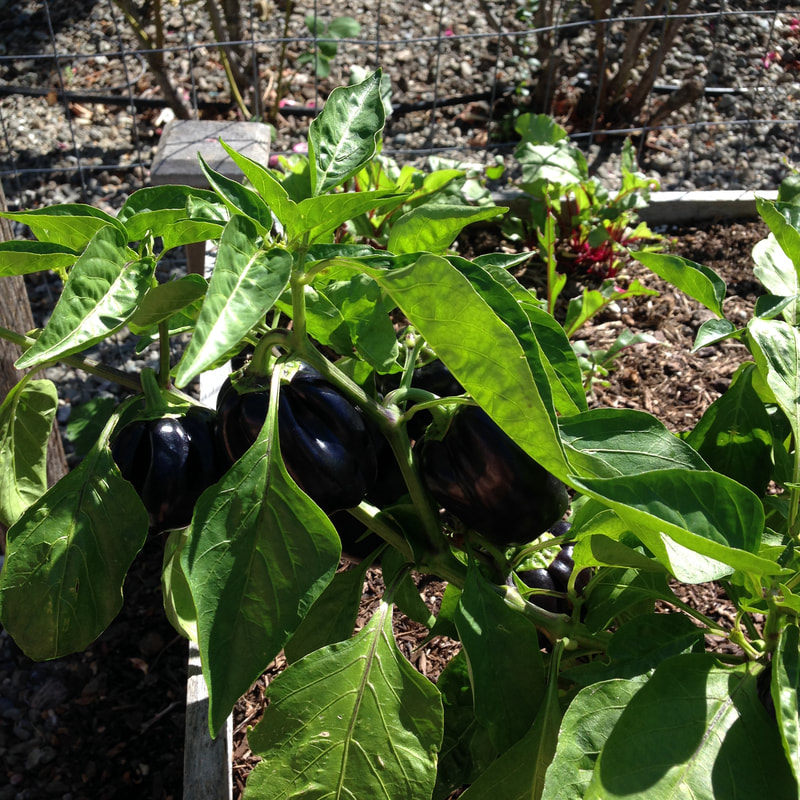
The peppers took forever, just like the eggplant. I had exactly two peppers off of all three purple pepper plants, and then I debated pulling them out. I'm glad I waited, because each plant is growing five to seven peppers now. It took FOREVER!
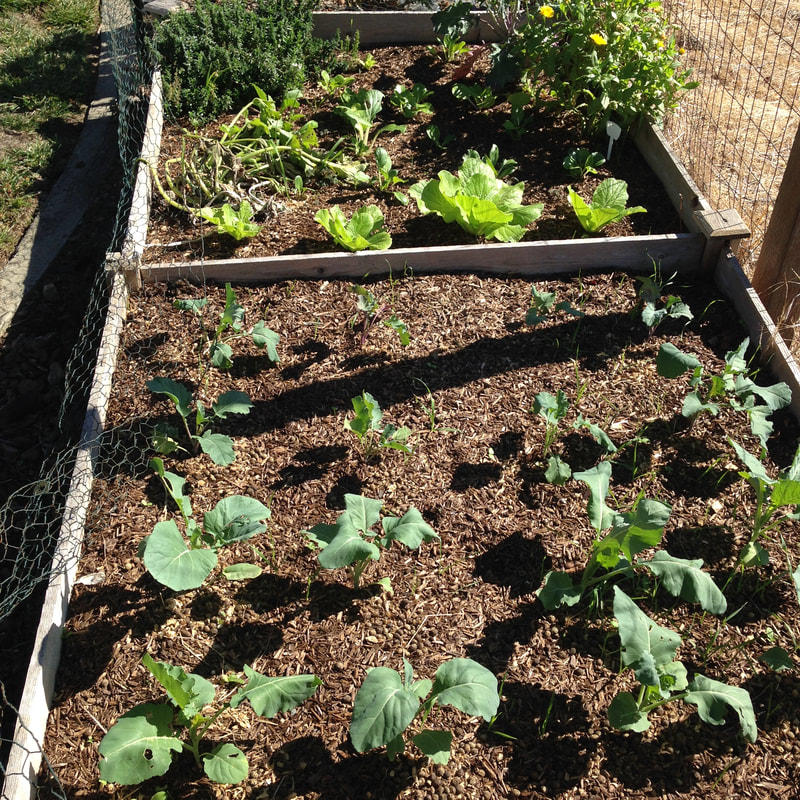
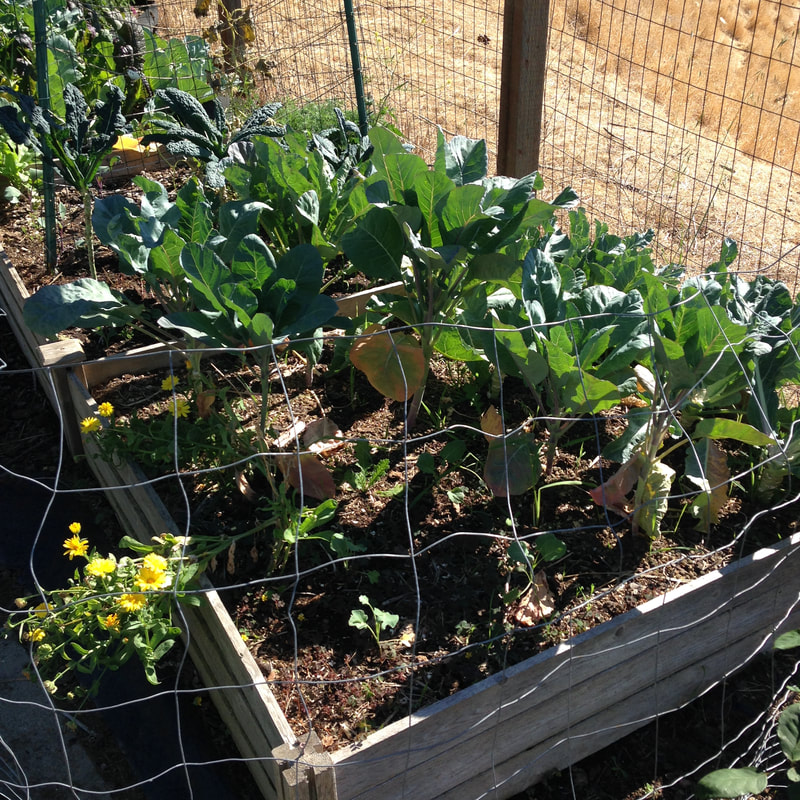
On the left is Purple Sprouting Broccoli and Romanesco I planted at the end of September, and on the right is Calabrese broccoli I planted at the beginning of September. Neither have been discovered by aphids or birds... YET.
The cabbage on the left and the cauliflower on the right have have aphids. It's a sad world. I sprinkled diatomaceous earth on all of them and I'm hoping for the best. Worst case scenario it'll all be chicken food. 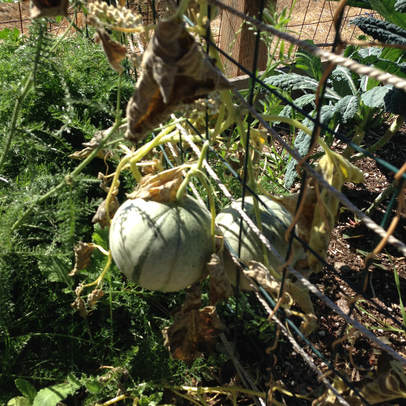 Two charentais melons, and I have no idea when to pick them. Yarrow is growing to the left. It is a superhero herb that stops bleeding immediately. I will grow it forever since I frequently cut chunks out of my fingers with a dull knife. To the right is kale, which has mysteriously NOT been discovered by the aphids. But why not? Google have me no answers. 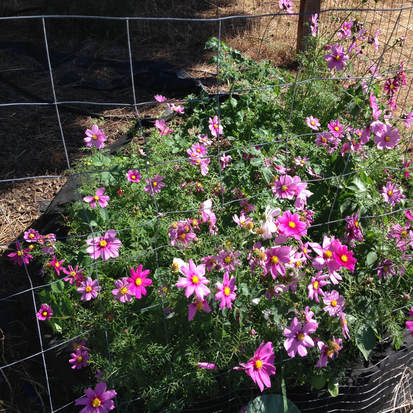 Under the cosmos are potatoes, but the flowers are so pretty I guess I don't care anymore. Happy fall gardening!
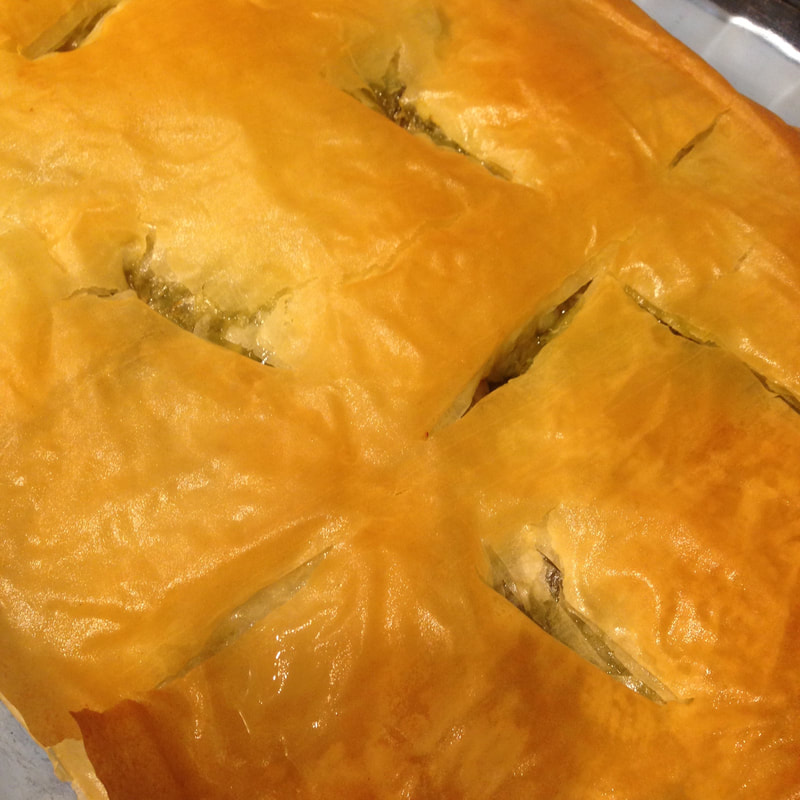
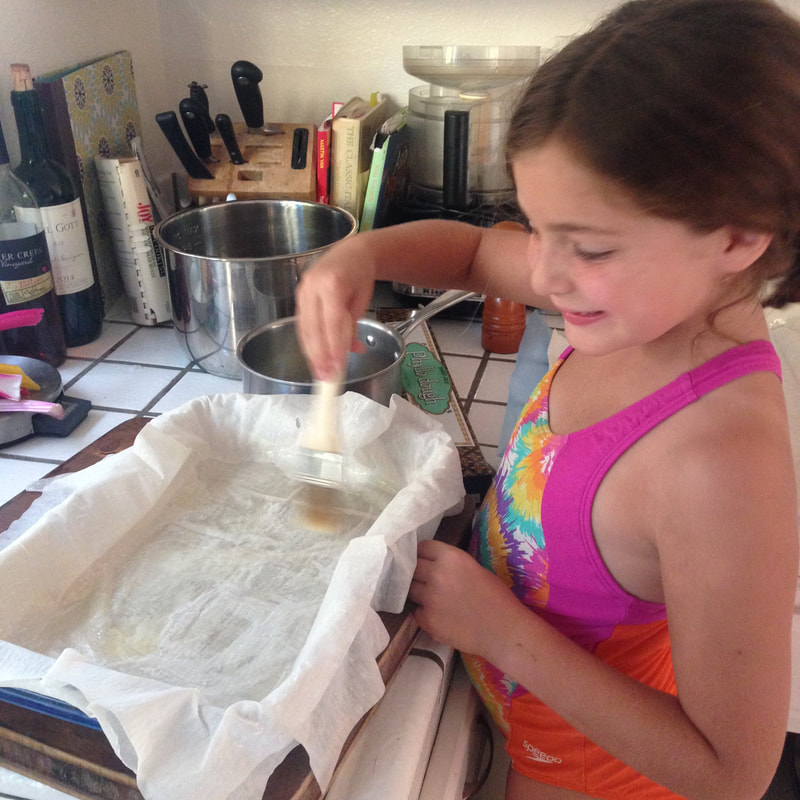
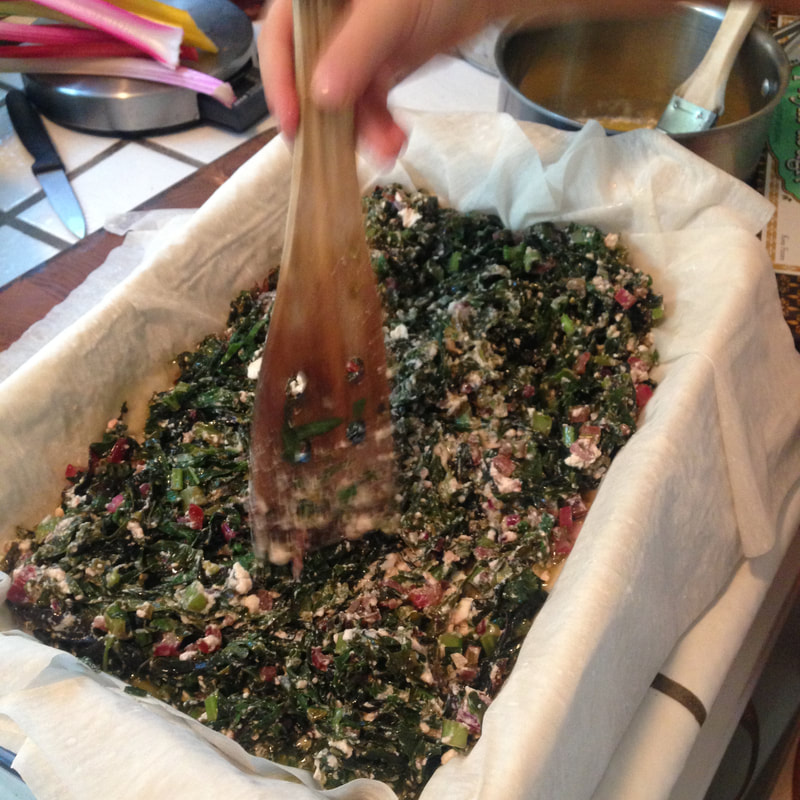
I don't know how it happened, but both my kids ate it! My mom always used to make spanakopita growing up, and I don't remember if we loved it, but we ate it. It's good stuff. I've made some following a recipe, but I tend to get a little hung up on recipes with very exact measurements, and this time I found a method. So simple, and it uses two pounds of greens. And did I mention that MY KIDS ATE IT!? I have had an abundance of swiss chard and mustard greens in my garden this fall, and I've been running out of new ways to cook it. Here is a great way to eat your greens. Ingredients: 1 package of phyllo dough 1 stick of butter, melted a few cloves of garlic olive oil roughly 2 pounds of chopped greens (spinach, swiss chard, mustard greens, dandelion greens, whatever) 1-2 cups of sliced green onion or a combination of green onion, dill, mint, or parsley 1/2-1 cup crumbled feta or ricotta, or a mix salt and pepper to taste
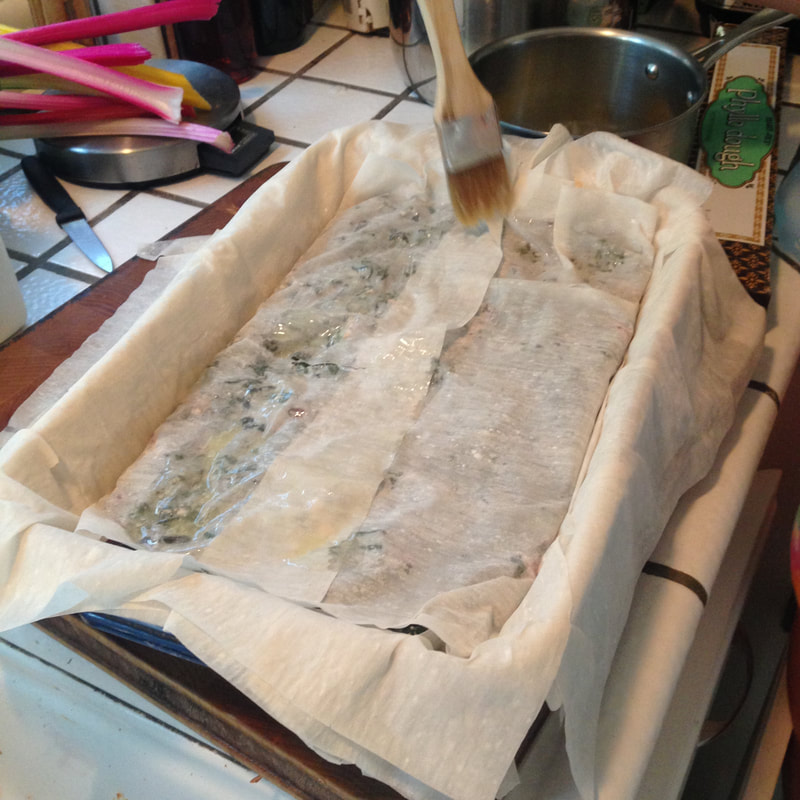
Directions: 1. Saute the garlic in a little olive oil. When it turns golden, add the scallions and stir them. Once they start to wilt, add the greens. Season with a little salt and pepper as they cook, and once they are all wilted and ready to be eaten, take the pan off the heat and stir in the cheese. Taste it again after you've added the cheese and add more salt and pepper if it needs it. 2. Preheat the oven to 400 degrees Fahrenheit. Select a pan to bake this in, whether it's a pie pan or an 8.5" by 11" pan, and unroll your phyllo dough. You will be stacking and overlapping the dough, so plan for about 6 sheets, overlapping them in such a way that they will cover the bottom and enough of the dough sheets will hang over to provide a top to your pie as well. (Take a look at the pictures above. We weren't very creative, but it worked.) Brush your dish with a thin layer of butter, then lay a sheet of phyllo down and butter it completely with a brush. Layer and brush another five sheets, and then fill your "pie" with the cooked greens. Fold the layers down over the top, being sure to brush them with butter between each layer. Now you should have what looks something like a pie. Take a knife and score the top layer so that it will be easy to cut after it's cooked. Phyllo can be a real mess once it's crisp and delicious. 3. Bake it until the top is golden brown. I wish I had set a timer, but I wasn't paying attention. Maybe 20 minutes? If you are baking this right away, the filling will still be warm and it won't be much of an issue. If you made the pie ahead of time, you may have to bake it longer at a lower temperature so that the filling can heat up before the top burns. (I know that was terribly specific and helpful, sorry!) 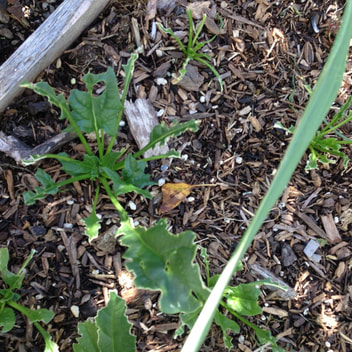 None of my spinach plants made it. The little birds struck again. I resentfully remind myself every day that God cares for the sparrow too.
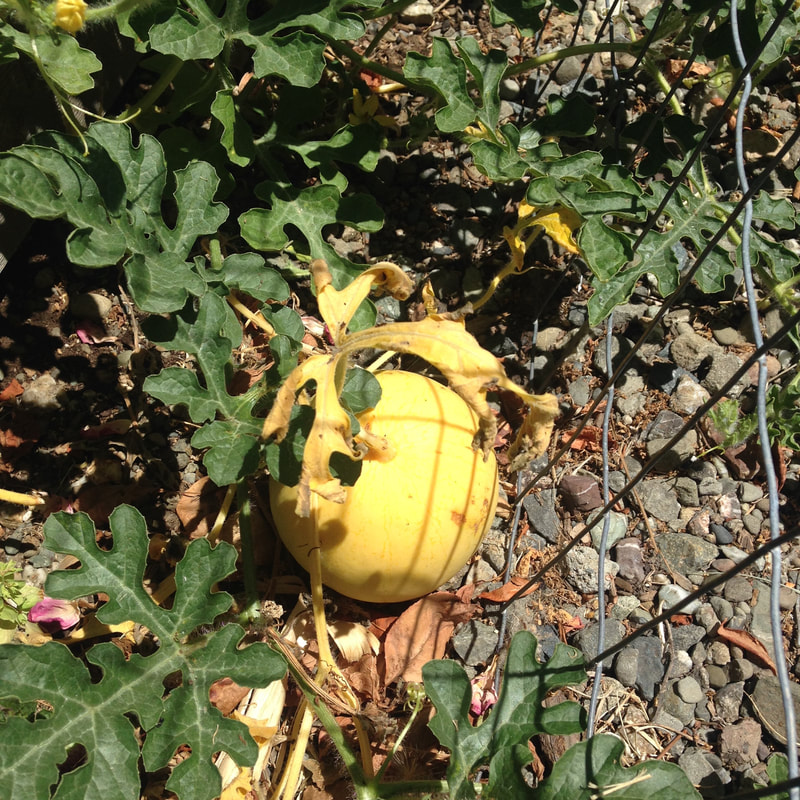
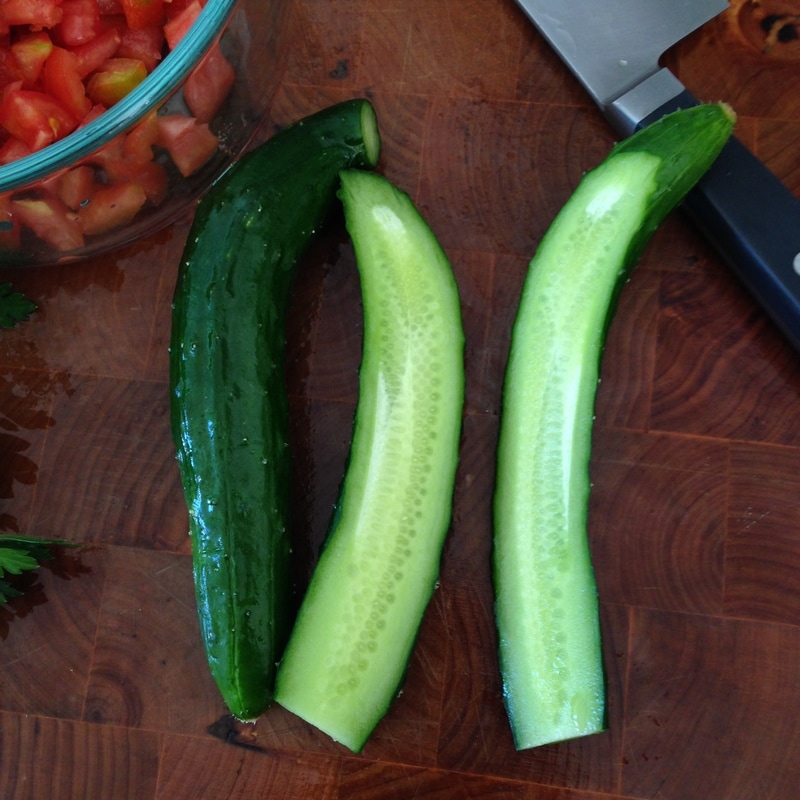
Our first watermelon. I forgot that I'd planted golden midget watermelons, and just thought it was diseased or dying. But it was golden, and certainly midget. More like a big apple. But we had our first watermelon!!!! Unfortunately, it was as tasteless and bland as it was cute. Maybe the next one will be better. 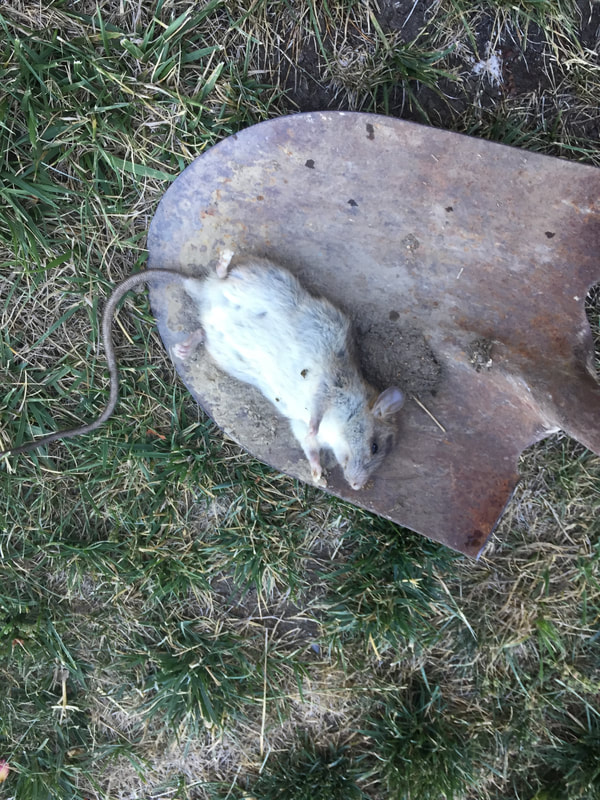 This was the month of the rat. I've known since last fall that a rodent of some kind has been eating form my garden buffet, but I was unwilling to actually do anything about it. The problem is finding a dead rat or something equally horrible. At least, alive, they scurry away and only come out at night. Dead, they just wait there until you nearly step on them. But we had company over for a beer on the deck, and it was a little unnerving when the little creatures came out after dark and started climbing our apricot tree. You could hear the leaves rustling, and apparently it ruined the relaxing atmosphere. (Some people!) But the good news was my husband was finally on board to do something about it. The next weekend he set out poison and an electric rat trap. This, of course, is a good thing. BUT. Now every morning for the last 8 days we are greeted by a dead rat somewhere in the backyard. Instead of finding somewhere quiet and dark to live out their last moments, they must spend it trying to score their last meal. So I go out to the chickens or rabbits in my bathrobe and some flip flops in the early morning, and BAM!!!!! Disgusting dead rat. Idyllic setting destroyed. Which brings me to our next pest issue. I don't know for sure, but I am 90% certain their is a skunk living under our deck. At the end of June our little dog went outside one night to relieve herself and came running back in smelling like Eau de Skunk. Two weeks of our backyard smelling, stinking, yucky, and of course there's always a dead rat to really drive the point home. But I believe the skunk went for the bait in the rat trap and got zapped, because one warm night as I slept with the window open, I woke up to the smell of burning rubber. Definitely a skunk. The bait was missing from the rat trap, but no rat. It's been three and a half weeks of stinky-ness and dead rats outside. 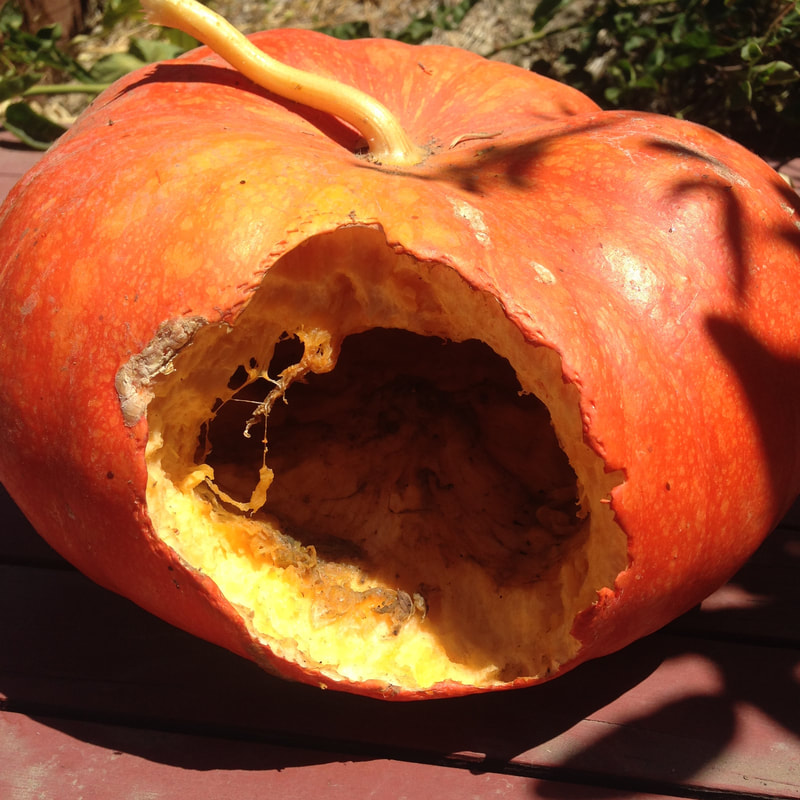 But wait! That's not all. We keep a third rabbit separate from our first two because Bugs, our first rabbit, does not seem to like Ginger, our new import. Silver, the fixed male, seems friendly enough, but even a friendly sniff in Ginger's direction results in Bugs chasing him around for payback. So Ginger has been alone, though we plan on finding her a friend soon. The beauty and the horror of it all is that rabbits burrow. Remember Alice in Wonderland? The sweet girl who falls down a rabbit hole? There's a lot of fiction in that story, but it appears that rabbits do actually dig holes. Ginger dug and dug, and dug her way right into Bugs' territory. The results were horrible. Fur everywhere, a torn lip, and a visit to the vet. Rabbits are considered "exotics", which is a ridiculous label for anything that breeds so generously, but we had to go to four different emergency animal clinics before we found a vet who could work with a rabbit. Ginger got two stitches and a week of painkillers and antibiotics. The vet and her assistant both said Ginger was the best rabbit they'd ever met, and clearly I don't deserve her. Poor thing. 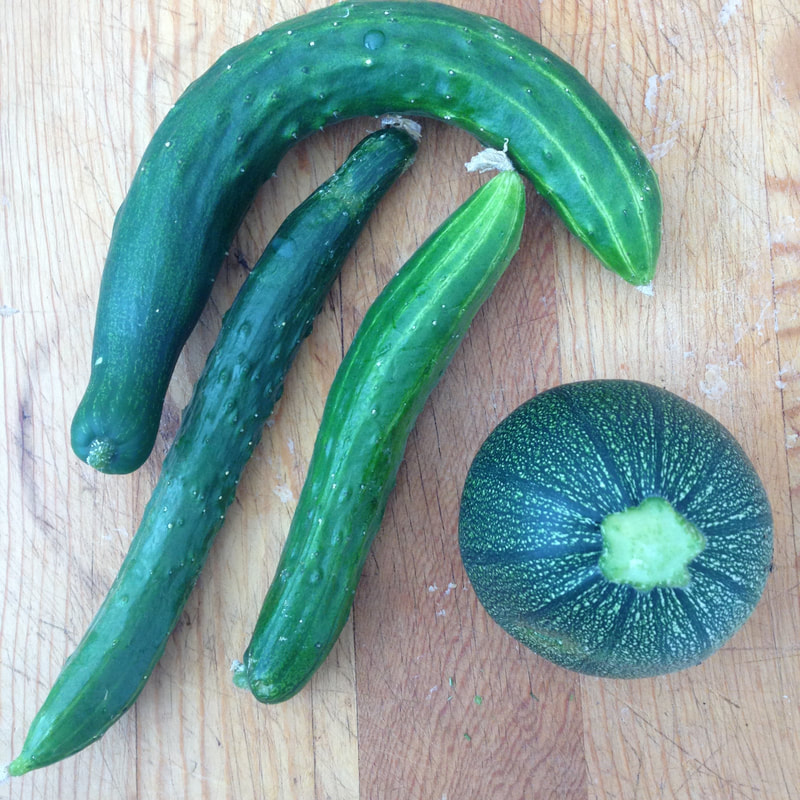 A Japanese hybrid cucumber. They were perfect. Only two plants keep us in cucumbers. 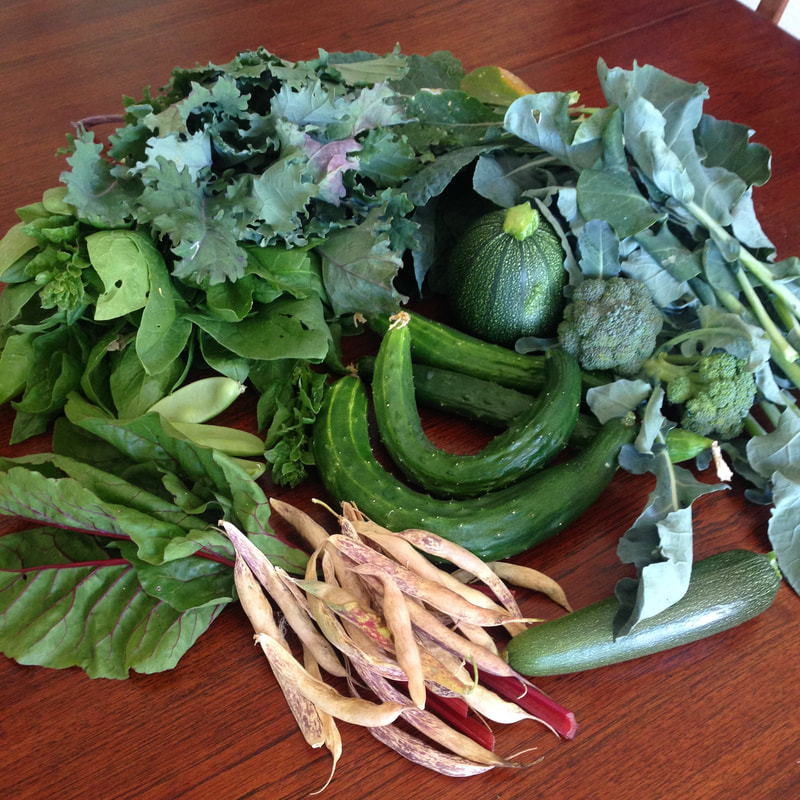 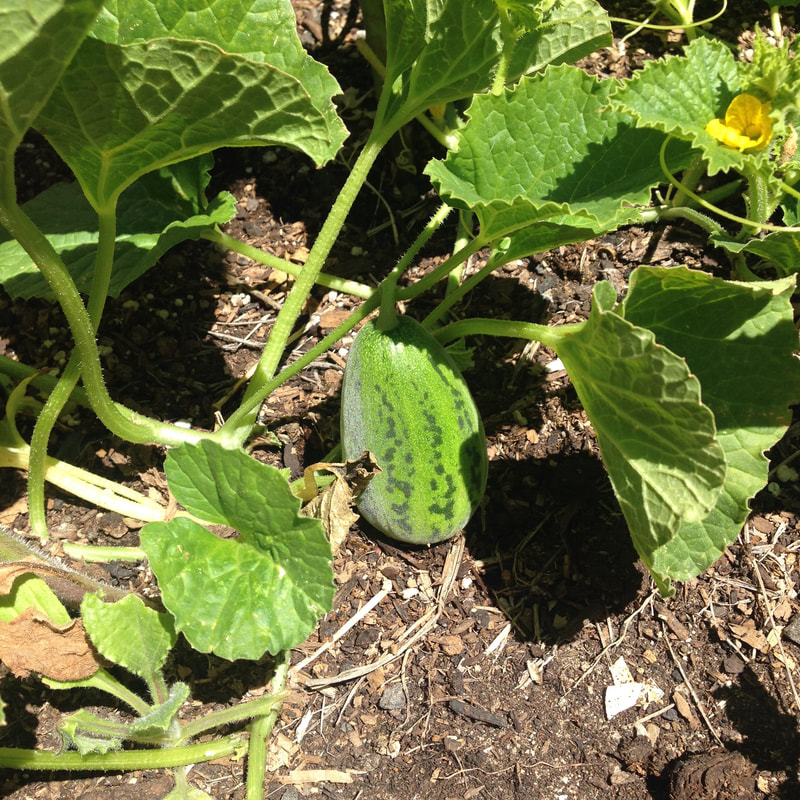 An apple melon. This one wasn't quite ripe when I took the picture, but once they ripen... Someone else finds them first. Must be squirrels.
 The situation has improved. I have a routine now. I put the baby and auntie away so they aren't climbing all over me, and mama goat willingly jumps up on the milking stand because she LOVES her treats. She still kicks. I think she will always kick, but now we have some solutions. I was told originally that the key to successfully milking a goat was to start them young and get them used to the milking stand. It turns out this was second-hand information based on a misunderstanding. Oops! The first-hand account turned out to be just strapping them down. Much, much easier, and not cruel. Definitely safer from my end. This goat-milking friend says that she just straps the goat's feet in with webbing hooked through the milking stand. It was revolutionary and brilliant and nowhere on any blog or book I've seen before. She was even so kind as to send me pictures, and my husband rigged up a similar system. Now I can actually milk by myself without having to recruit an angry adult to help me! 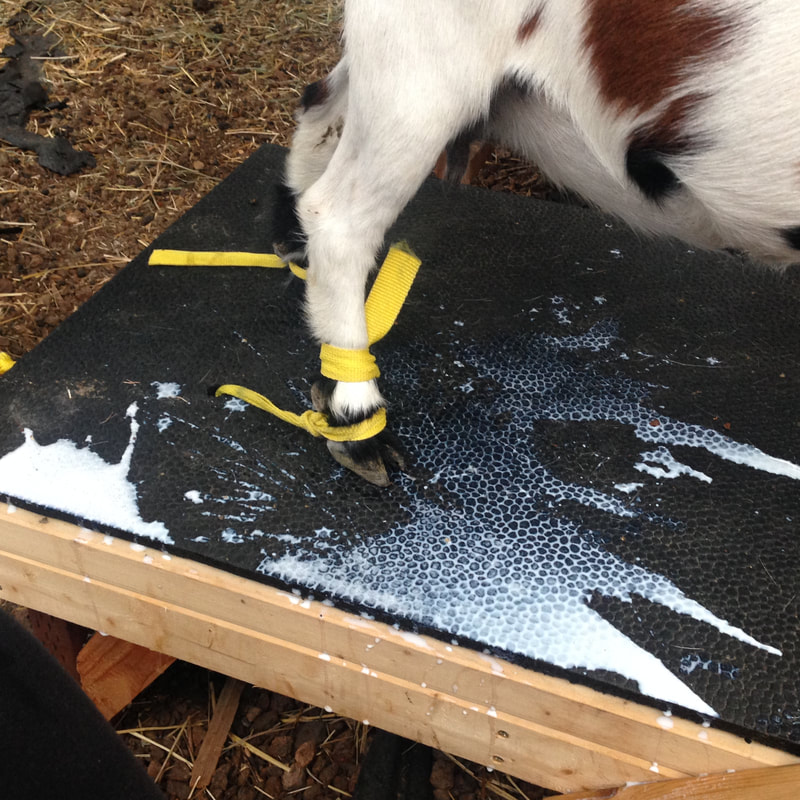 She can barely kick now. The webbing is wide so it doesn't cut into her leg. She still has a few special moves where she tries to kill herself by knocking the whole milking stand over, but one well placed foot (mine) prevents that. She also has a few tells. Before she kicks she stops eating and pulls her head back. Then she goes completely still before BAM! she aims to knock over the milk pail. And as long as I get the pail out of the way in time, I feel this makes us good working partners and I even feel a grudging respect for her determination. When the milk spills I want to dump the rest over her head. (But I don't.) I ran into a few other issues as well... Bribing her with treats got me in trouble when her stomach couldn't handle it and she got horrible horrible diarrhea. Then I put a garbage can near the milking stand filled with alfalfa pellets, but she knocked it over and this time both goats had diarrhea from the buffet. For the first time my backyard smelled goat-y. Yuck. And her milk production dipped as a result, so I went from getting just over 2 cups per milking to just under 2 cups per milking. :/ We cut out all legumes from Winnie's diet. No more peas or beans because that was what made the milk taste a little funky. I also chill the milk in the freezer initially. I think it may not have been getting cold enough quickly enough in the refrigerator. Sometimes I forget the milk in the freezer, but that's ok too. It doesn't hurt the milk, and it turned out to be more convenient because if we aren't ready for more milk yet, we just leave it in the freezer. We can finally all drink clean, sweet milk, though we are all a trifle hesitant after tasting bad milk. A manager at the local hardware store who used to raise dairy goats had great advice too. She took a good long look at me and said, "Maybe you need to relax. Have a beer. You know what? Give the goat a beer." So no, no one got any beer, but it was a good reminder than I needed to relax. All the tension was stressing out me and the goat.
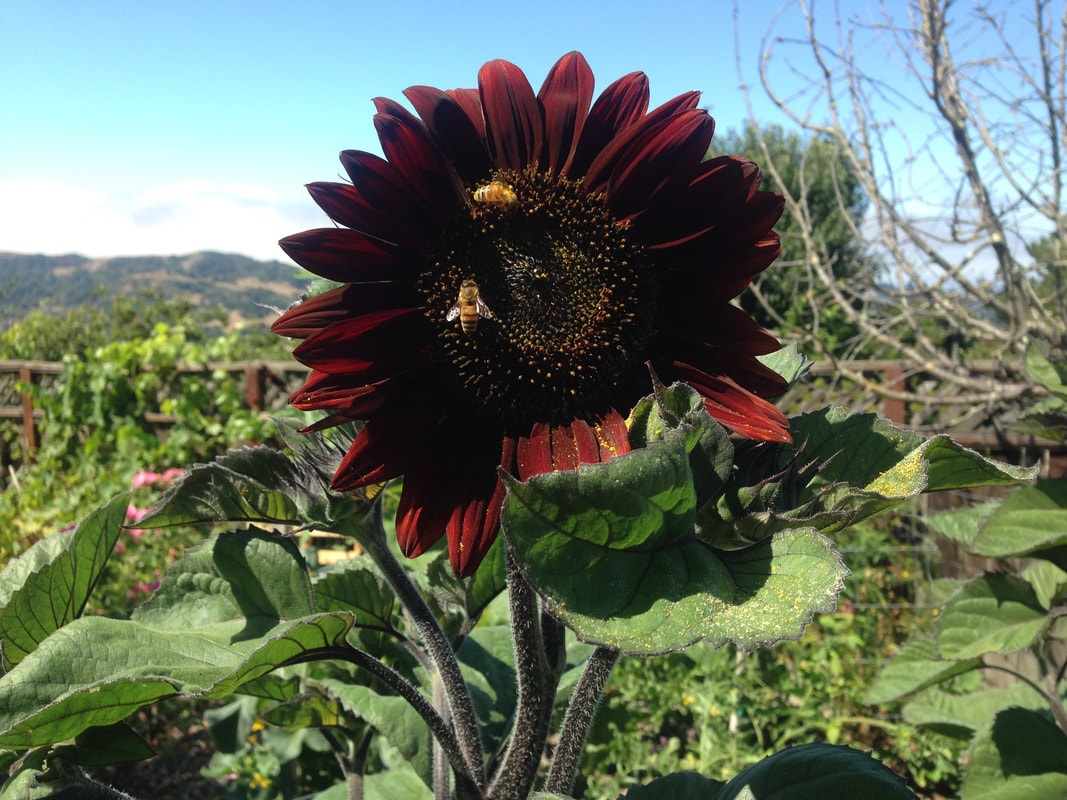
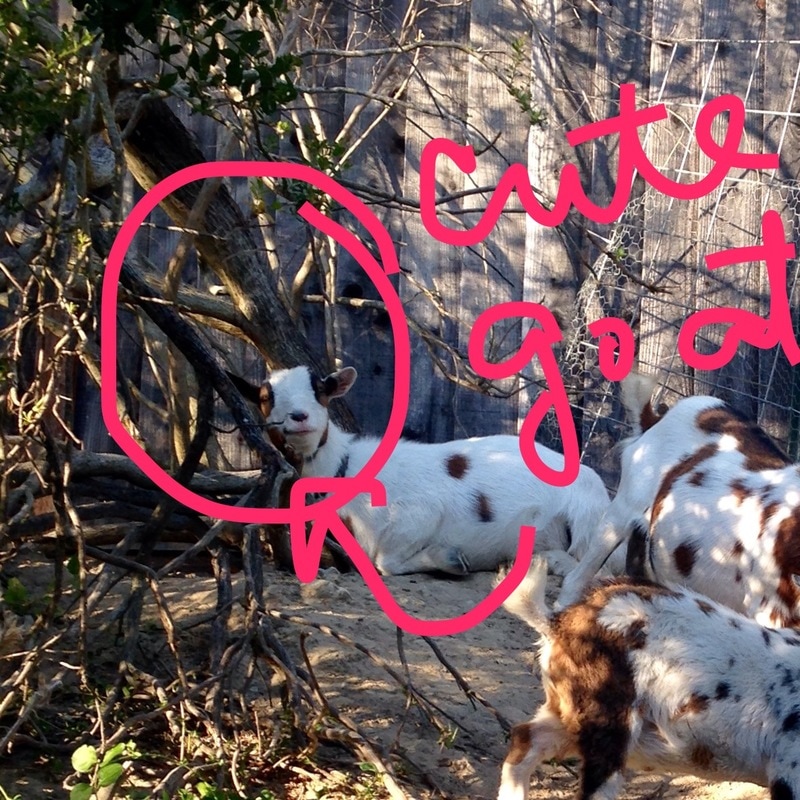 I'm borrowing goats. A mama goat, her sister, and one of her babies. This is week one, and quite a week it has been. Auntie Goat is the cute one above. Just look at that face! Mama goat is called Winnie. They arrived last Tuesday and I got a crash course in Milking 101. Grab high, trap the milk, and express it. Little goats, little teats, so just two fingers. Winnie, the mama goat, isn't crazy about the process. I spent two hours awake that night worrying that somehow my borrowed goats weren't safe. Checked on them once. Wednesday morning I got a whole quarter cup. That is four tablespoons. I had to hold one leg in one hand and milk with the other, shoulders BURNING, sweating from the sheer stress of it all, scared Winnie was going to jump right off the stand and hang herself. Auntie and baby kept trying to get in on the action and the kids tried to fend them off. Hair, dirt and pollen all dropped in, and though I filtered it, 24 hours later it was gross. Even before it went yucky on me it had a strange, bean-y flavor like thick creamy soy milk, but not horrible. Wednesday night I separated mama and baby goats. Thursday morning Winnie's udder was engorged like the first time your baby sleeps through the night. SO MUCH MILK, but she kicked so badly I had to give up. I was a little worried she'd have mastitis or something horrible by the end of the day, but figured baby would take care of it. Thursday afternoon was Milking 102. Cleanliness. No more holding a dirty goat foot in one hand and milking with the other. Goat not allowed to lie down on the dirty stand. Clean white rag after clean white rag until the udder is perfectly clean, then another clean rag to dry. It reminded me of beauty school: lots of hand washing and a sanitary maintenance area. We set a towel down under Winnie in case she decided to lie down, and a footstool under her belly to keep her up. Such a stubborn goat! I admit I felt faint afterwards. Friday morning my milking skills were improving, but Winnie was putting up even more of a fight. I got the milk out, I just couldn't keep it in the pail. My sister helped me a ton, but kept uttering helpful things like, "Faster, Megan, I can't do this much longer! What's taking you so long? Get a grip, it's just a goat!" 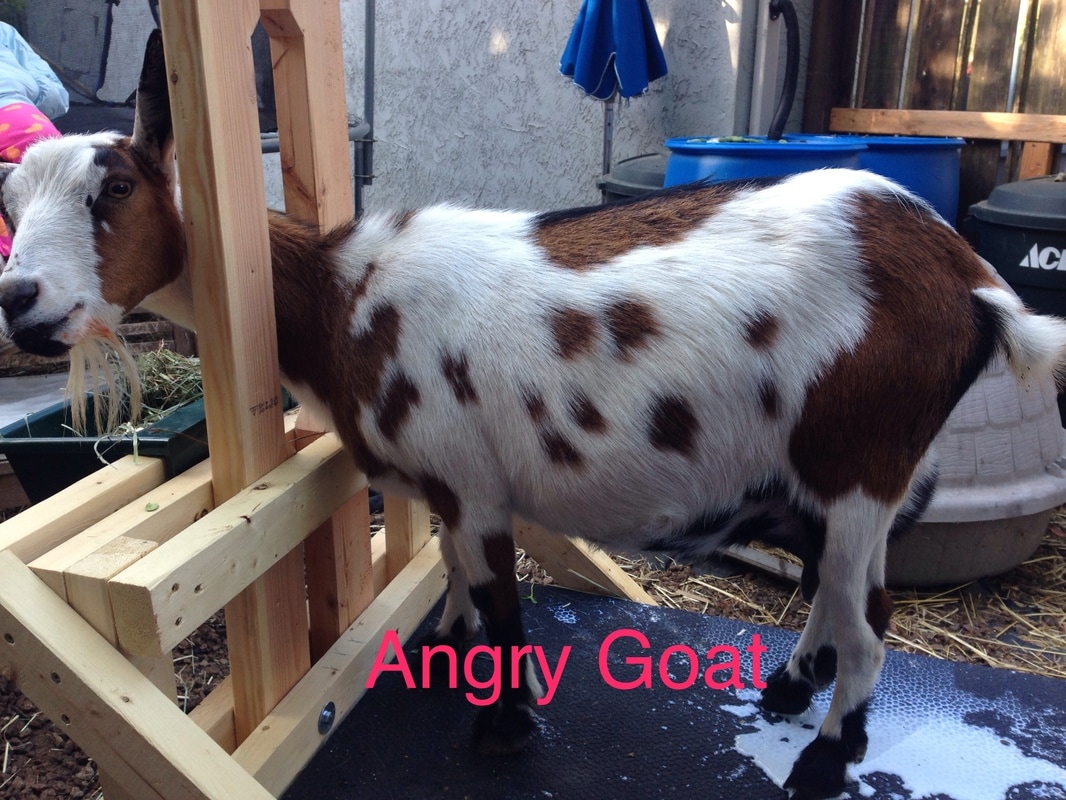 "That goat really hates you."  First Four Tablespoons Saturday morning milking was better, way better. My husband held a foot and the pail, Winnie kicked less, I got faster, and we probably got a little over a cup and a half of milk. Whew! Still, it seemed like buying a crane to just airlift the goat would be the best way to go. Sunday morning, oh dear. Sunday morning. I was armed with two adults, extra milking pails in case Winnie managed to kick them over or got another foot in there, a towel for the milk stand, snacks and treats, more snacks and treats, two size stepping stools, a borrowed scarf from a chihuahua to use as a gentle tether, and all the wipes in the world to clean everybody off... but I guess what I really needed was a tranquilizer gun, or maybe an exorcist. 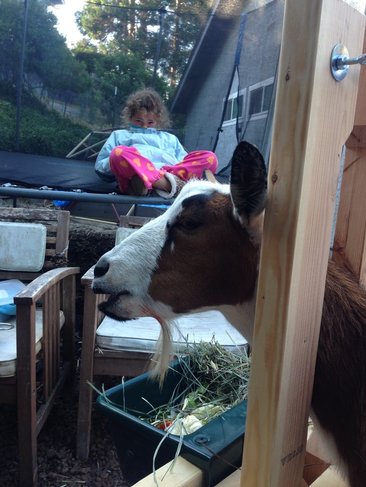 "Well that's what you get for trying to milk the devil's mascot." Sunday morning Winnie transformed into a bucking bronco. My husband held her legs, my sister held her, my daughter sang to her, my son stripped my garden bare in search of quality treats, and Winnie wasn't having any of it. She kicked. She jumped. She lay down. She actually refused to eat, put her head in the food bucket, looked back at me and shouted, "MAAAAAAH!" One cup of milk in the bucket and she managed to get a foot in. She pooped. She peed. She hates me. "Wow, that's an angry goat. I really don't like this. I think you're hurting her." For the record, I am way, way gentler than the baby. Baby goats ram their mother's udder to bring the milk down. But I understand, I'm stealing milk from Winnie that was intended for her baby. It does seem a trifle unethical when you stop to consider it. But this morning wasn't too bad. It took only three of us. I switched out pails halfway through before a foot could get in there and got two cups. This can only get better. Right? 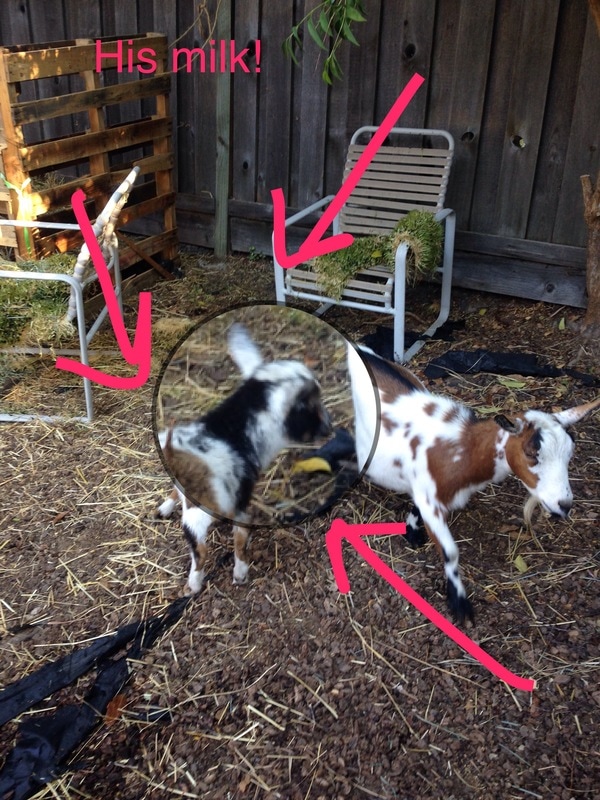 "Don't you still have a breast pump somewhere?" 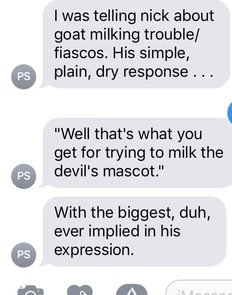 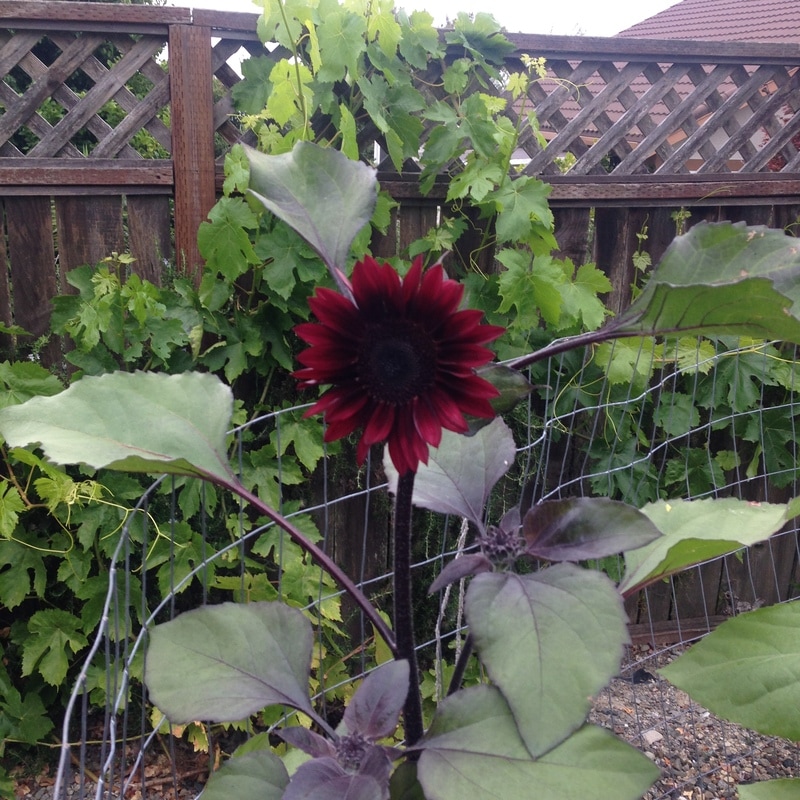 My first sunflower! It showed up July 1st. Hello, summer!!!
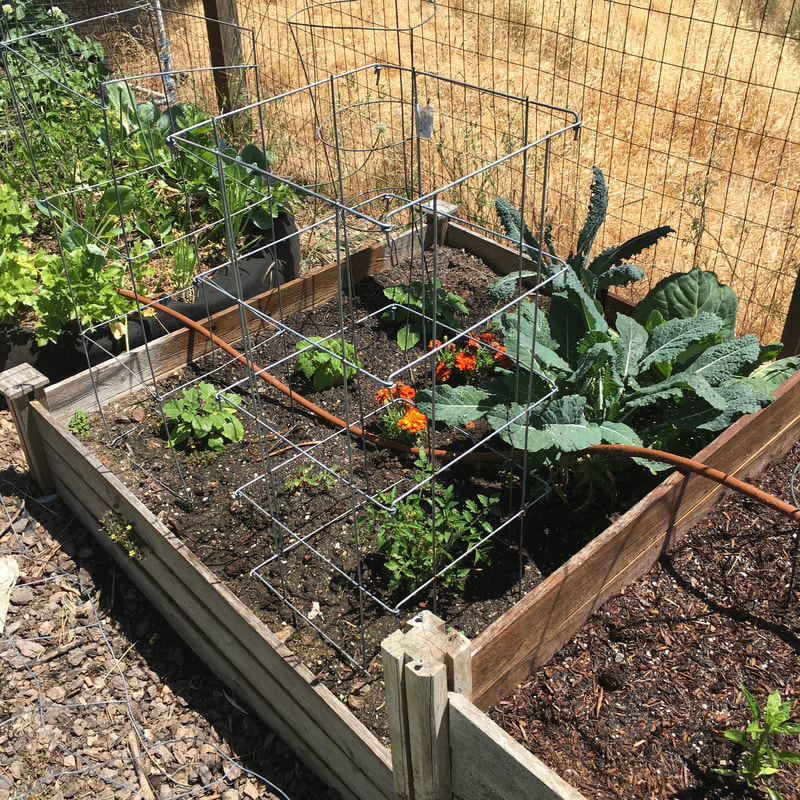
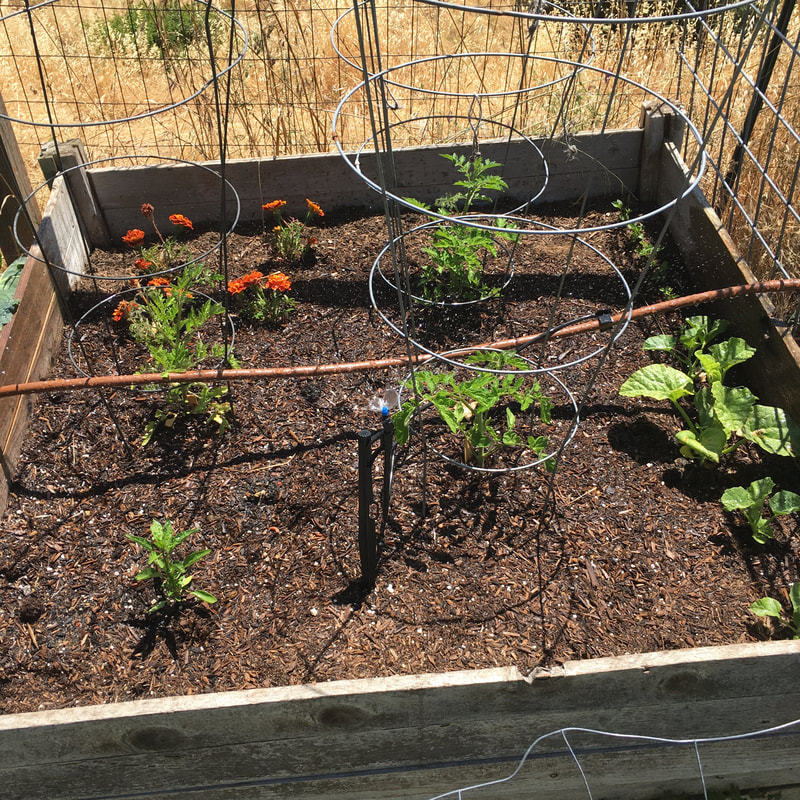
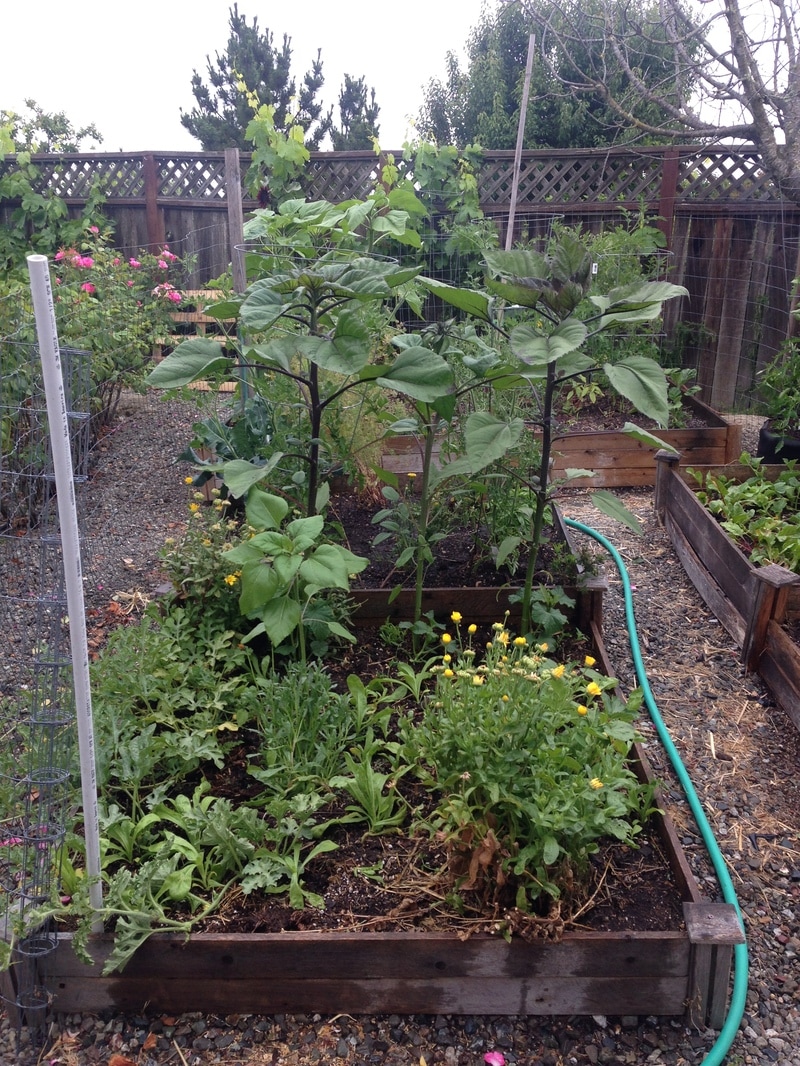
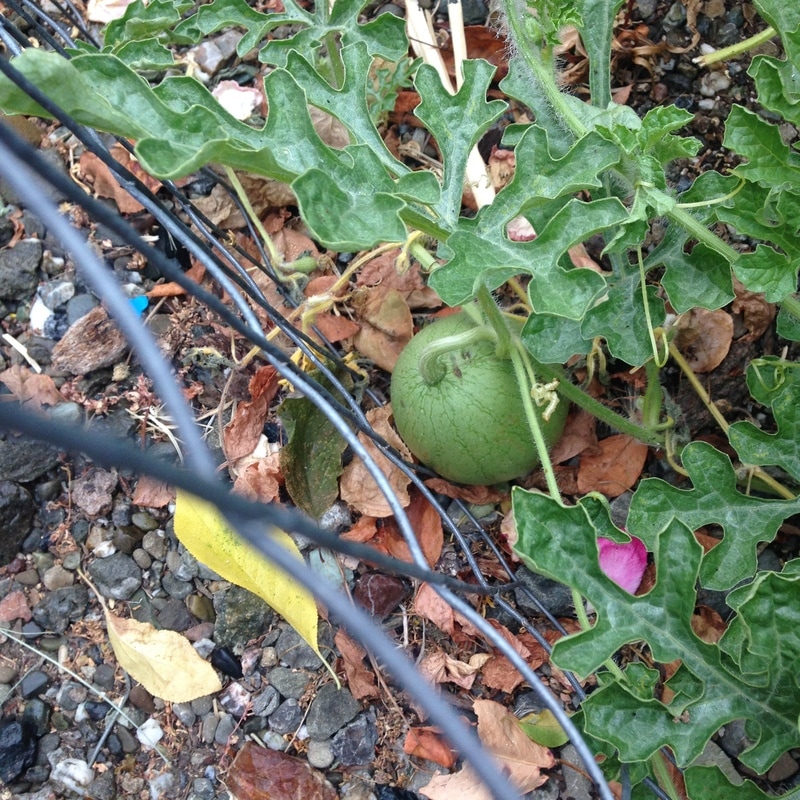
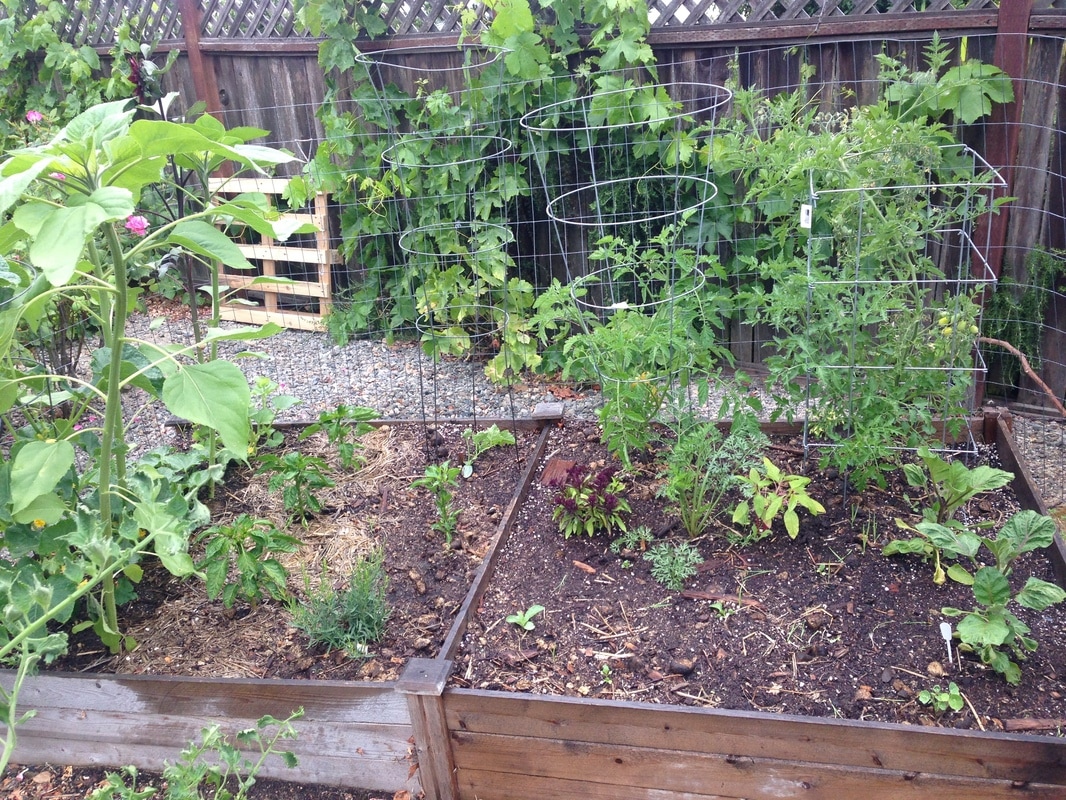
Above left you mainly see sunflowers. They will hopefully be supporting some sakata melon vines. In front of them are watermelon vines, and there is a close-up of a tennis ball sized watermelon we haven't managed to kill yet. The calendula, as promised, self-seeded. 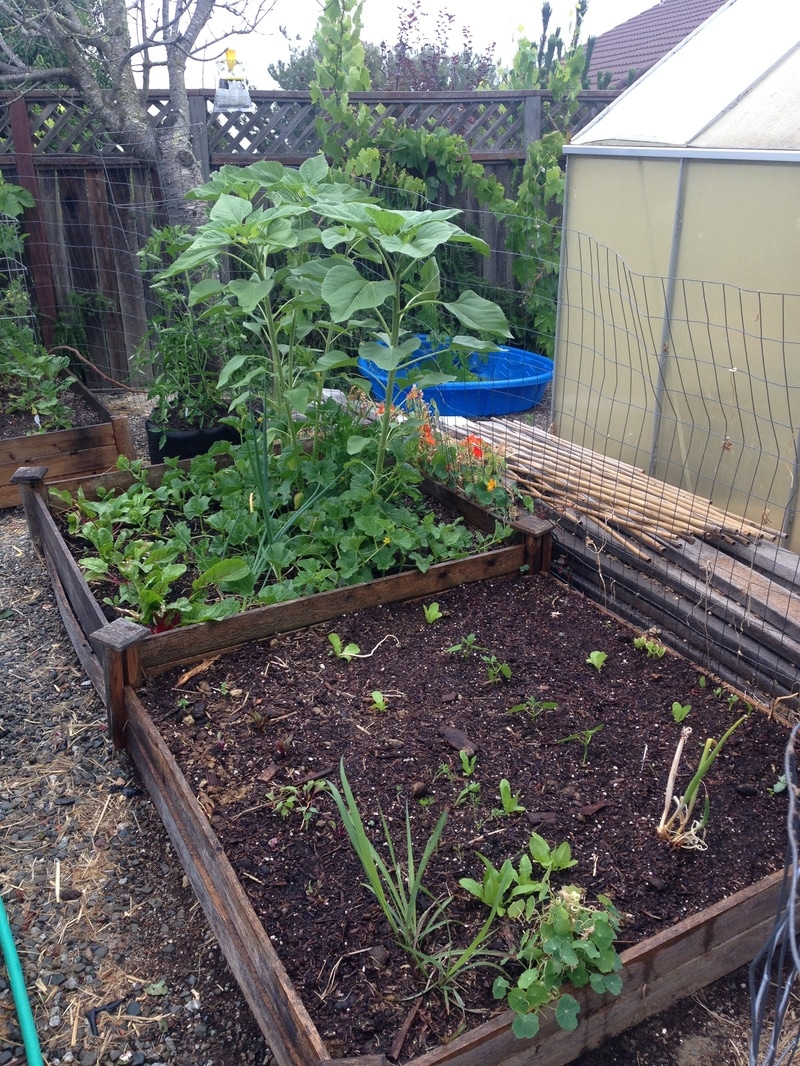 The sunflowers in this picture are hopefully going to support apple melons. Swiss chard is planted along the left edge. The front box is freshly planted with bush beans, malabar spinach, lettuces, carrots, beets, Egyptian walking onion, lemongrass, and a tiny little butternut squash plant. All the nasturtiums are volunteers. 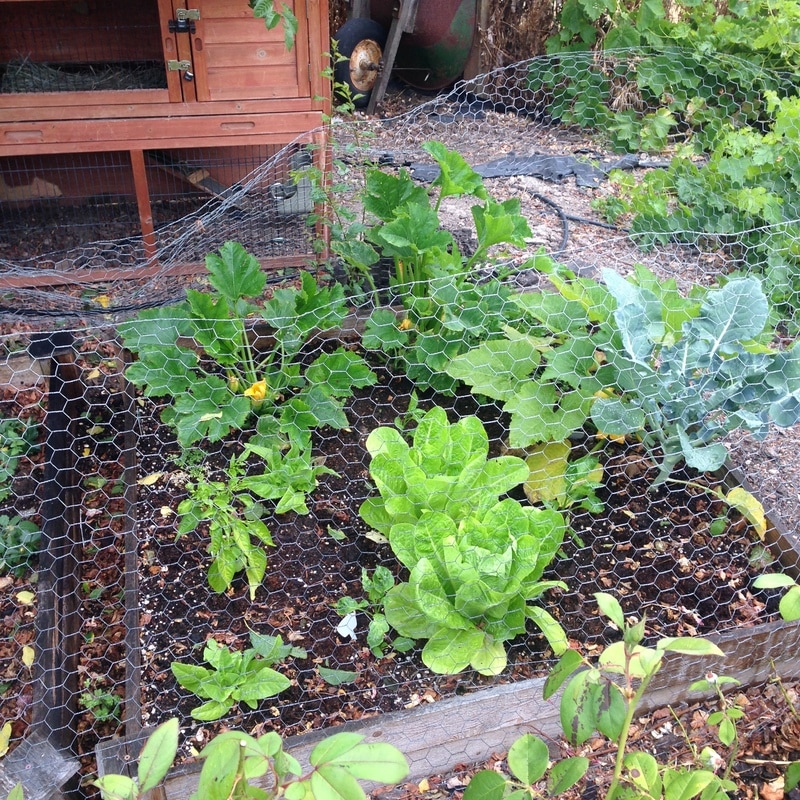 This bed is supposed to be all squash and peppers, but there is a broccoli plant from last fall that magically came back to life and I interplanted some Romaine lettuce which has done really well in that spot.
Mixed results in the bed above. I should've added more amendments from the beginning, but it's improving. The Japanese cucumbers I started from seed did far better than the bush cucumbers I sowed directly in the bed. The eggplants finally look healthy, and the peppers and tomatoes are looking a little healthier. 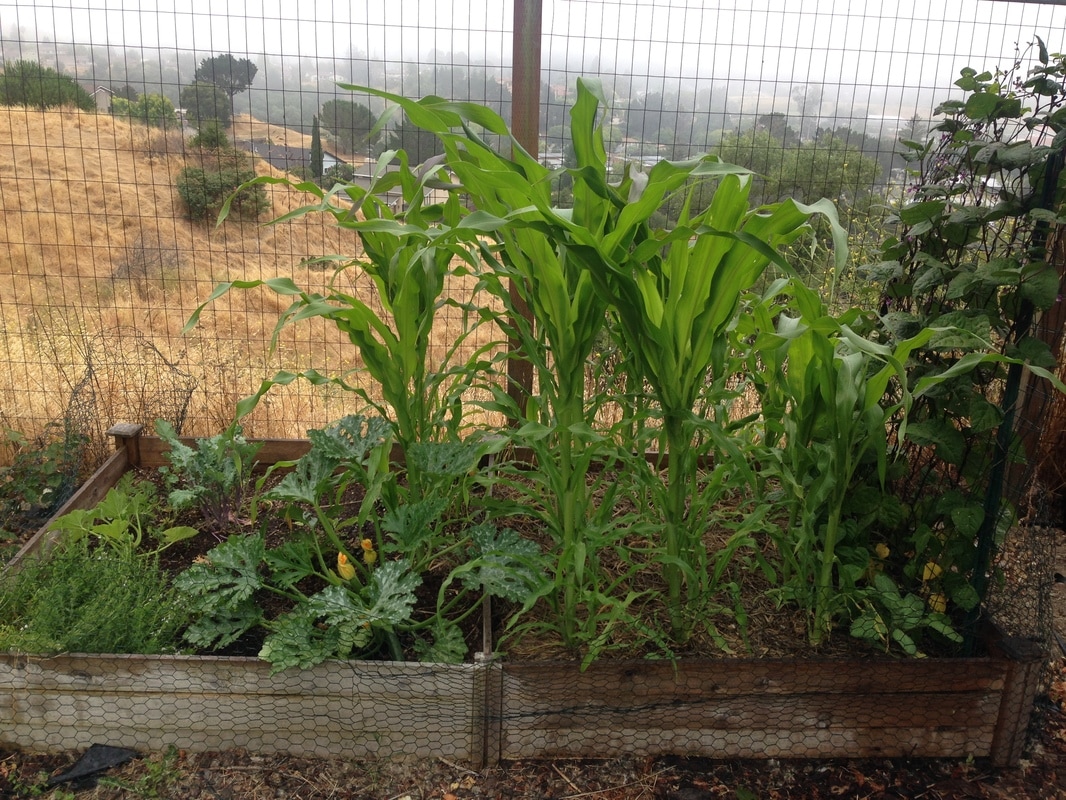 The corn (Blue Hopi) looks taller every day, and much healthier than last year. The green beans to the right might not be getting enough sun now, I'm not sure. They look healthy for now.
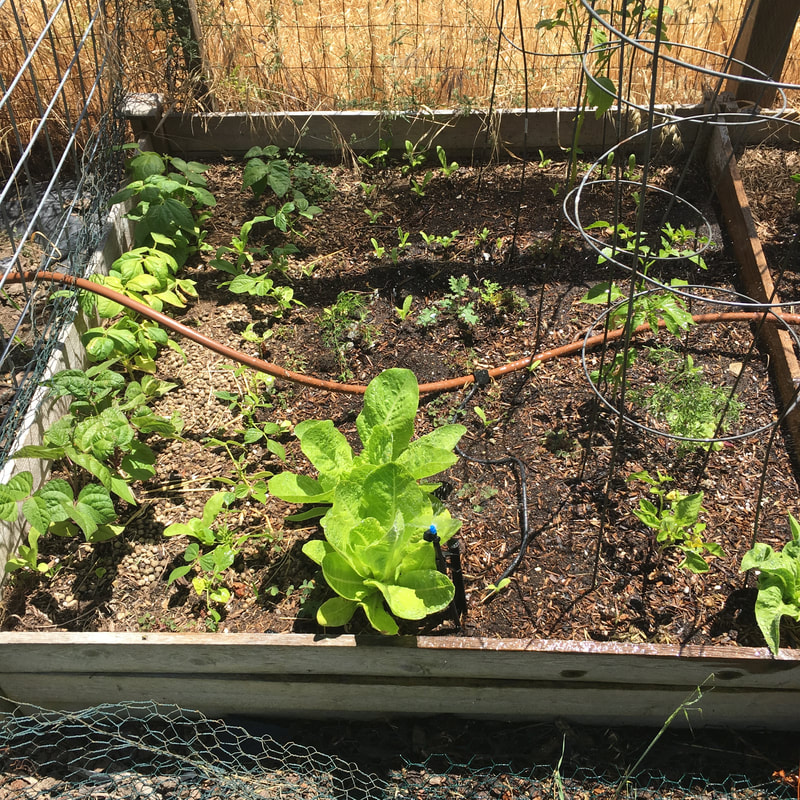
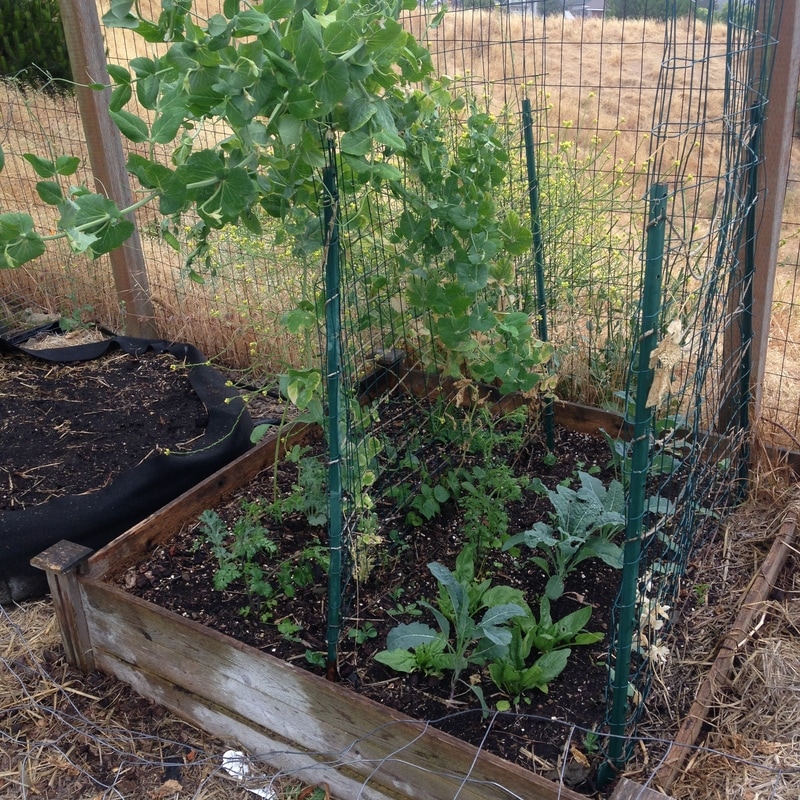
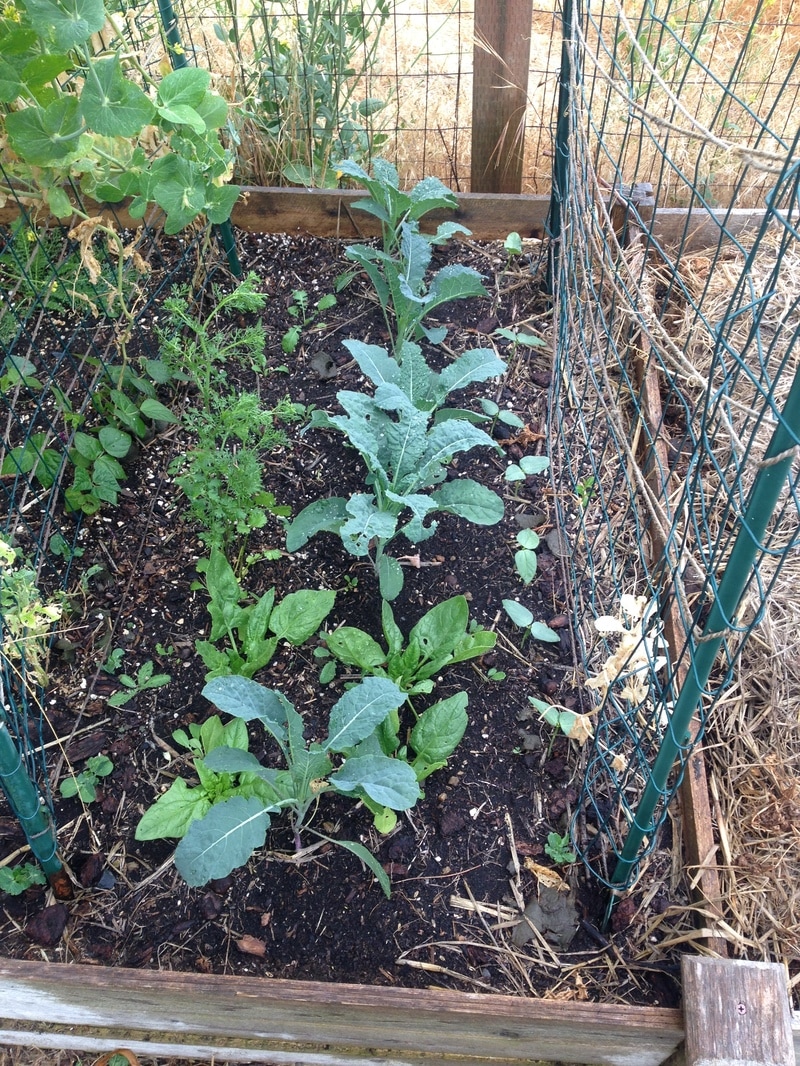
Most of my snap peas died. I thought I had some horrible pest at first, but I'm 85% certain the pest is my 7 year old daughter who checks for snow peas every day and probably uproots the plants as she picks. There are worse problems to have, and I planted a mix of peas and beans which may come up quickly. You can see the sprouts in the picture above, right. Wrong season for peas, I guess, so we'll see. There is kale and spinach in the middle. The left side of the box has watermelons, one charentais melon, and yarrow. The melons aren't doing as well in this spot as in the warmer part of the garden. 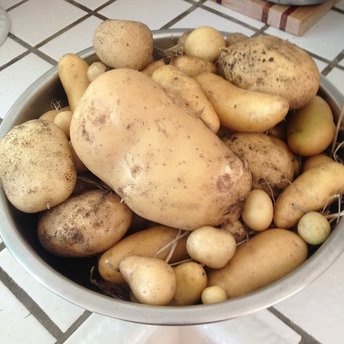 The bed to the right of the dying peas had a bunch of volunteer potatoes and one tomato plant. I ignored them completely and dug up an accidental 13 pounds of potatoes! That stuff doesn't usually happen to me in the garden, so YAY!
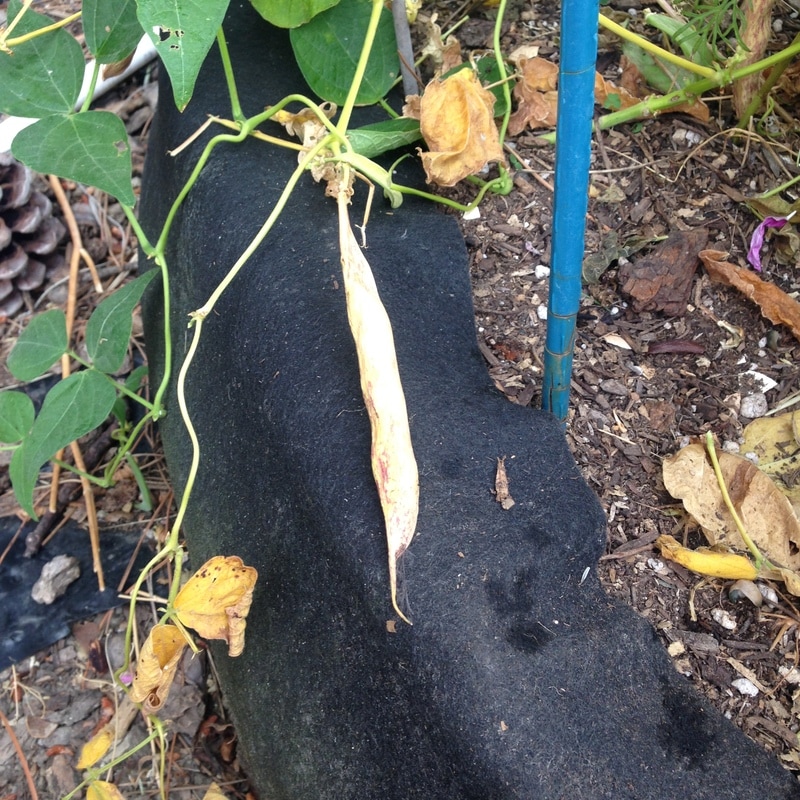
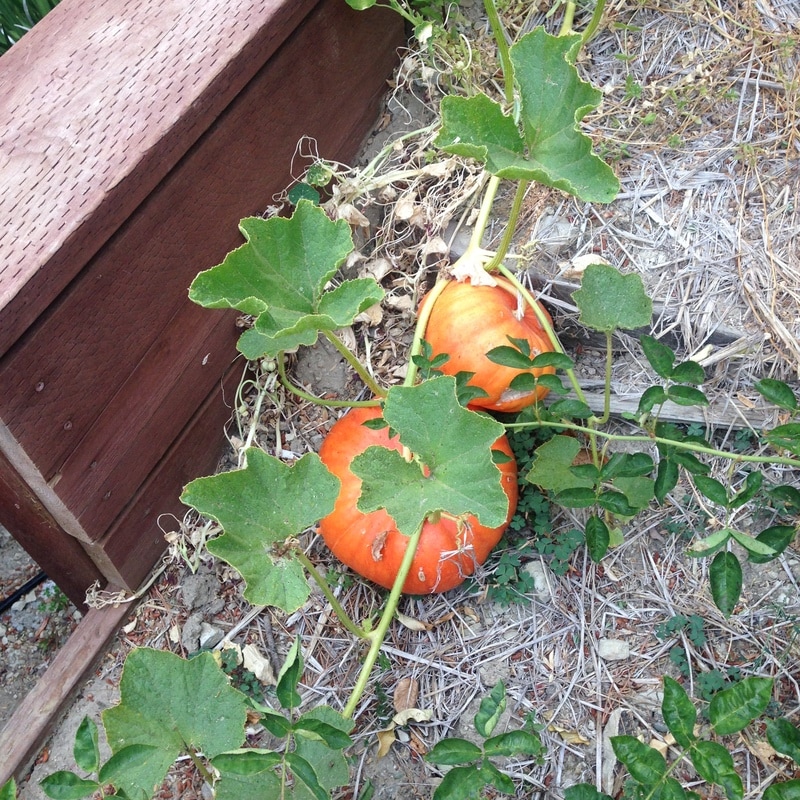
Above left is a "Missouri Bill's Soup Bean" drying out. They were delicious green, and it was nearly impossible to get my daughter to stop picking them. On the right are pumpkins. I think they'll be ready soon. They stopped growing and they've been getting darker every day.
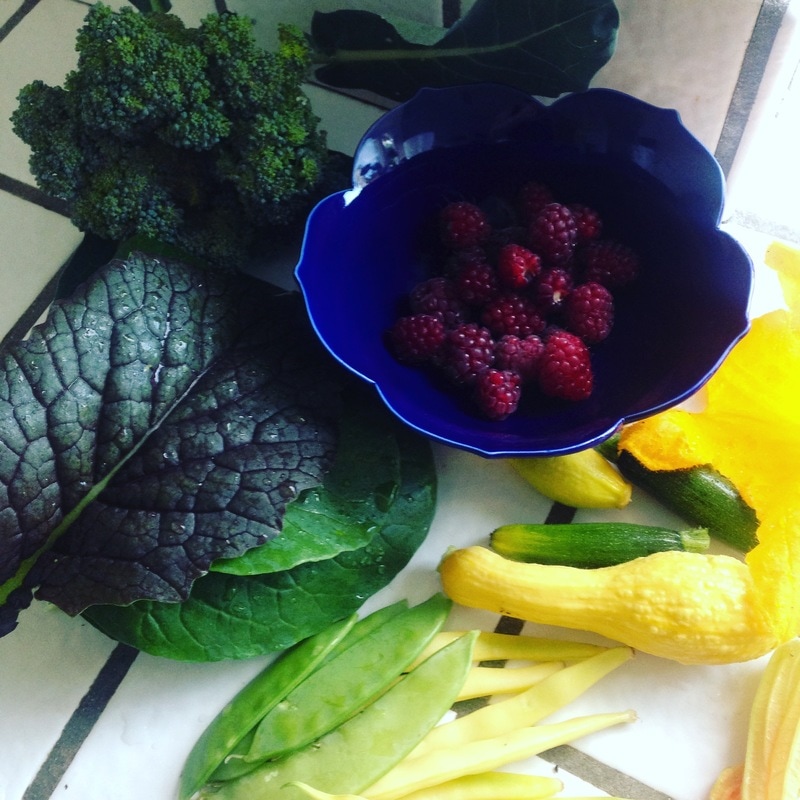
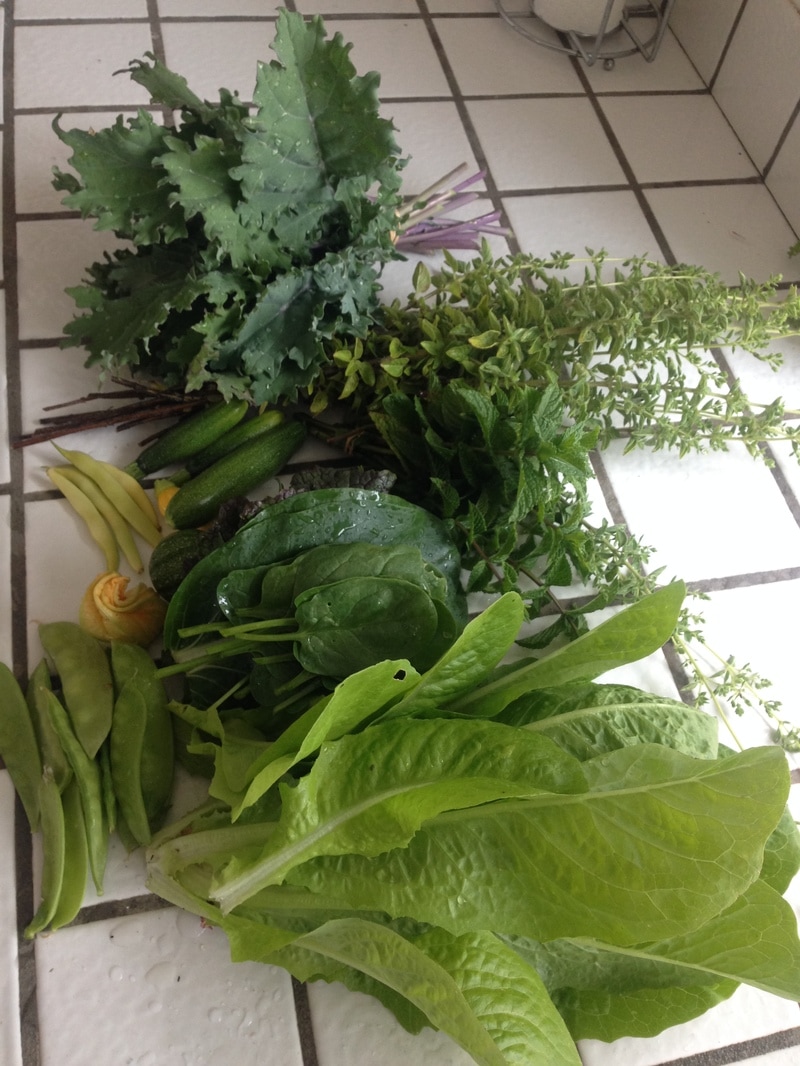
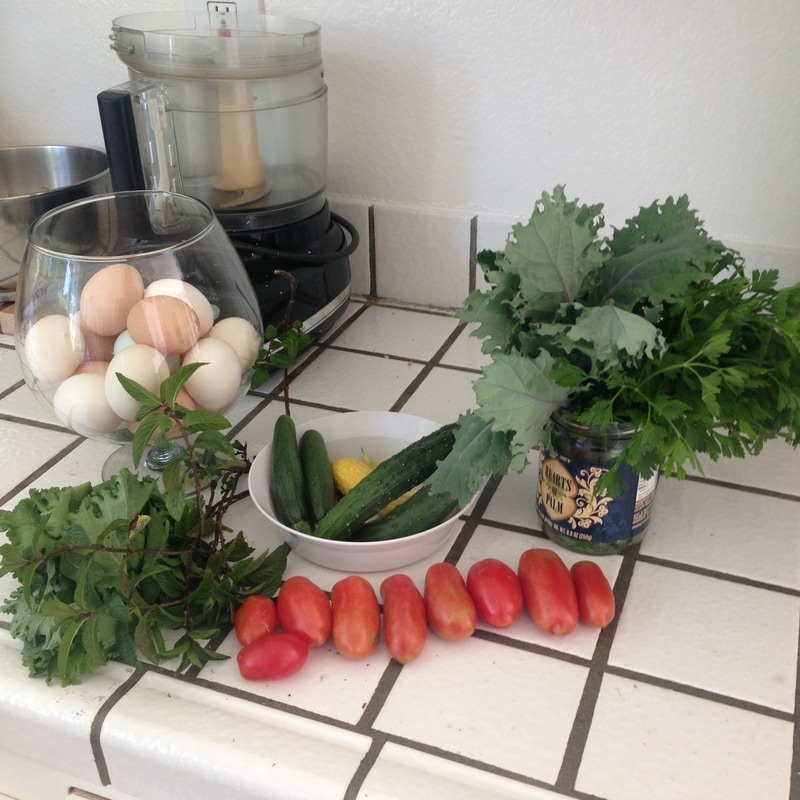
I decided to pick from the garden only once a week if possible and to take pictures. It was easier than weighing it all since I'm getting such small amounts, and at least I have some kind of record now. I try to pick EVERYTHING that's ready, because otherwise some strange hoarding instinct takes over and it stays in the garden and goes bad. This way I'm always clearing room for new things and nothing goes to waste. I try to cook it all right away. I notice that I'm using more herbs now that I'm picking them ahead of time, and I never find rotting things in my refrigerator. I started using more parsley and oregano, and I'm making mint tea regularly. I'm getting 8-12 eggs a day in addition to the vegetables. So far, so good.
Happy fourth of July! |
AuthorI love trying new foods, cooking, and gardening. I hope to share these experiences on this site. Thanks for taking a look! Categories
All
Archives
May 2020
|


 RSS Feed
Photos from Mechanoid Dolly, Mechanoid Dolly, fidber, Ken_Mayer, eflon, Dendroica cerulea, Urban_Integration
