|
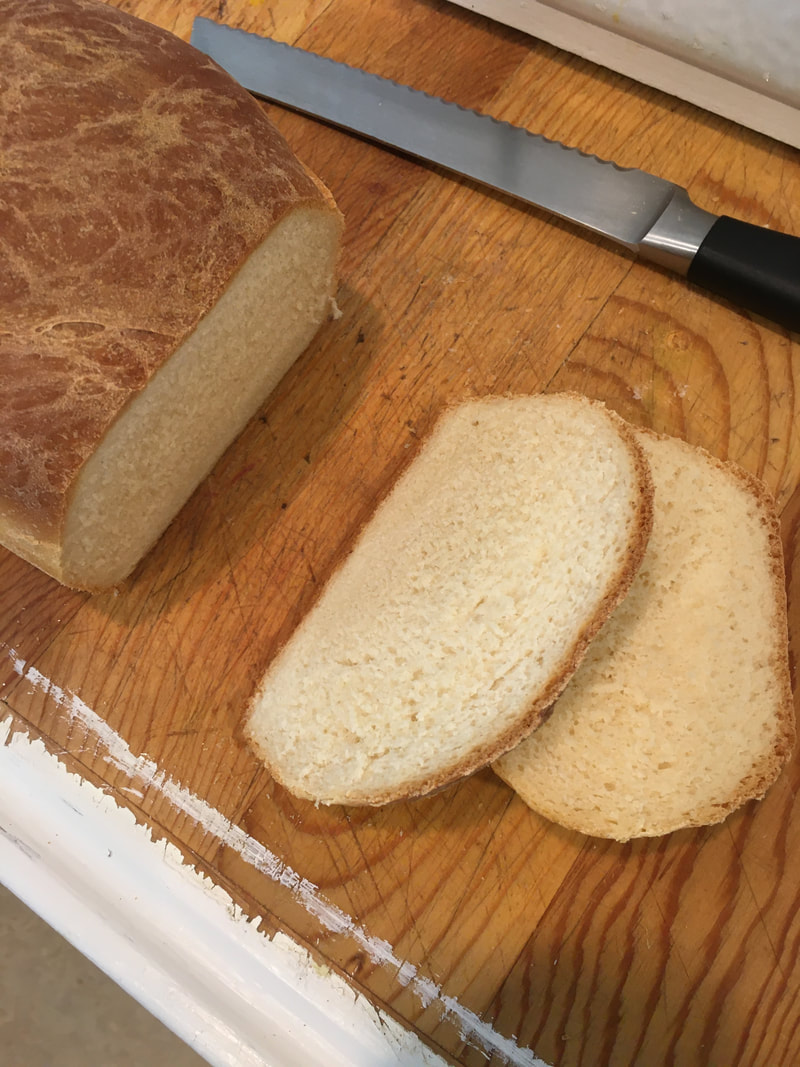
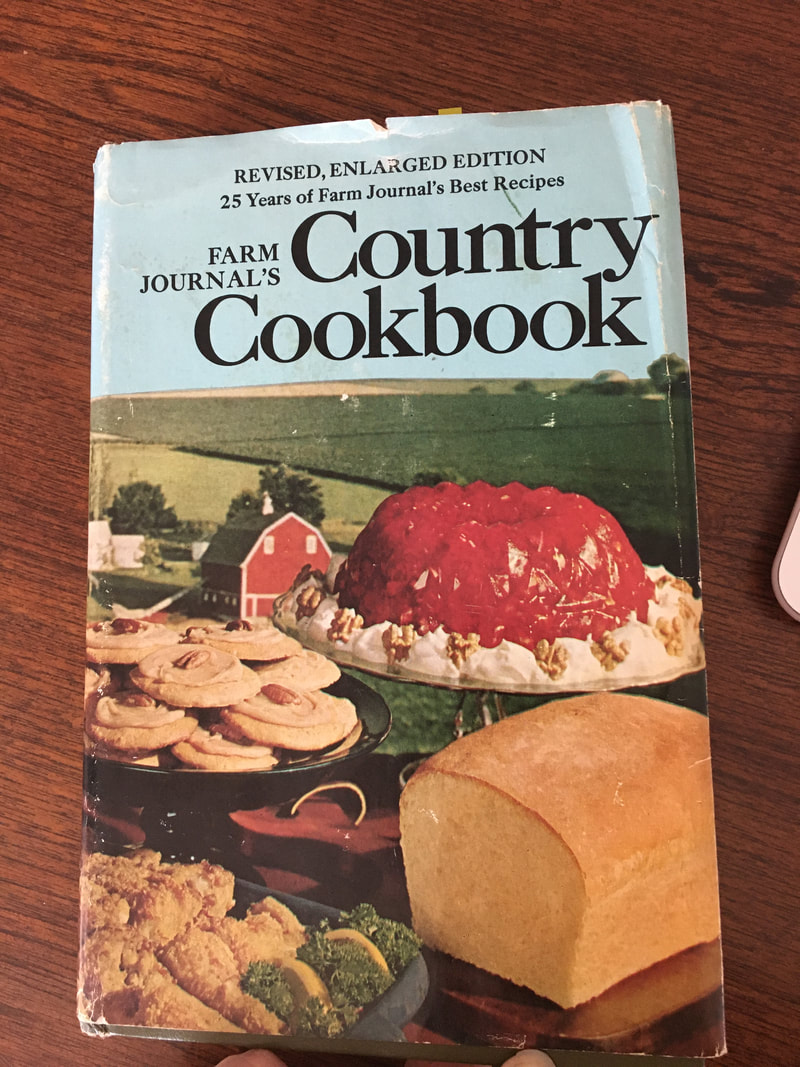
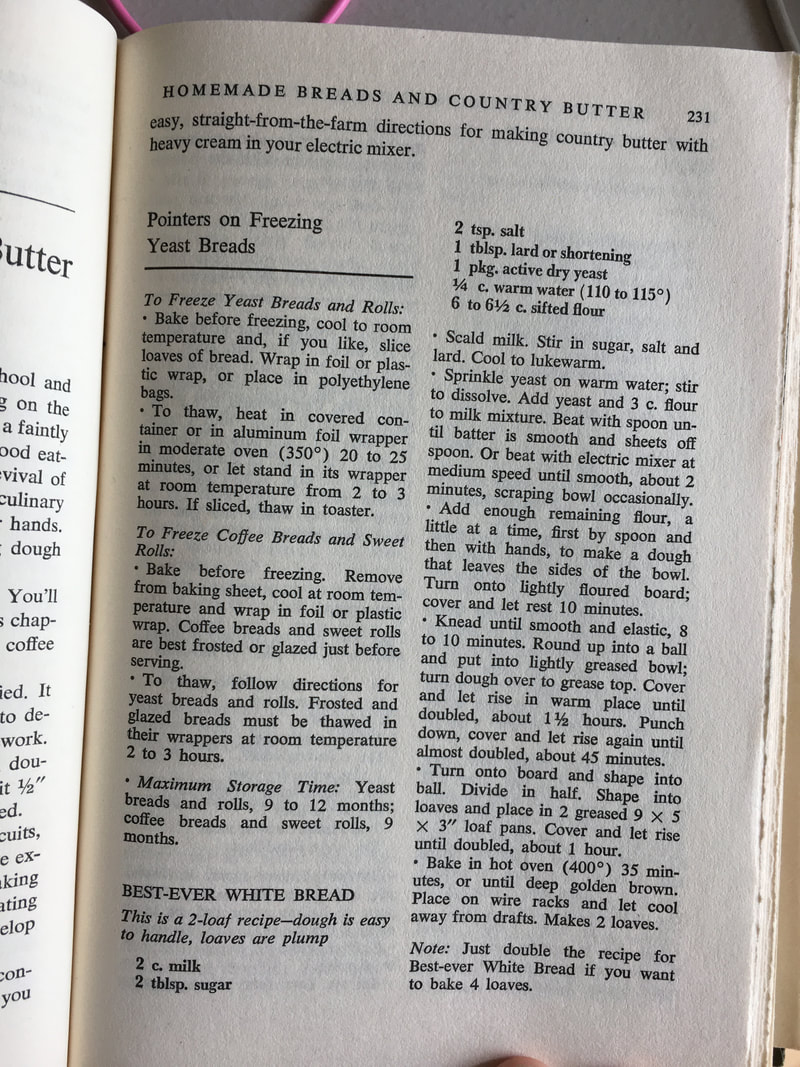
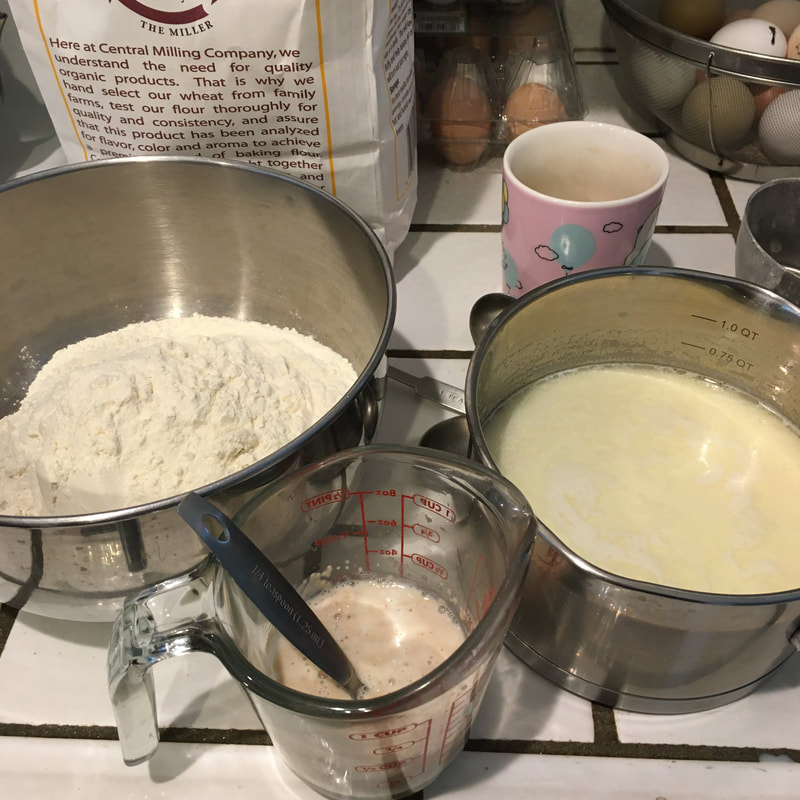
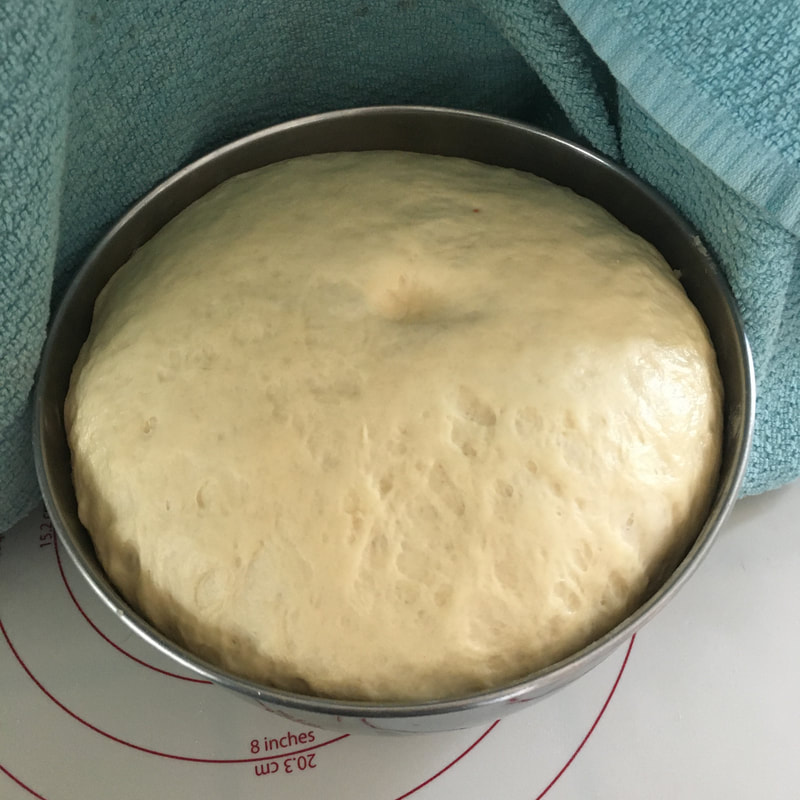
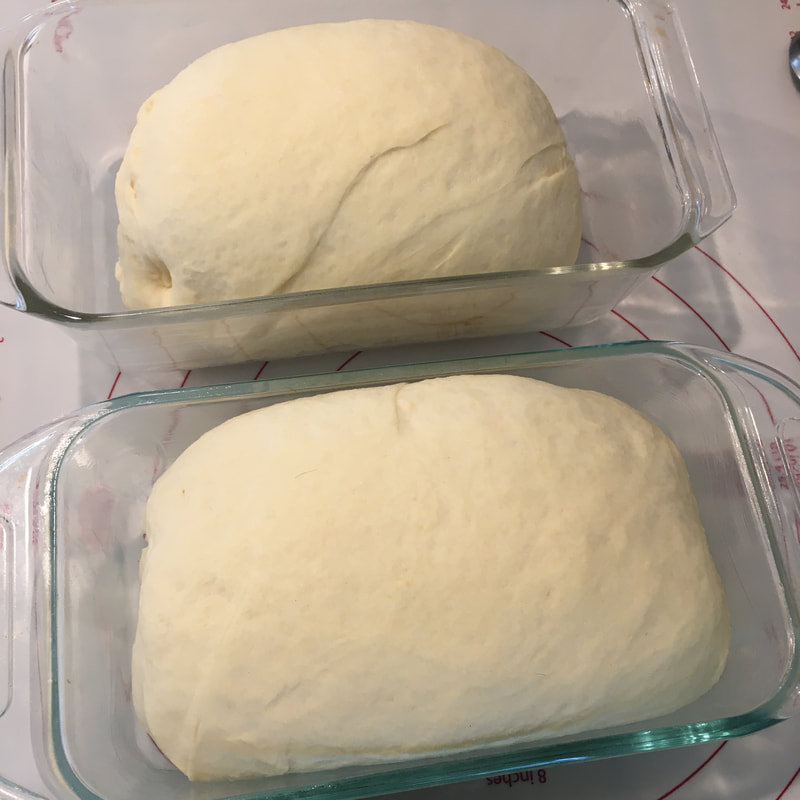
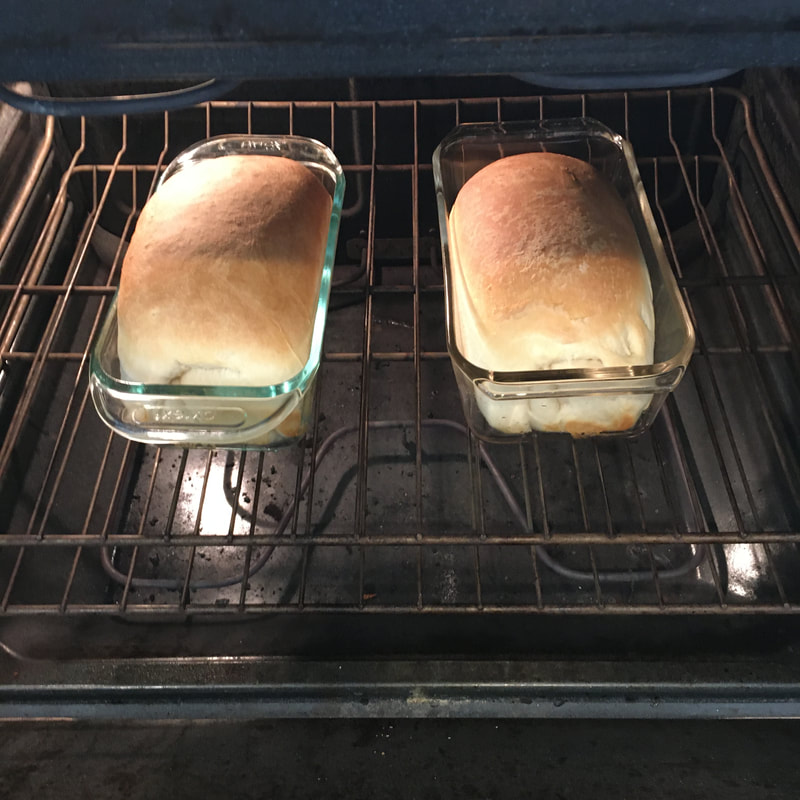
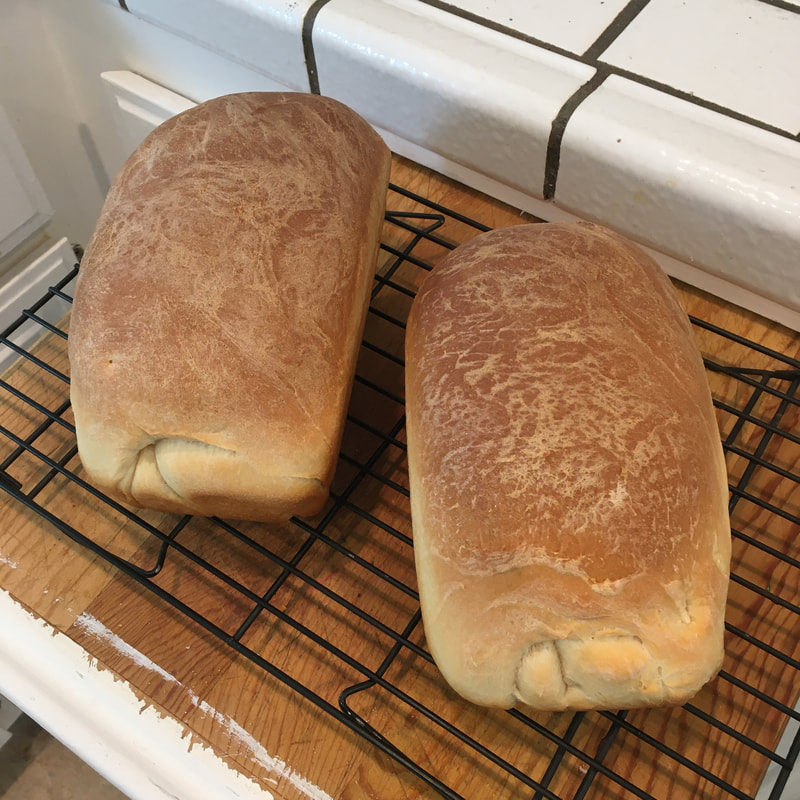
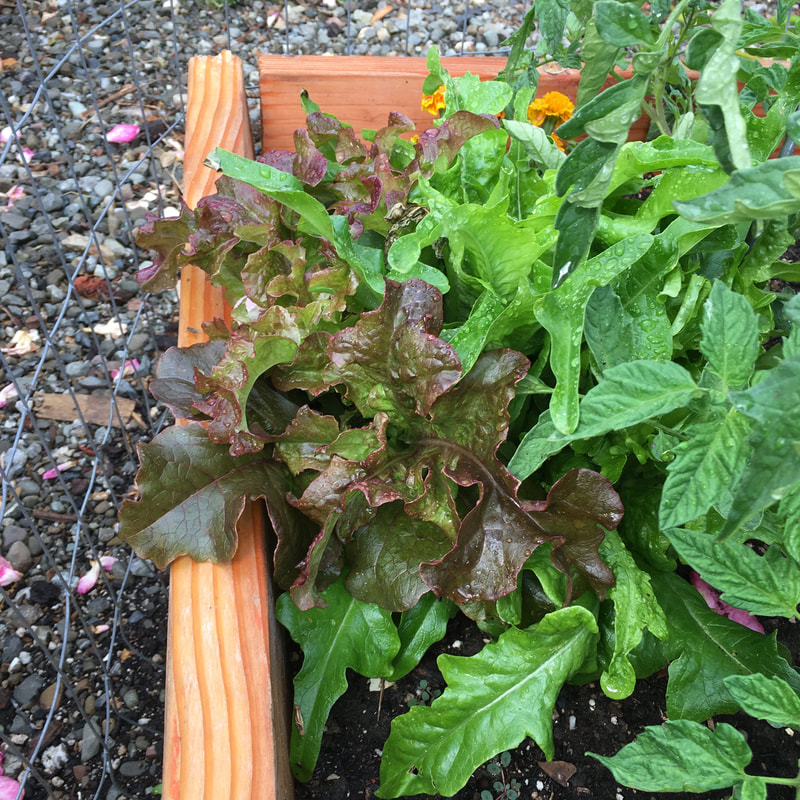
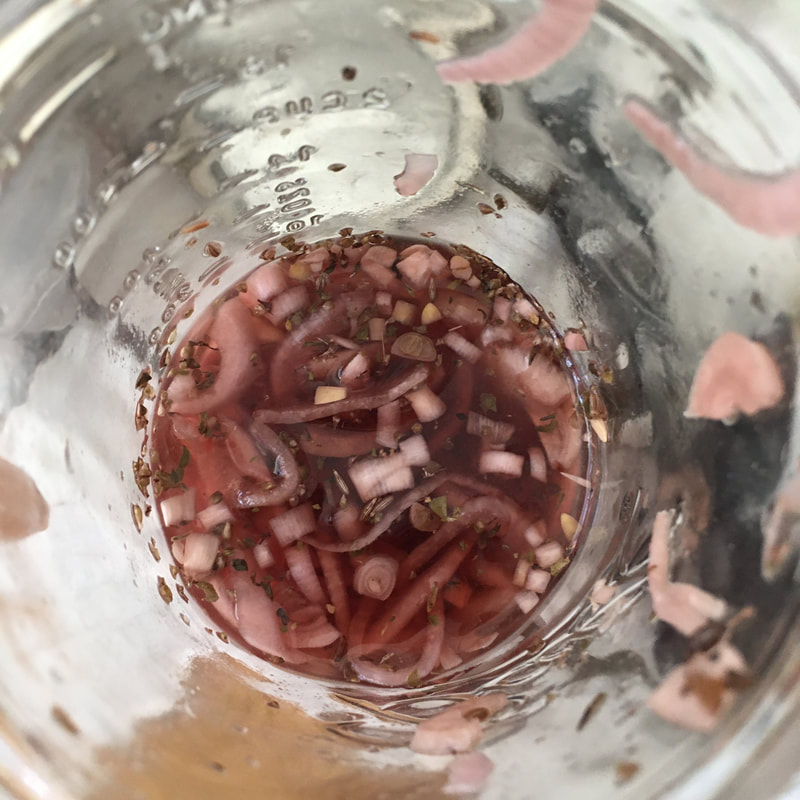
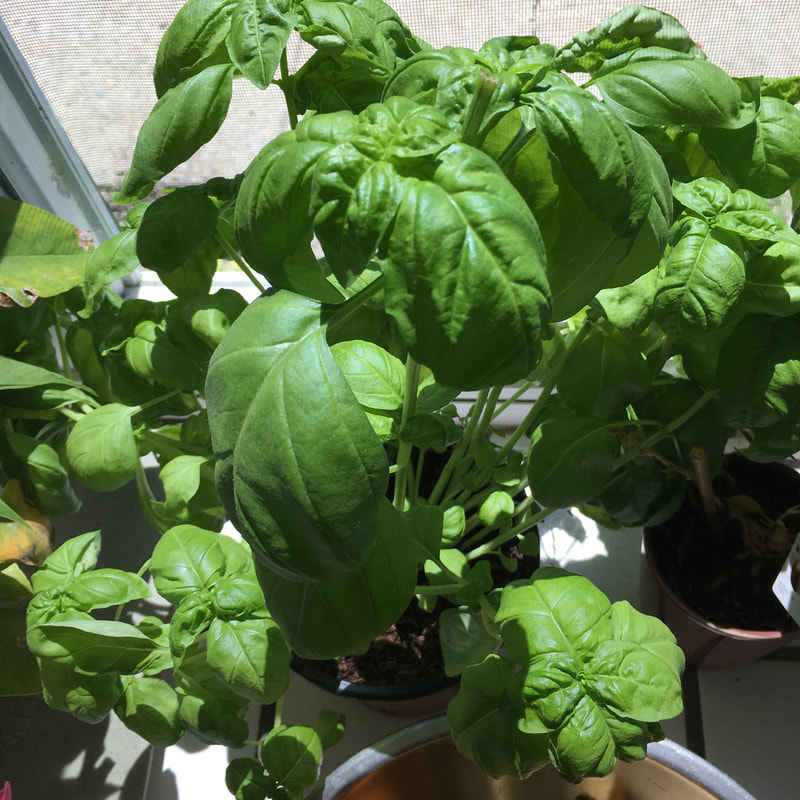
We regularly buy what I refer to as "poison bread". Poison because it is the softest form of glyphosate-laden, fluffy bread that bears no relationship to the wheat it supposedly came from. The organic brands tend to be either whole wheat, dry, or dressed up in oats and seeds to appear healthier and more deserving of their organic certification. (There's nothing wrong with any of that except that my family doesn't want anything they have to chew too hard.) I used to bake my own, but it's always too heavy. I've been on a lengthy sourdough kick, but I aways screw up the timing and end up with a heavy, glue-y mess. So back to the drawing board- I bought lots of organic flour and ordered overpriced yeast online since I can't find it in stores. I was prepared to bake through ALL the recipes if I have to, but I found the perfect recipe on my first try! Statistically improbable, but it happened! The search for perfect sandwich bread turned out to be surprisingly short. The recipe is from a reprint of Farm Journal's Country Cookbook, first published in 1959 according to the inner cover. This is only the second recipe I've ever tried from the collection, but clearly it's a classic. Both my kids loved it immediately. The only oddity is that it calls for lard, but in the farm setting this makes lots of sense, and since I have LOTS of lard, it makes sense for me too. I'm sure you can substitute oil or butter. I was originally going to try recipes from a more modern collection, but they called for instant yeast, and I have only active dry yeast. Strangely enough, later my daughter pulled out a recent book on bread making and their sandwich bread turned out to be nearly the same recipe. The modern recipe uses 3 tablespoons of oil instead of the lard and skips the second rise. It also adds a glaze. I used a mixer to begin this recipe, but there's a little kneading too. You can also make it with just a bowl and a spoon- but that's probably going to be a workout! Ingredients: 2 cups milk 2 Tablespoons sugar 2 teaspoons salt 1 Tablespoon lard 2-1/4 teaspoons active dry yeast (a package) 1/4 cup warm water 6 to 6-1/2 cups flour Directions: 1. Warm up the milk and stir in the sugar, salt, and lard. It has to be hot enough to melt the lard. Cool to room temperature. 2. Sprinkle the yeast on the warm water and stir. Add the yeast mixture, 3 cups of flour, and the milk mixture to a mixer, though of course you can always mix it with a spoon the old fashioned way. I did this in my mixer with the dough hook. Mix it until the batter is smooth and the dough "sheets" off a spoon. 3. Keep adding the remaining flour a little at a time until the dough leaves the sides of the bowl and forms a ball. I only needed another 3 cups. Remove the ball of dough from the mixer and put it on a lightly floured surface. Leave the dough covered for 10 minutes, then come back and knead the dough for 8- 10 minutes until it's smooth and elastic. 4. Put the dough ball into an oiled bowl. Turn it to make sure the whole ball is lightly coated in oil, cover it with a cloth, and leave it for an hour or so until it is doubled in size. To check, stick your finger 1/2" into the dough. If the indentation stays, the dough is ready. 5. Punch the dough back down and let it rise again until doubled in size, this time only about 45 minutes. 6. Put the dough back on the board and shape it into two loaves. Put them each in a greased 9x5 loaf pan, cover them, and let them rise again for an hour until they're about doubled. 7. Bake them at 400 degrees for 15 minutes. The top will brown quickly. Turn the oven down to 350 for the last ten minutes, and remove them from the oven. The top will be a deep golden brown. Turn them out onto wire racks and cool before slicing. I wish I had taken a picture of my first sandwich with this bread, but I ate the whole thing before I remembered. This bread might make me extra fluffy! Something to consider unfortunately. The bread held together perfectly, but the contents were great too: mayonnaise, turkey breast, cheddar cheese, loads of lettuce, loads of basil, pickled red onion, and salt and pepper. SO GOOD!!!!!
1 Comment
I'm not a huge radish fan, but I got suckered in by all the seed catalogs and felt the intense need to buy radish seeds of all kinds as if I needed them. Maybe I had a craving for pickles at the time- I'm betting I went out, bought some daikon, made the pickles, and got over it. But a few weeks later the seeds came and I dutifully planted them.
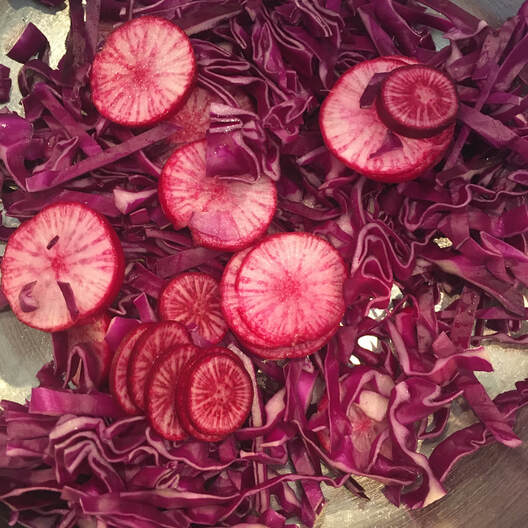
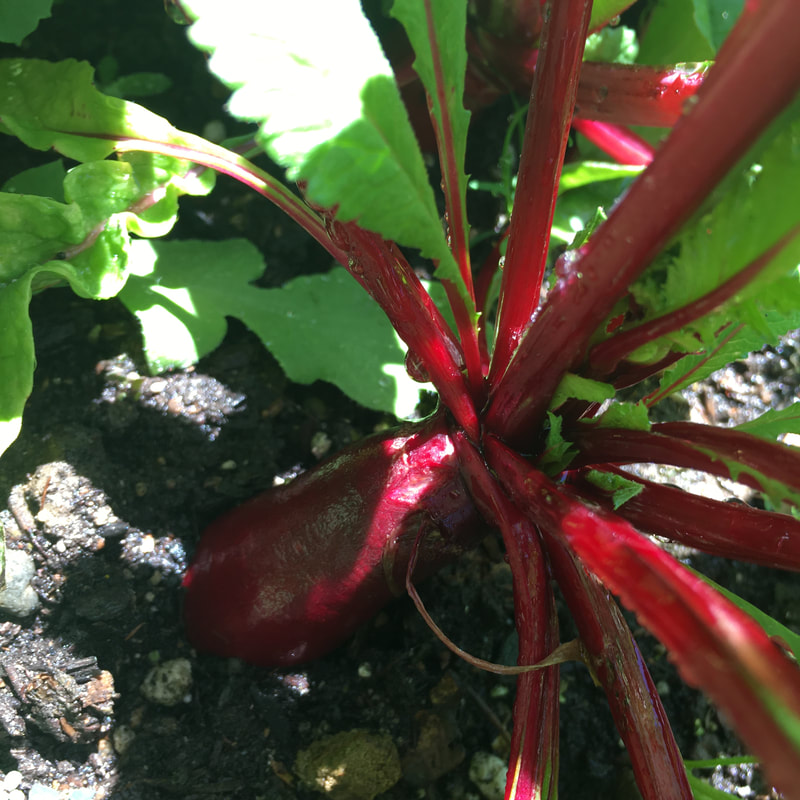
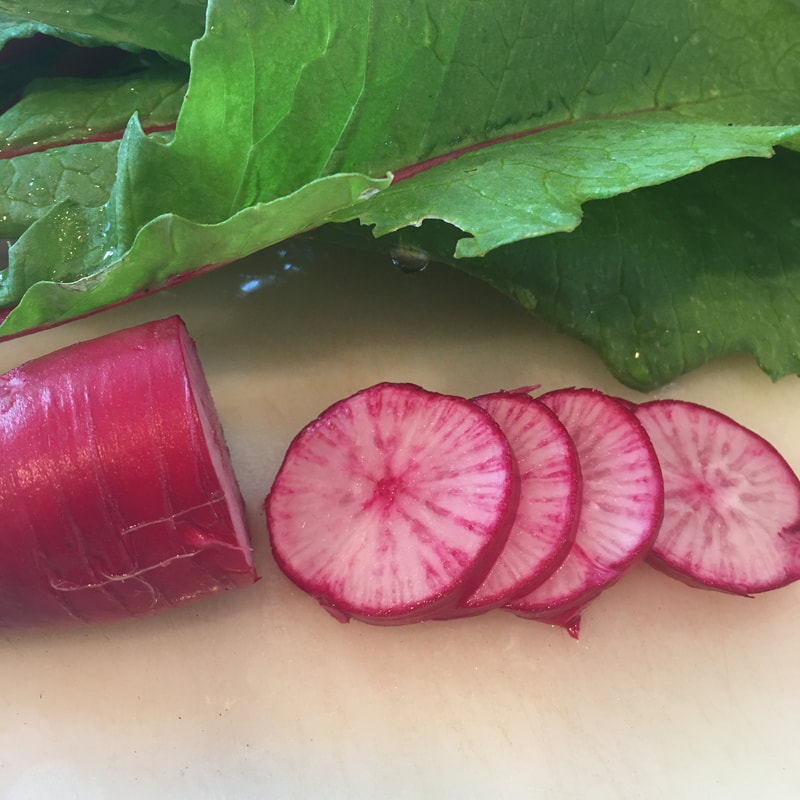
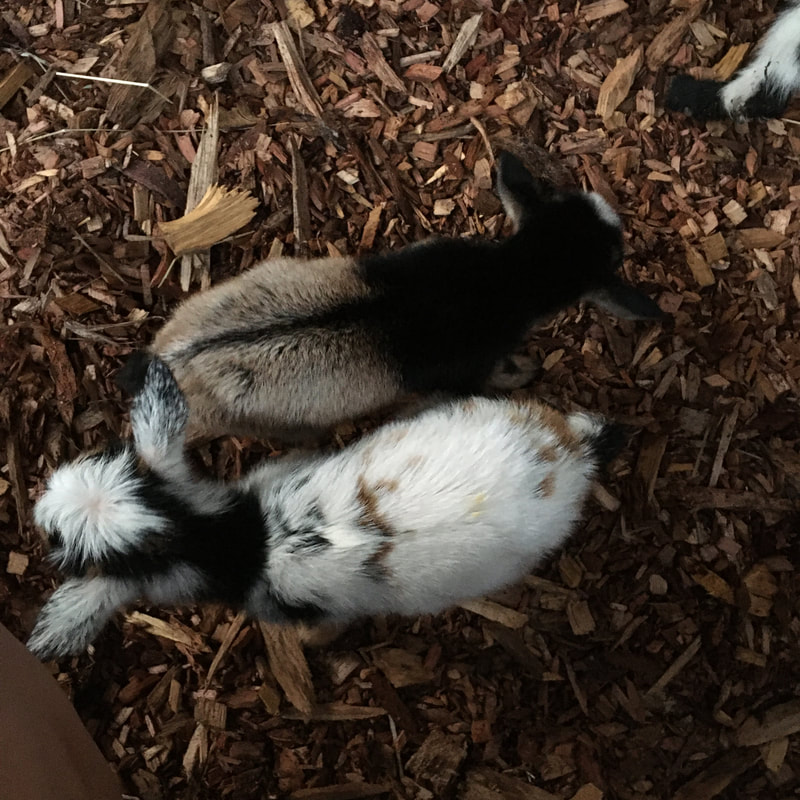
These are by far one of the most beautiful plants I have ever grown, and now I think I haven't given the radish family enough credit. Radishes are AMAZING!! The only problem is, my radish repertoire is pretty limited. In a Persian salad, in a regular salad, on an open faced sandwich. Daikon, or icicle radish, I always use to make Korean pickles. I did an internet search and didn't find much. Specialtyproduce.com had an interesting blurb on the history of radishes in China, along with a proverb I liked: "Eating pungent radish and drinking hot tea, let the starved doctors beg on their knees." Cute, but it hardly made it sound more appetizing. The root is a stunning red, and sliced it is a work of art. Raw, it was definitely on the spicy side. My friend recommended a Chinese instant pot recipe that looked really good. I didn't have pork spare ribs, which would have been exceptional, but I used pork steaks instead and added in the greens. Cooked, the leaves and root couldn't have been more mild. More like a sweet turnip, absolutely no spiciness. I lost the link to the recipe! I had hoped to use it again in the fall with spare ribs, but now I'll have to research it all over again. Not a tragedy. I will certainly grow this again in the fall! With the goats bred only last December, we are running a little late in the goat world. May 10th was our first due date, and it was only May 8th we got the last of everything set up and cleaned out. It gets exponentially easier every year now that we have a little barn and we know what to expect. Yesterday morning we spent shoveling in new wood chips and congratulating ourselves on our exceptional preparedness. Calypso's ligaments were gone, and Button's nearly so, but as I explained to my son, that just means they're ready to have babies- and we knew that already, didn't we? The rest of the day was spent gardening and languishing in the heat. I heard a little noise from the goat area and assumed I needed to ask my son to refill the hay, but thought no more of it and went in for dinner. The goat area is right behind the bedrooms and bathrooms, so after dinner I went in to the restroom and heard, TO MY HORROR, the sounds of little goat voices announcing their arrival to the world. I hollered, "Babies!" as I barreled through the house on my way outside. And there, in a little patch of dirt wedged in between the trampoline and the barn, lay Calypso surrounded by three babies. I've had five months to prepare for this moment, so I don't know why this came as such a shock, but I was shocked all right! And there was a sac popping out of Calypso, number 4 making its way into the world. My family says I yelled a little bit, no sentences, just words like "towel" and "snot sucker". I don't remember. Unfortunately, Baby #4 didn't make it. She was the skinniest little thing I've ever seen and she wasn't breathing. My husband buried her while I saw to the others. So, three beautiful, healthy babies. Great job, Calypso! It's a good thing she didn't need me, because I certainly was no help to her. If goats wrote Yelp reviews I would be out of business. Goat babies are probably one of the cutest things you will ever see. They are so fluffy and little and cheerful. When you pick them up they smell like those sweet erasers as a kid that you always wanted to nibble on to see if they would taste as good as they smelled. It seems improbable that something birthed in goo and bathed in spit would be soft and sweet and clean, but it's true. My daughter and I camped out last night because Buttons looked suspiciously like she was ready to deliver too. I didn't get much sleep, but it was beautiful lying down in the dark hearing all the little goat noises and Calypso calming them all down and putting them to sleep. There is a little stand of birch trees that overlook the barn, and the lamp we brought outside lit up the leaves and branches without dimming the stars beyond. The mosquito bites were slightly less romantic.
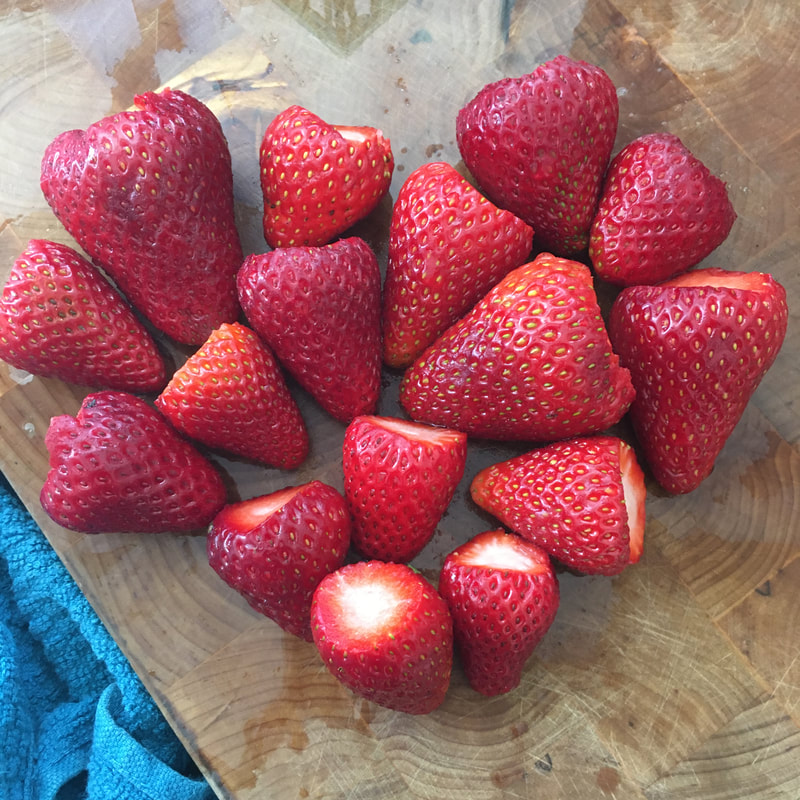
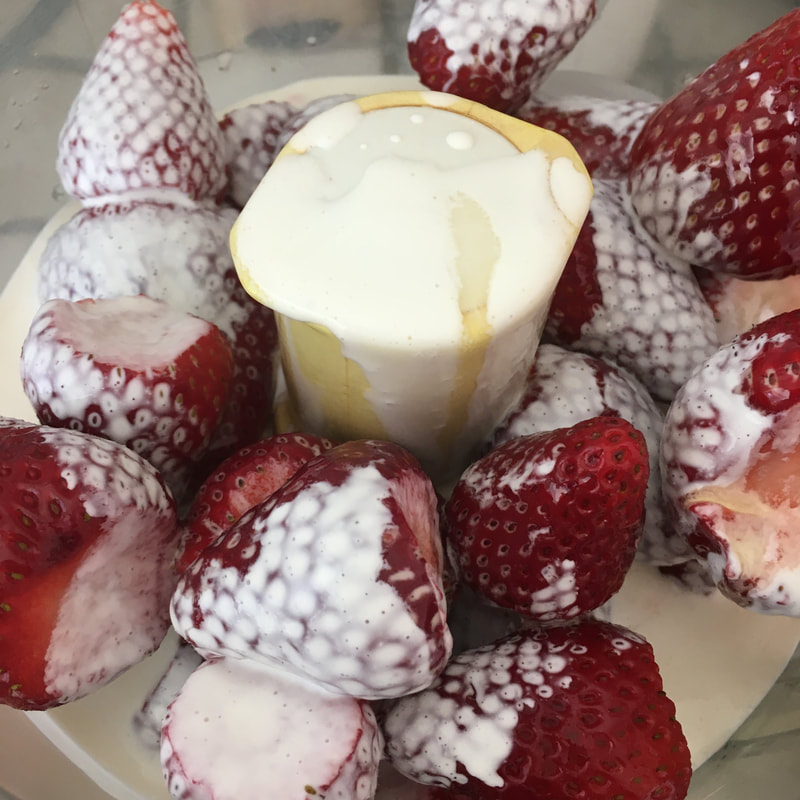
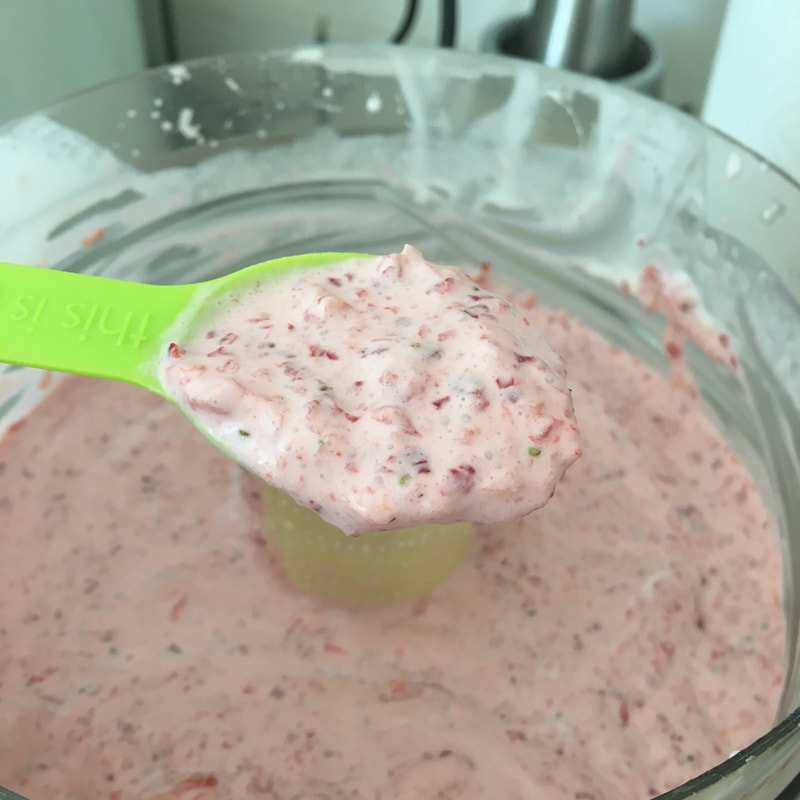
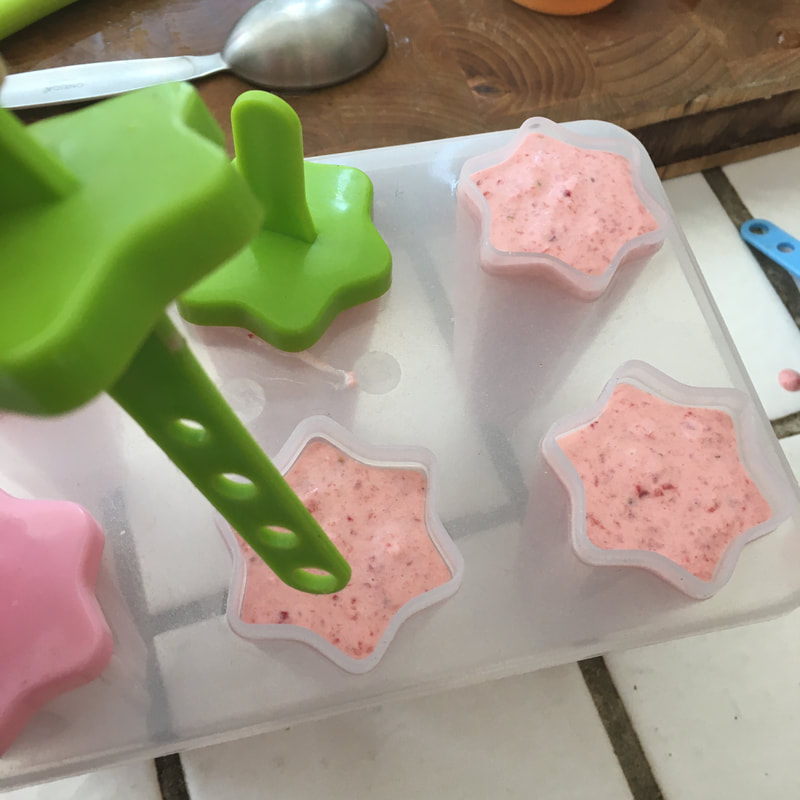
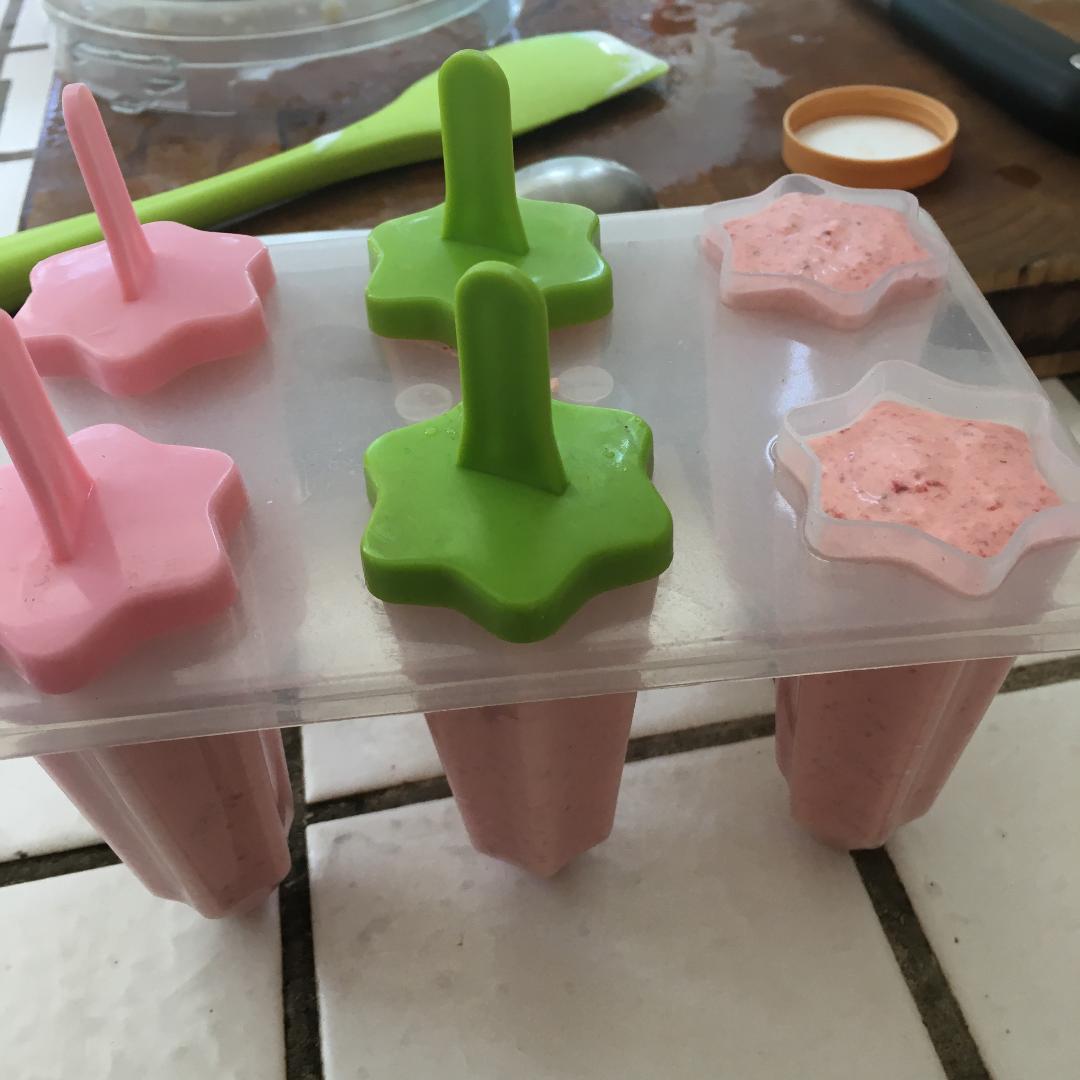
I recently bought a half gallon of cream. After waiting for two hours to get into Costco, I swore I would never come again. I started tossing things in my cart as if money were not an issue, because I sure wasn't going back. Normally I buy cream by the pint, but after two hours of freezing my butt off like one of the sheep-le, (rhymes with people), I was determined to make this trip count. And that's how I ended up purchasing a tremendously inappropriate amount of cream for four people. It felt like insanity at the time, but a week and a half has gone by and the verdict is out. It actually feels very freeing, and I recommend it. Mashed potatoes? No problem. Homemade ice cream? Coming up. Ten pounds of weight gain? Effortless. Like I said, it's freeing. Try it once if you are crazy enough to wait to get into Costco. This time of year the strawberries at the local farmers market are the best they can get. Sweet, fresh, and drool-worthy. I bought a half-flat yesterday, which is clearly too much for four people to eat in one day. You can keep strawberries for a while, but the flavor the day I buy them is the best. I made chocolate dipped strawberries, strawberry-orange fruit salad, and strawberries and cream popsicles. You'll love them too. Don't feel like you need to measure anything, I'm only giving you a basic guideline. It's impossible to mess up three ingredients like these. Ingredients: 2 baskets of strawberries 1 cup cream 1/4 cup honey Directions:
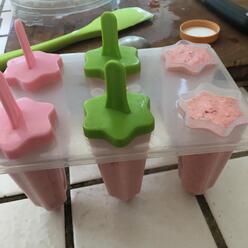
Blend the strawberries, cream, and honey in the bowl of a food processor. Pour it into popsicle molds and freeze. Or you can just drink it. This has a beautiful, refreshing flavor that is better than the sum of its parts. I never would have thought of this myself, but years ago I received a variation of this recipe from a weekly subscription service. I've lost the original ratios, but like all smoothies, you can't really go wrong. This has to be started the night before, so when you know temperatures are rising, peel a few oranges and leave them in the freezer for the next day. I keep them in a freezer bag. If I'm feeling motivated I separate them into sections, but if I'm tired I just divide them in half. The more pith you remove, the better, but don't go crazy. Ingredients: 1-1/2 frozen oranges either divided into sections or sliced milk to just cover 1/8 teaspoon vanilla 1 tablespoon honey Directions:
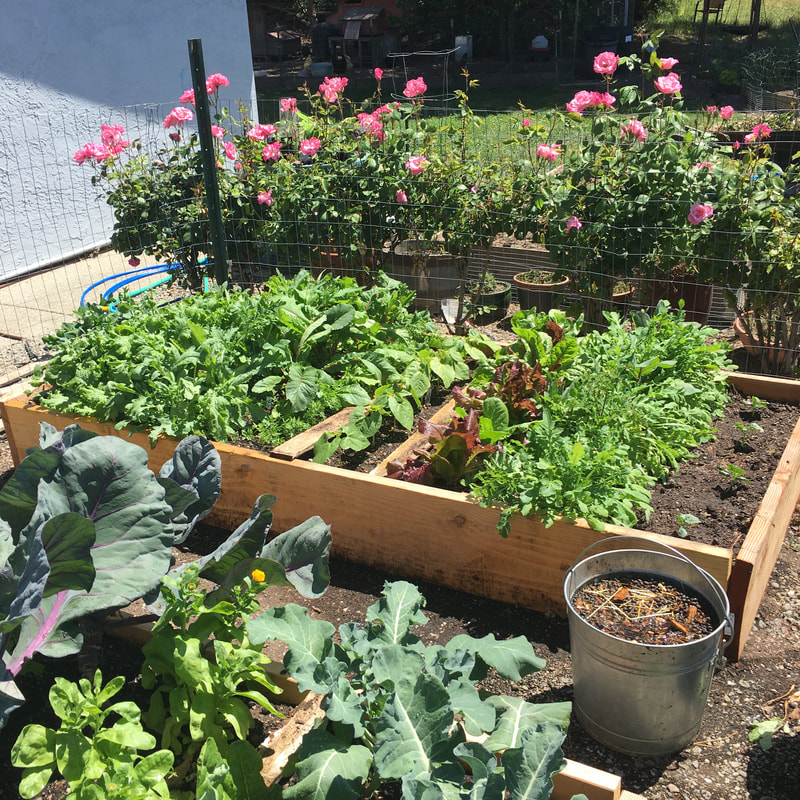
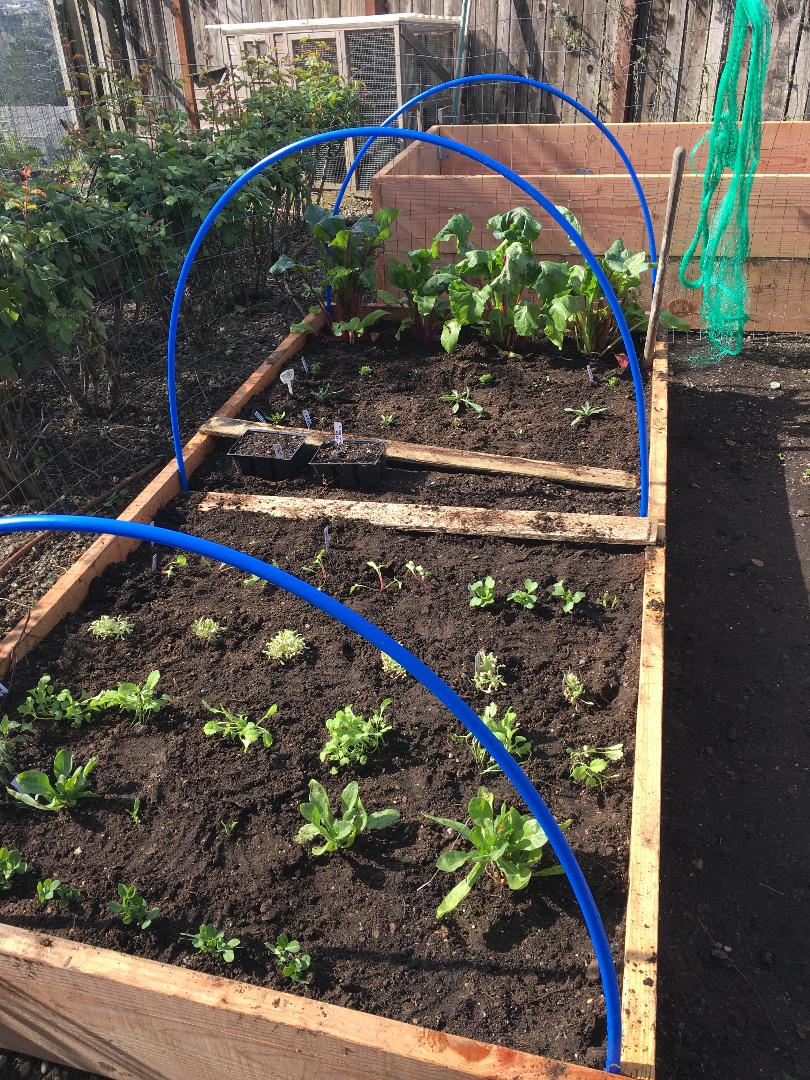
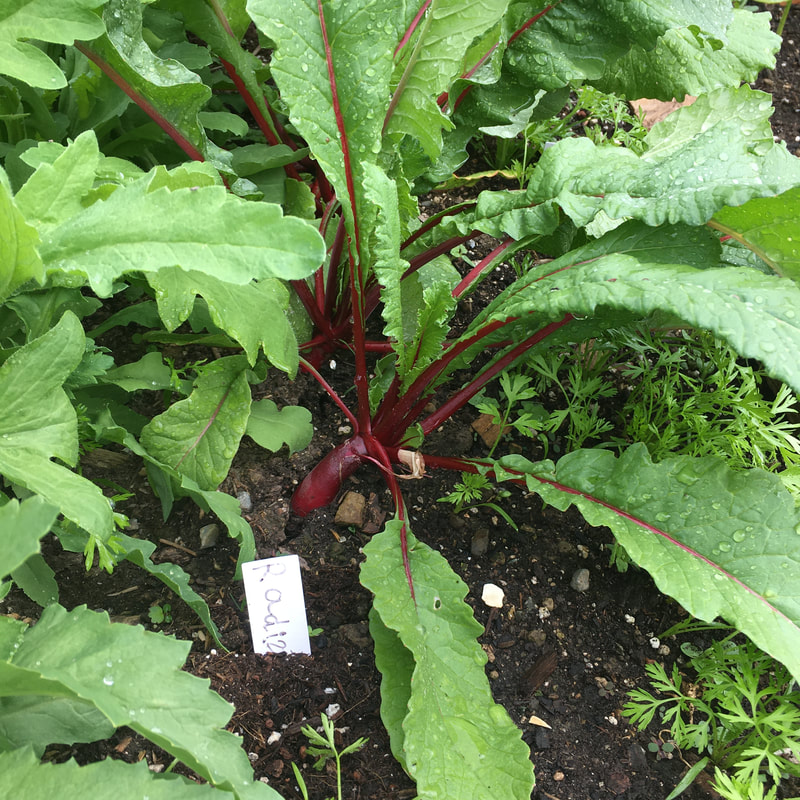
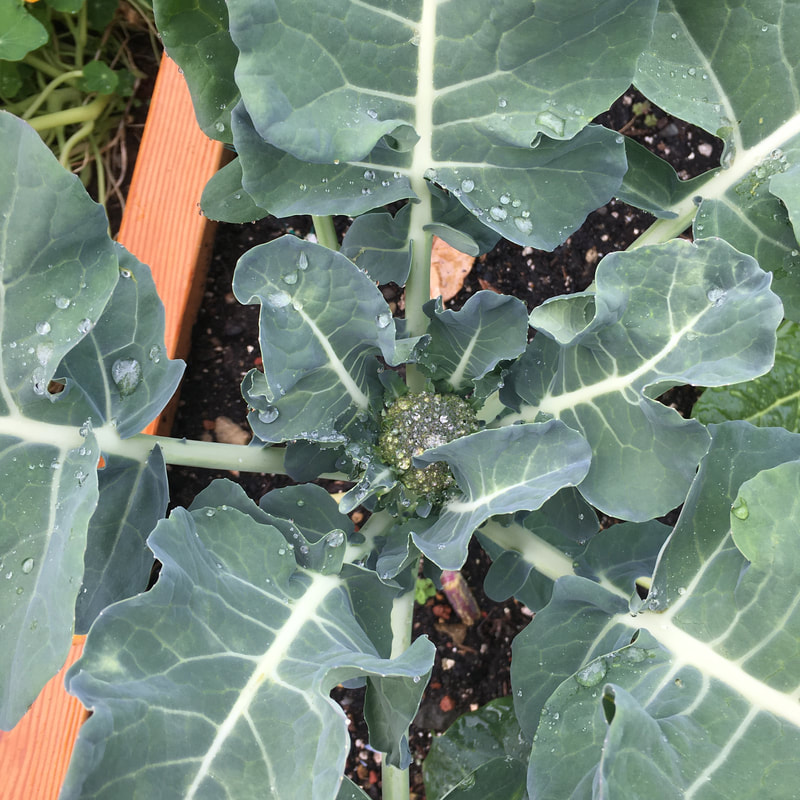
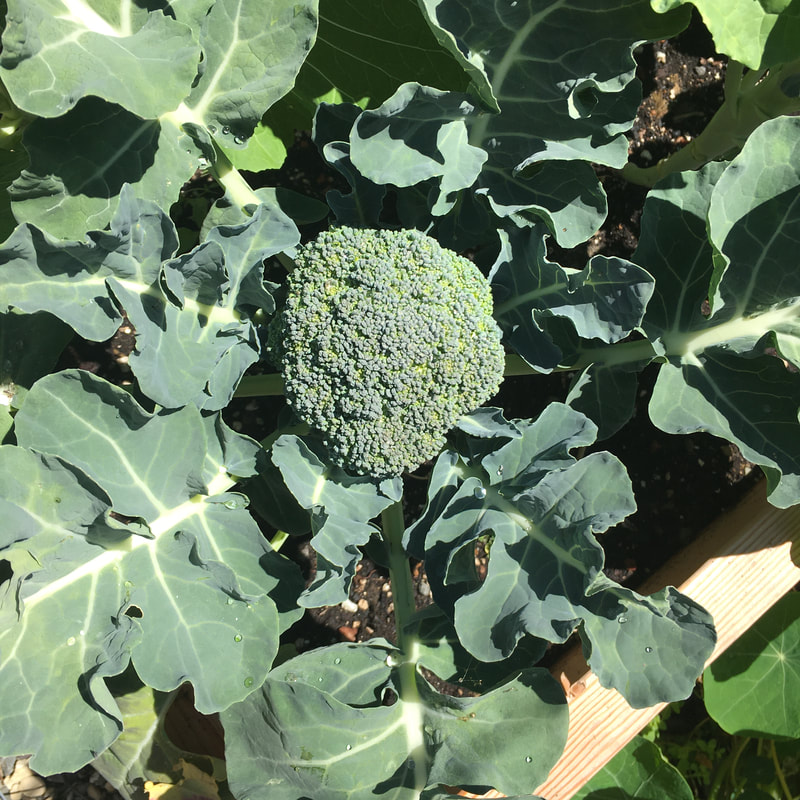
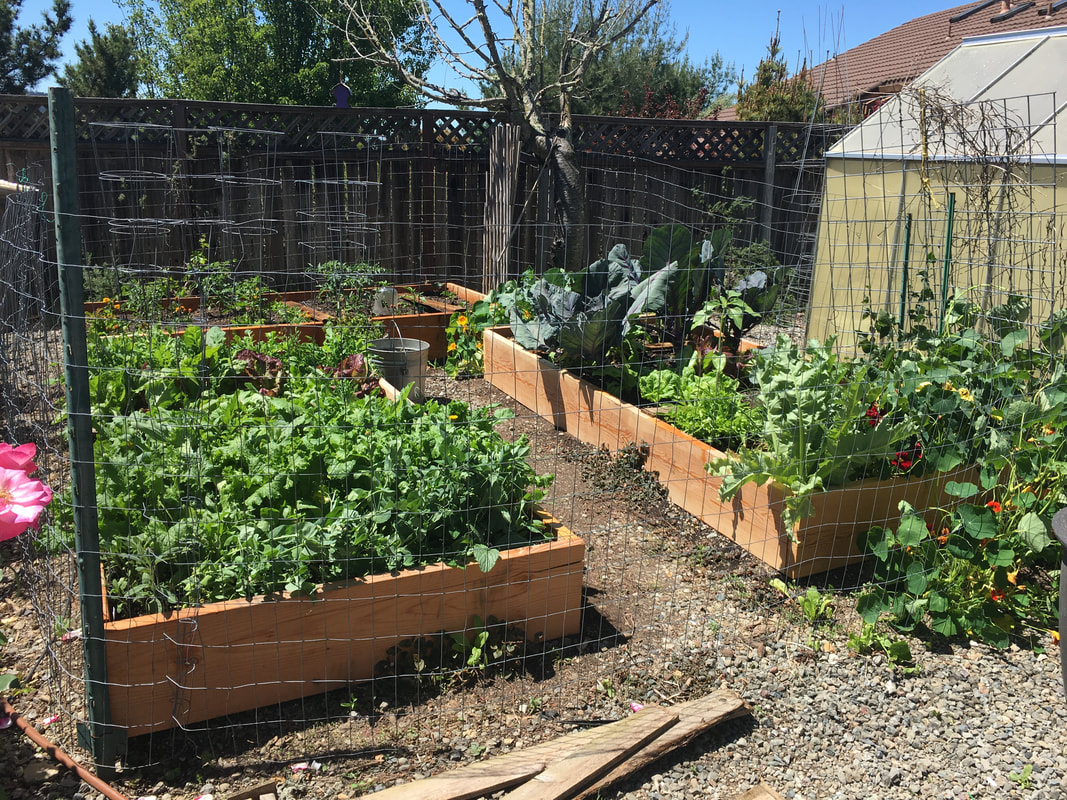
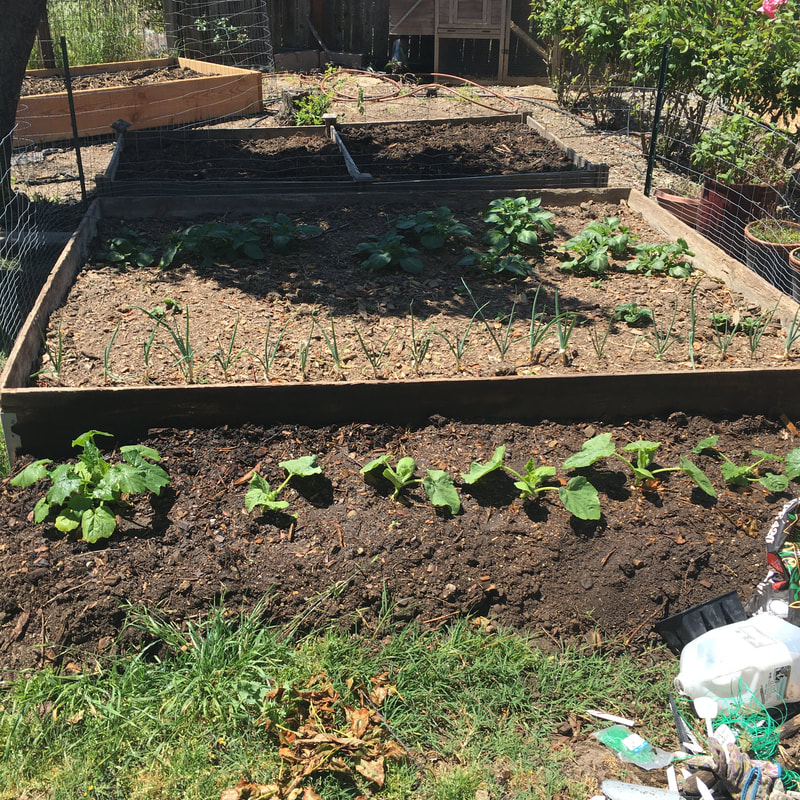
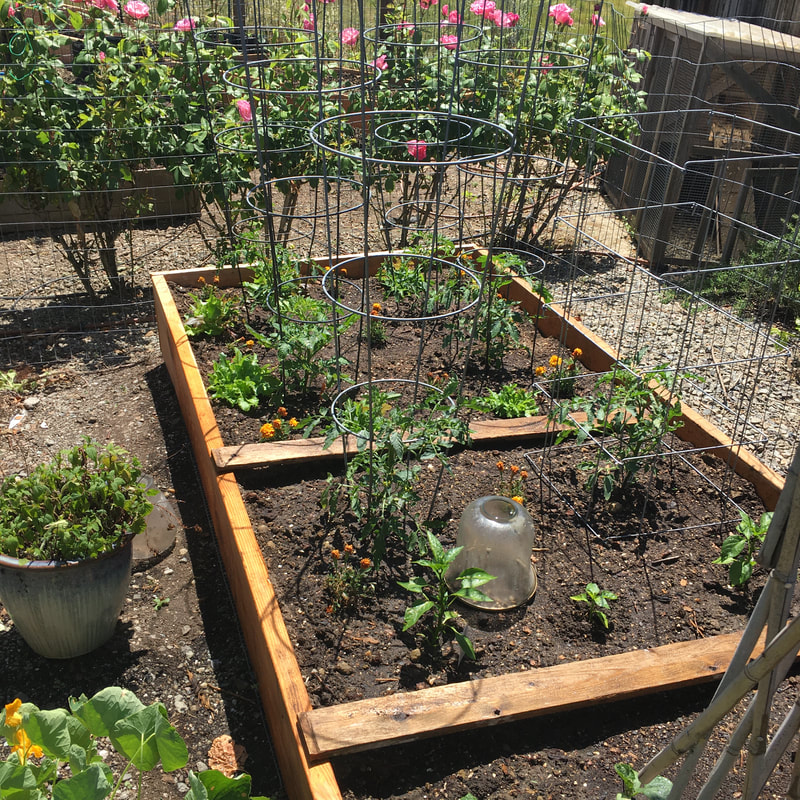
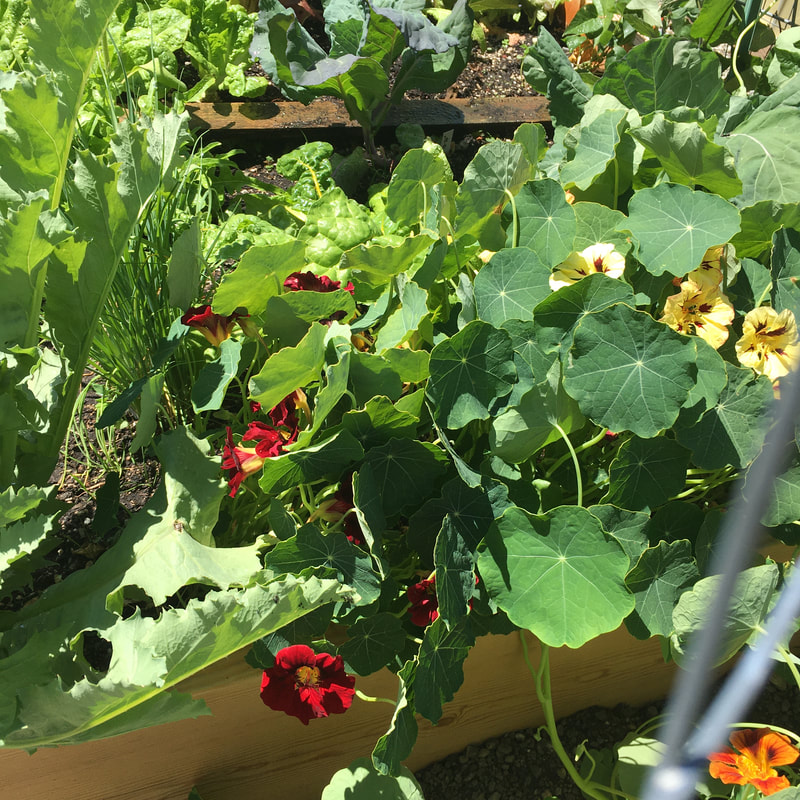
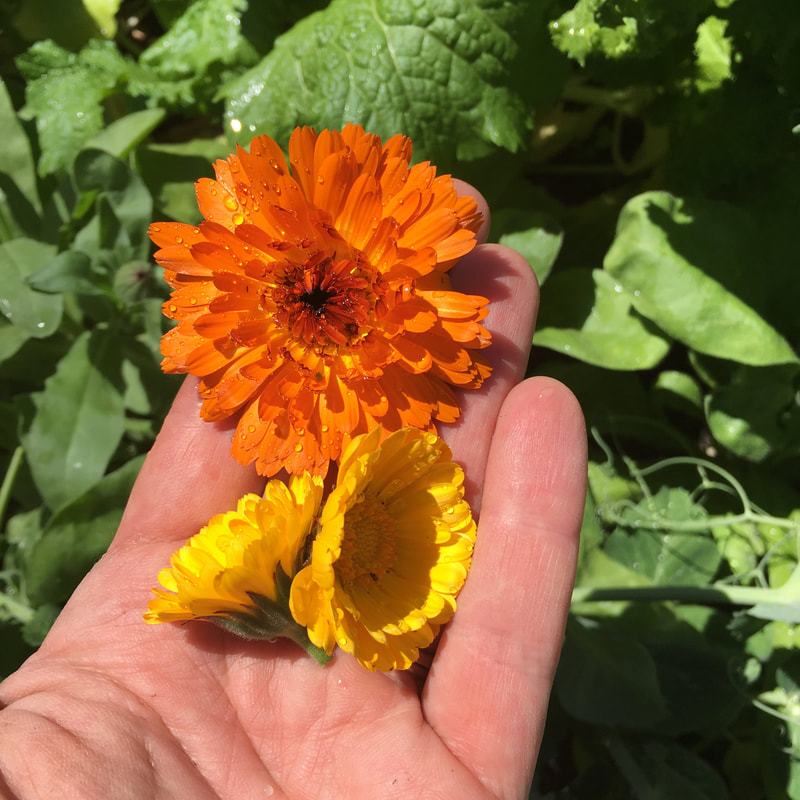
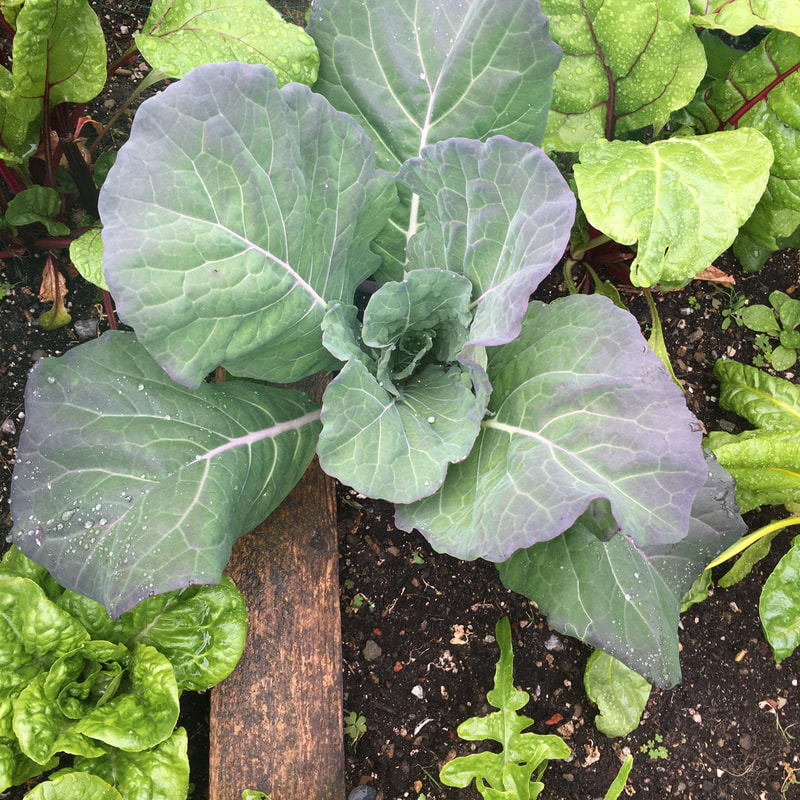
Put the orange sections into the blender and just barely cover with milk. Add in a few drops of vanilla and the honey, and then blend until it looks like soft ice cream. Leftovers are not great, so drink up! My garden may be the only thing to really benefit from the shelter-at-home order this last month, but they say every cloud has a silver lining. I've had the opportunity to see what just six weeks in the garden can do, and I thought I'd post it here to remind me of the beauty of spring when winter comes. My garden also endured six weeks of lockdown- between the birds and the gophers, I wasn't taking any chances! But the birds leave in April and so the netting came off today. Below you see the first two beds I replanted. The one on the right has some seedlings I had started, a few transplants from the hardware store, and cabbage that had miraculously survived the moles. Or gophers, whatever. On the left I have beets that were in a pot in the greenhouse- transplanting them nearly killed them- and more seedlings. I thought I was pretty generous with the spacing, but it's all pretty tight after all. I included poppies and calendula because I like the idea of growing flowers right in with the vegetables. This is Red Beauty Radish from Baker Creek Seeds. I haven't grown this variety of radish and I'm hoping they'll taste good in salads. I realize I took the picture on the right from close up, but I think you can still tell that the radish filled out quite a bit in only 6 days! Same with the broccoli below. Below you can see what my garden looks like today, a little over a month later. We've had lots of radishes, lettuce, swiss chard, beet greens, and perpetual spinach this month. Lots of mustard greens too. The carrots are coming in well, and today I pulled all the beets to put in mini white cucumbers. We put in a potato patch with onions and an experimental spot for zucchini and squash. It's safe from chickens, but not moles, so we'll see. The box with potatoes and onions is filled 100% with compost from the chicken area, and the squash are planted in goat compost. We'll see how they all do. There's a tree that shades some of it, but we hacked it back and the area seems to get pretty good light after all. This is my first time growing onions from starts. In the empty box I plan to put sweet corn. The far box in the picture is where my daughter wants to grow blue popcorn. I want her to garden, but I also want to get my plants in the ground. If she wasn't a natural born negotiator she would have lost her garden space five times already. We put in a tomato bed as well. The side closest to the camera is where I grow cucumbers every year. I stick with a Japanese variety I love. I put in some marigold for looks, some lettuce to grow under the tomato, and three peppers because I needed a place to squeeze them in. I planted a jalapeño and two Pizza-My-Heart peppers from Renee's Garden. Within the week I should be able to plant to rest of my peppers. My obsession with nasturtiums remains an obsession. I planted a new mix this year. Bloody Mary Mix- it's adding some new colors. I also continue to grow calendula. Nothing seems to beat homegrown calendula for use in an infused oil. I planted a darker orange variety this year along with the usual volunteers.
Today's smoothie was supposed to be an orange cream theme, but someone ate the frozen orange sections I've been saving! So strawberries are good too. Ingredients: frozen strawberries milk maple syrup nutmeg cinnamon vanilla extract Directions:
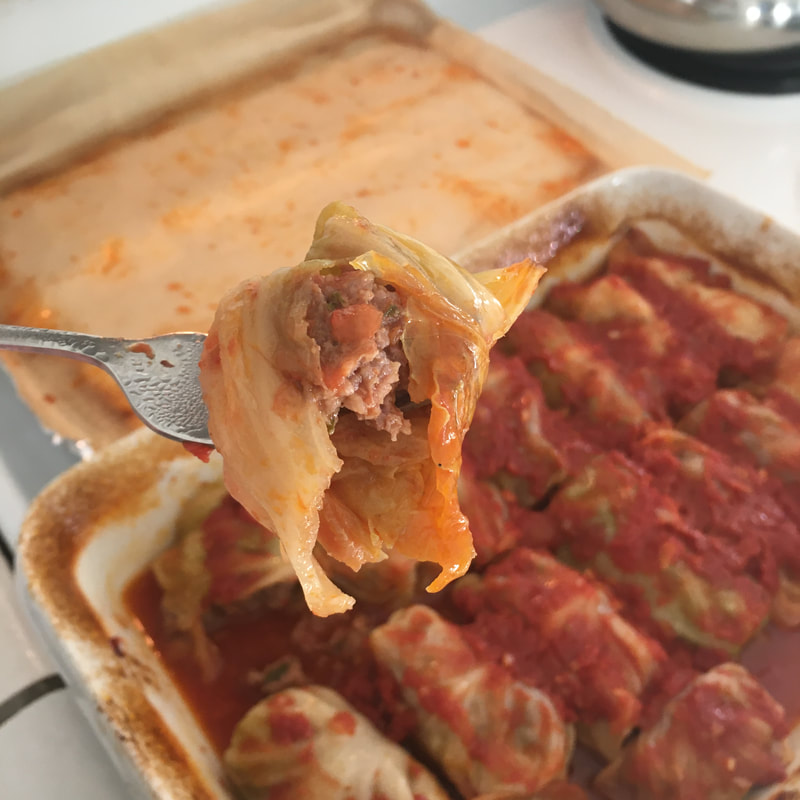
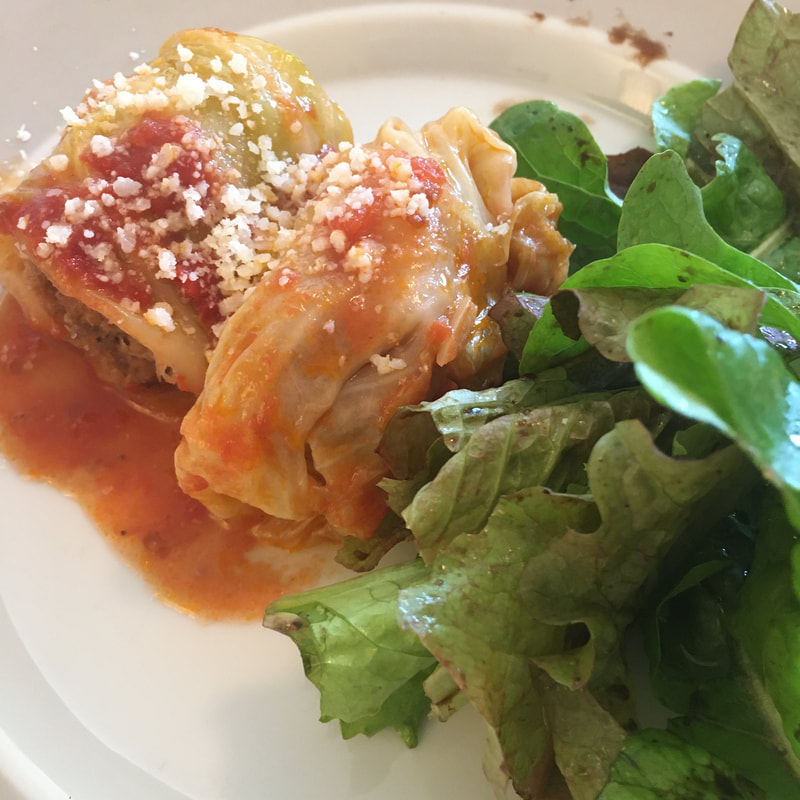
I know it's unforgivable to post something without exact amounts, but does anyone really measure for a smoothie anyway? So into your blender put as many frozen strawberries as you have or want, whichever is your limiting factor. Cover with milk. Add a pinch of nutmeg per person and maybe a triple pinch of cinnamon per person. 1/4 teaspoon of vanilla per person, and a jigger of maple syrup. I don't know what a jigger is either, but it's ok, start small and once you blend it you can add more to taste. Cold things never taste as sweet, so you may end up adding a little more than you expected. We like this to taste like it's bursting with strawberries, but just a hint of pie in the background. I was out wandering the streets when I first learned the apocalypse was upon us. (I was at the farmer’s market.) In my haste and greed I bought two heads of cabbage, and pretty much everything else I could see. We are still eating much of what I bought in that shopping frenzy, and we’re almost through it! Good times. No one was enthused to hear I was making stuffed cabbage rolls, but we had a lot of cabbage to eat. These were so good my daughter asked if there were leftovers she could have for breakfast. We INHALED them with as much class and good taste as we could muster. Traditionally they’re stuffed with a mixture of meat and rice, but I don’t love meat and rice cooked together, so I borrowed from meatball recipes the world over and used some bread crumbs instead. Topped with a little parmesan cheese, we barbarians were so happy. This isn’t a recipe that needs to be followed exactly. Probably the only non-negotiables are the tomatoes, the meat, and the cabbage. You can use all pork, or all beef, but if you’re feeling wishy-washy on the subject, I recommend pork. Ingredients: 1- 28 oz. can of whole tomatoes 3 cloves of garlic, minced 2 Tablespoons olive oil pinch of cayenne pepper salt and pepper 1 pound ground beef 1 pound ground pork 1 onion, diced 1/3-1/2 cup breadcrumbs (obviously I didn’t measure, sorry!) 1/4 cup chopped parsley 1 Tablespoon paprika 1 Tablespoon salt 1/2 teaspoon cinnamon Green cabbage Parmesan cheese to serve Directions:
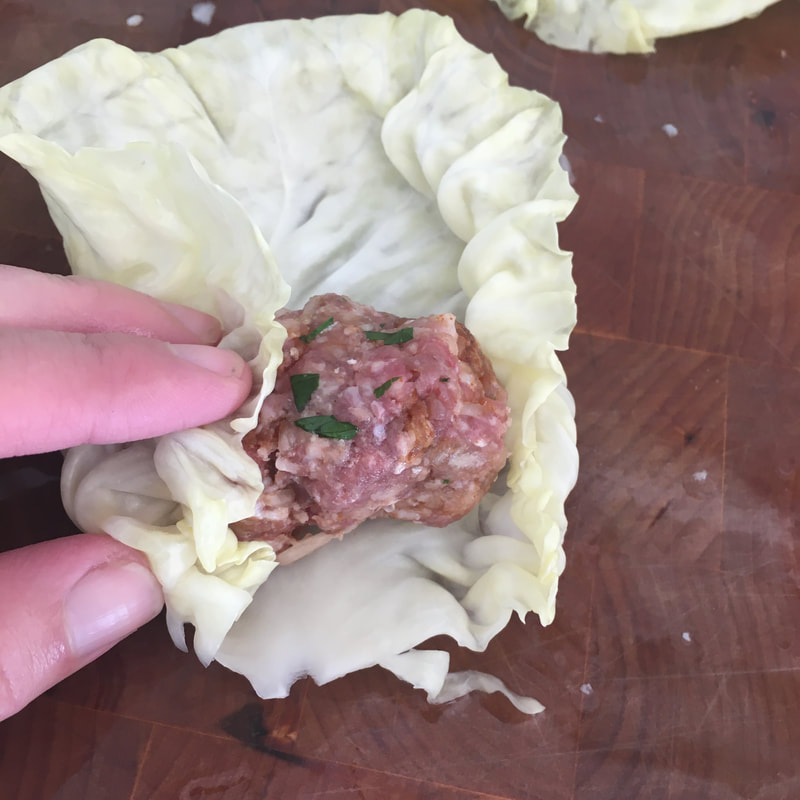
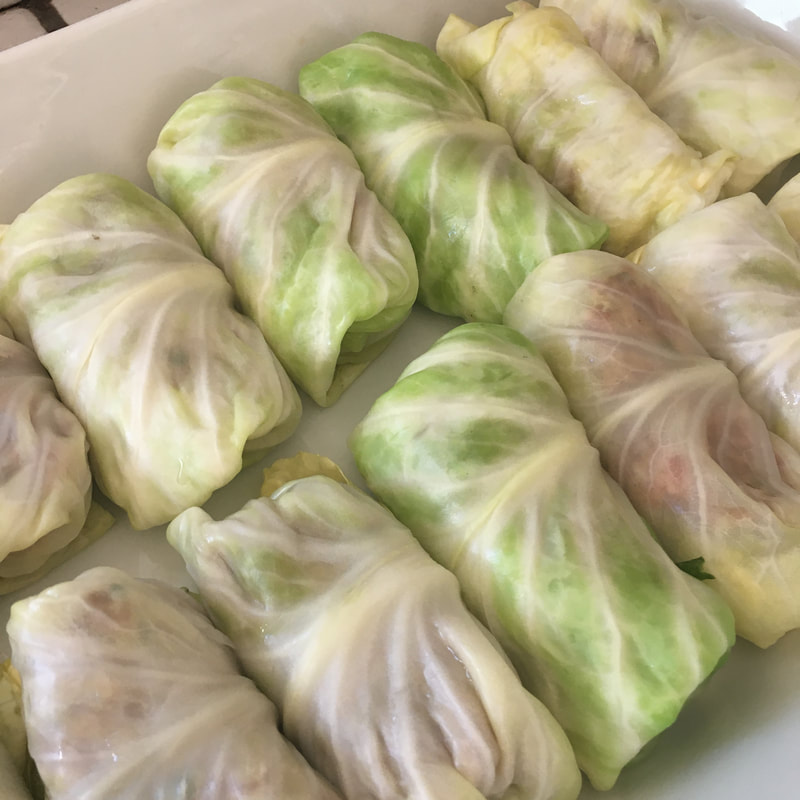
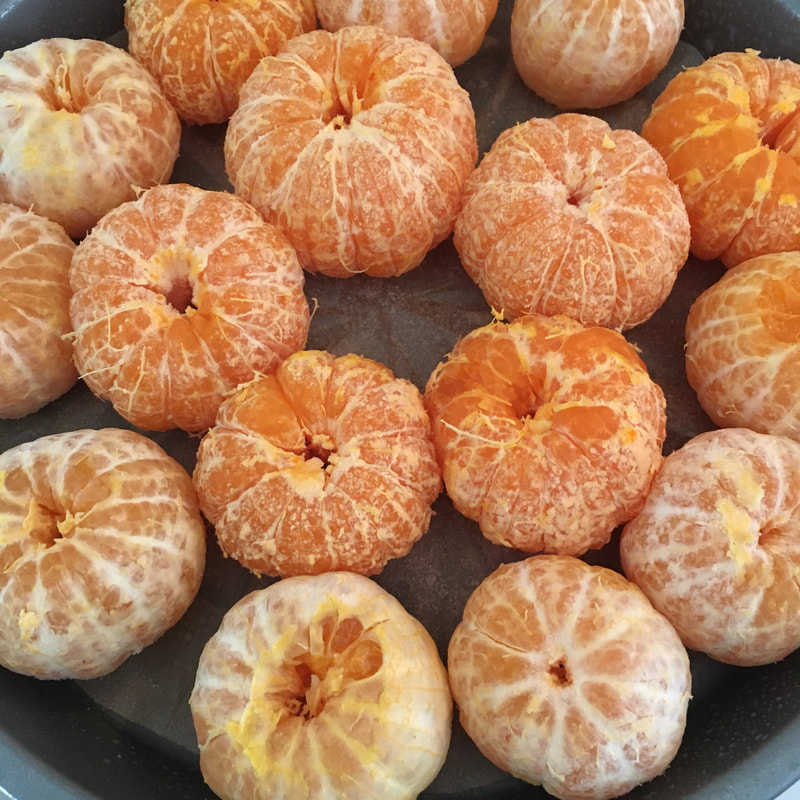
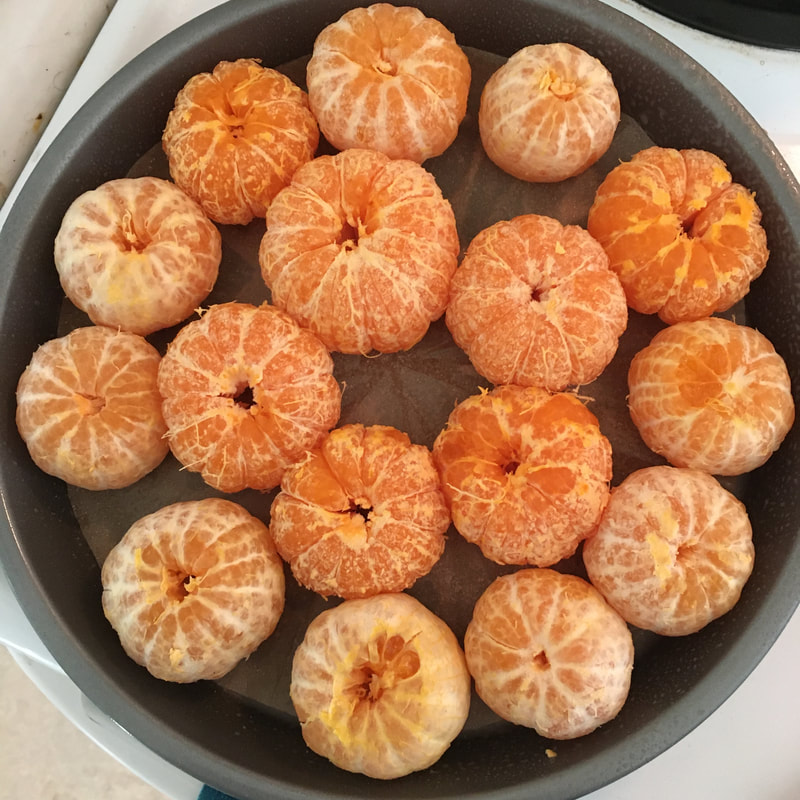
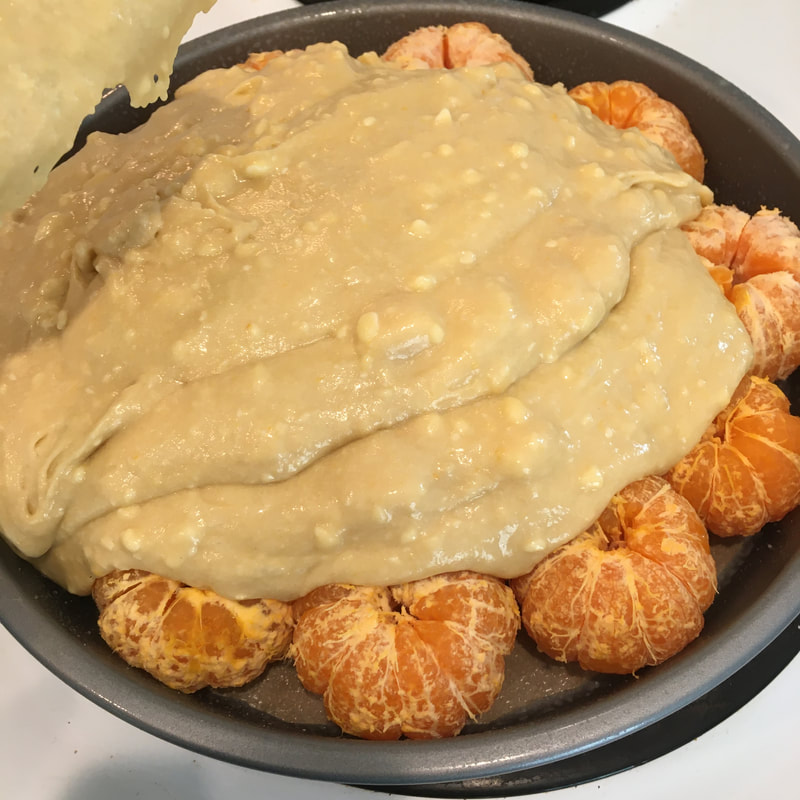
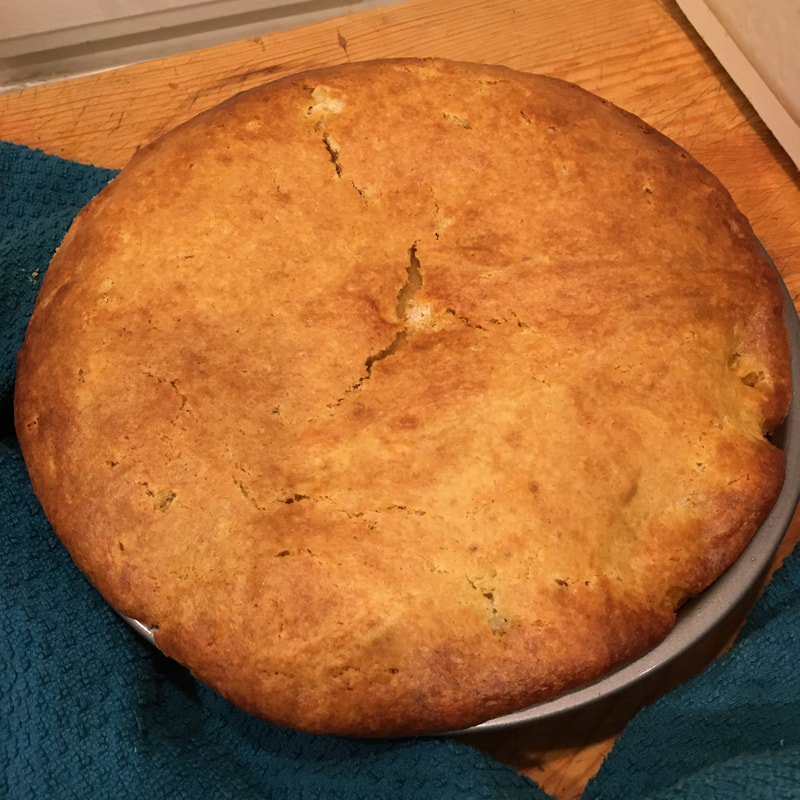
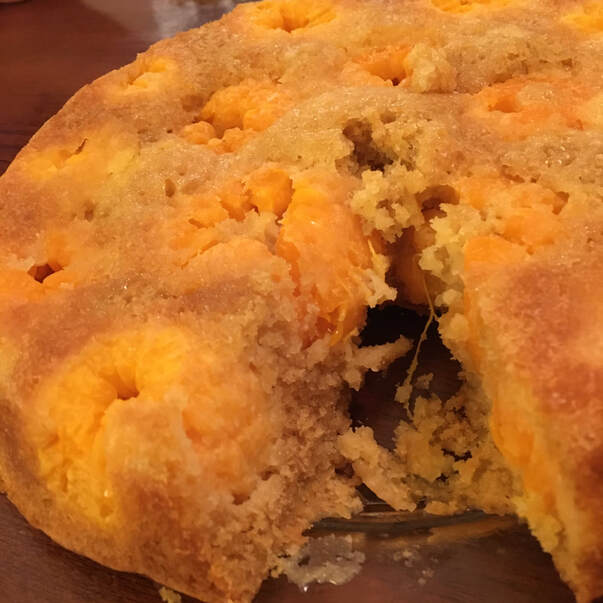
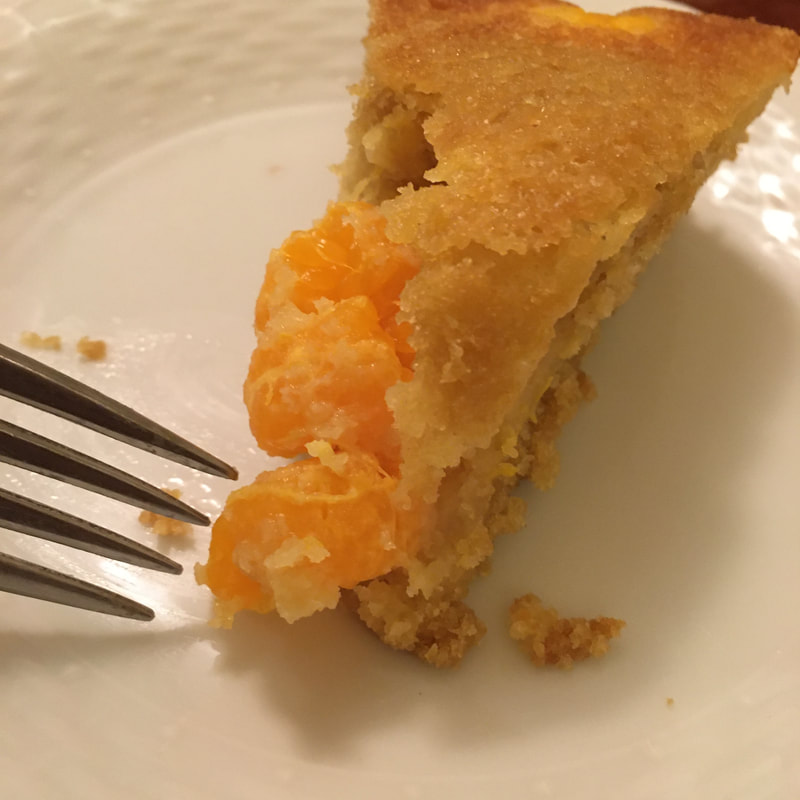
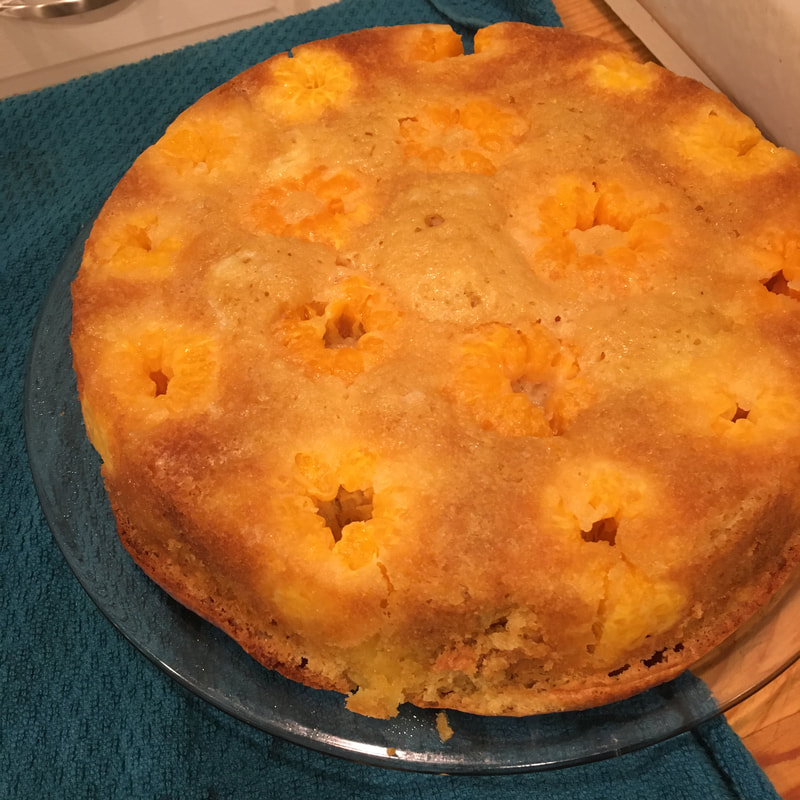
1. Make the tomato sauce first. Puree the canned tomatoes. In a skillet, Heat the olive oil and sauté the garlic. Toss in the tomatoes after the garlic starts to smell great but before it has a chance to burn. Add the cayenne. Let the mixture simmer for a few minutes, and then season it with salt and pepper. 2. Make the meat filling. Mix together the ground meat, onion, breadcrumbs, parsley, paprika, salt, and cinnamon. Take a little scoop out and fry it in a pan or microwave it so that you can taste it for seasoning, then adjust it as needed. Set it aside. 3. Boil the cabbage leaves. Heat a big pot of water to a boil and put the cabbage in. When the outer leaves look like they’ve softened enough to be pliable, take the cabbage out and cut the outer leaves off. Return the cabbage to the water and keep peeling leaves off. I burned my fingers a bit at this point, but you’ve been warned. I don’t know exactly how many leaves you’ll need, but you can always use leftovers for something else. At the base of each leaf the rib get’s a little too thick and fibrous, so trim that off too make it easier to roll now and easier to chew later. 4. How much meat filling you use per leaf depends on the size of the leaf, but if you’ve ever rolled a burrito, it’s the same principle. Fold the sides in, and roll it up. Put the rolls, seam side down, in a baking dish. When you’re done, top it with the tomato sauce and preheat the oven to 375 degrees Fahrenheit. Cover the pan with parchment paper and then a layer of aluminum foil and bake for an hour. We served ours with sweet potatoes fries and a salad. The plan was for potatoes au gratin, but those didn’t finish cooking until an hour after dinner! I could plan better. I’ve never tasted a tangerine baked into a cake before, but it is surprisingly refreshing and sunshiny. The bits of cake around the tangerine are almost custardy, but the tangerine itself tastes a little like a peach. That’s some great winter cheer! The farmer’s markets are loaded with tangerines right now. We bought a few bags of them and then ended up drowning in them, so I was super excited to find a video on YouTube showing a cake with them. It seems like there aren’t very many recipes for cooking or preserving citrus if you end up with a glut. Here is the original video. It makes sense to me that in warm regions (other than California) there should be a history of preservation and cooking with citrus, but I can’t find my Persian cookbook anywhere. The hunt continues. In this culture, orange marmalade seems to be the peak of our creativity. But this cake is really delicious! I tested enough of it to know. So I certainly recommend you watch the video, but here are my notes as well since the lovely Layla Jawad doesn’t use very specific amounts. I think this is great because clearly it’s hard to mess this up, but I did mess it up a bit myself. Also, since this is basically a quick bread, I think the results are more reliable if you mix the wet and dry ingredients separately before mixing them together. Ingredients: 4 eggs 1 cup milk 1 cup sugar (I used brown) 1 cup of butter, room temperature and cubed, plus a little extra to grease the pan 1 teaspoon vanilla extract the zest and juice from one orange seedless tangerines, peeled and as much pith removed as you can 3 cups all-purpose flour 2 teaspoons baking powder 1 teaspoon baking soda 2 9-inch cake pans or 1 9x13 pan parchment paper Directions: 1. Butter your pan(s) and line with parchment paper if you’re using the cake pans. Butter the parchment paper as well if you’re using it. Sprinkle some sugar over the bottom of the pan(s). Preheat the oven to 350 degrees Fahrenheit. 2. In one bowl, blend together the eggs, milk, sugar, butter, vanilla, and the zest and juice from the one orange. I used a hand mixer. In another bowl, blend together the flour, baking powder, and baking soda with a whisk. 3. Stir the dry ingredients into the wet ingredients in several additions and blend them to combine. Your batter is ready. 4. Place the mysterious and unspecified number of tangerines in your buttered baking dish, but don’t crowd them too much like I did or it won’t cook through. Pour the batter over the top and spread it a little, then bake for 40-45 minutes. So are you curious yet as to how I could have messed this up? First, the butter should be room temperature. Second, I crowded my pans with too many tangerines. Leave some space between them! This resulted in doughy spots around the tangerines which you couldn't see until the cake was inverted.
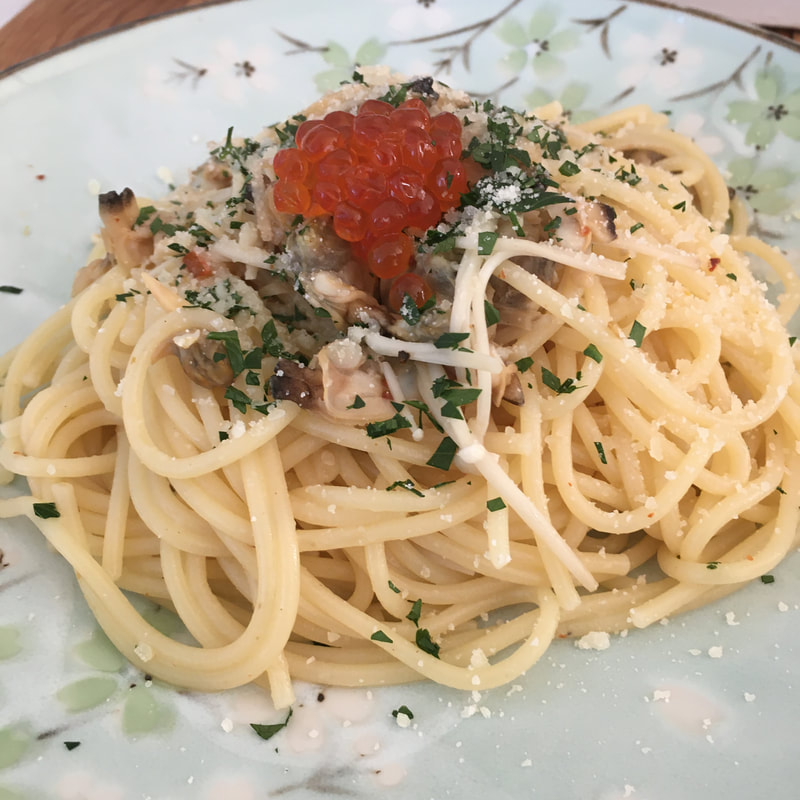
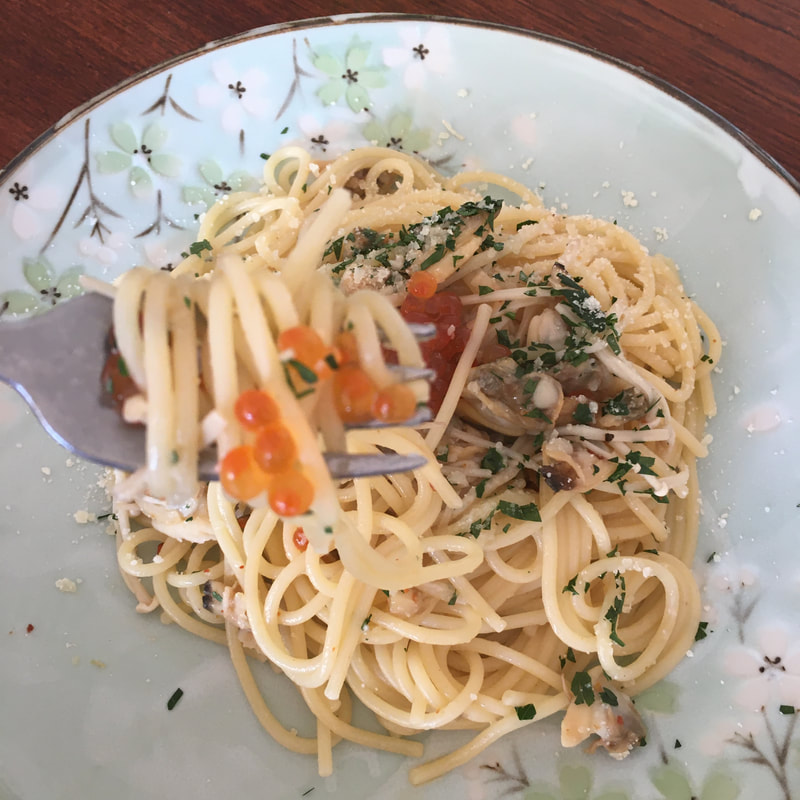
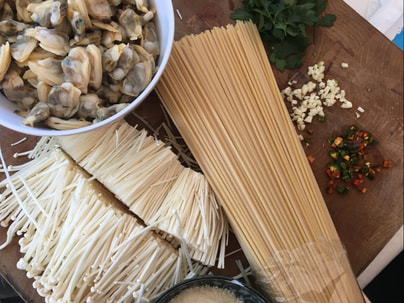
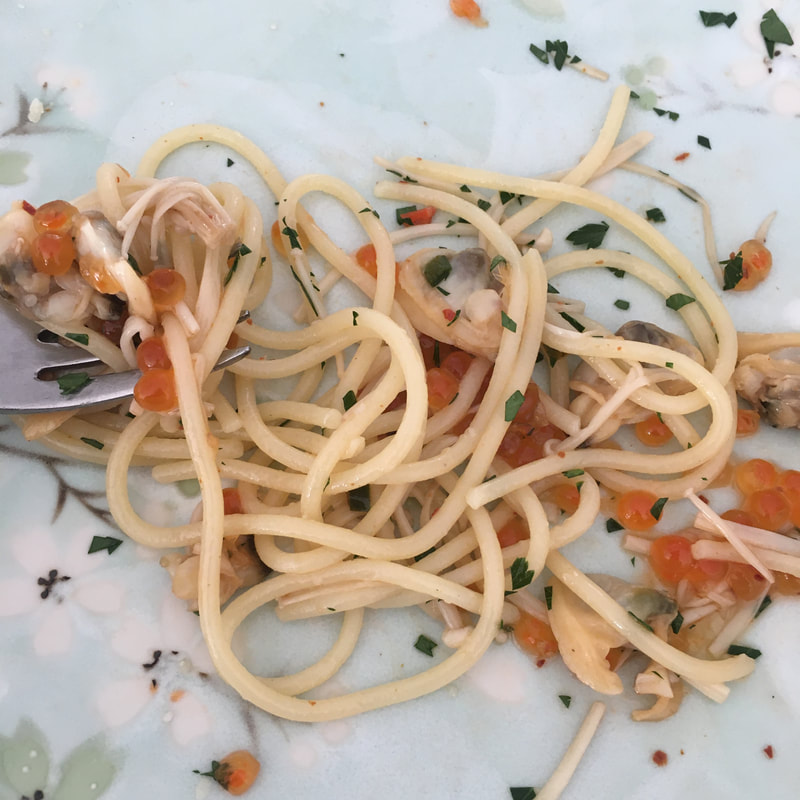
Then I tried to fix one under the broiler, and it burned. The second one I put in the microwave and it finished cooking just fine. Whew! This is a love-it-or-hate-it kind of dish. So much so that I made it for lunch instead of dinner so that my husband wouldn't have to smell it. But if you like seafood, this is so good! I understand that for many people, just the sight of the salmon roe, or even the phrase "salmon eggs" makes you queasy. I guess this one isn't for you. At the supermarket a couple days ago I was craving shellfish. It hits me a couple times a year. I bought a bag of clams from the freezer section and ikura (salmon roe) from the sushi section. This is what I ended up with, and it completely hit the spot. I used a "nadapeno" from the garden. It's a jalapeño with no heat. So strange! I added Korean chili flakes to give it a little heat. Honestly, it was Thai pepper I was craving. Maybe next time. Ingredients: 1 pound pasta salt 4 T. butter or reserved bacon fat 12 oz. cooked clams, defrosted if they were frozen 1 chile, minced (or pepper flakes, or you can leave it out entirely and use black pepper instead) 1 glove garlic, minced 1 package enoki mushrooms, yucky end trimmed and cut in half 2-3 Tablespoons sake To serve: parsley parmesan salmon eggs lemon wedges Directions:
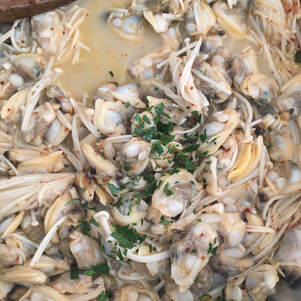
1. Prepare all the ingredients so you aren't scrambling since this doesn't take long! 2. Heat plenty of salted water in a large pot to start the pasta. Once it comes to a boil, add the pasta, give it a good stir until all the pasta is submerged and you're sure it won't all stick together. Set a timer so you don't forget about it and get started on the sauce. 3. Begin preparing the sauce. Heat a large skillet over medium/high heat. Be sure the pan is big enough to hold the sauce as well as the pasta. Once it feels hot when you hold your hand over it, add your butter, bacon grease, or oil. Once that has melted and seems hot, add the pepper and garlic. Give it a moment to become fragrant, and then add the mushrooms in. Let them cook and soften for a few minutes, giving them a stir if they look like they're going to burn. When they're soft with little bits of caramelized brown spots, add in the clams and pour over the sake. Season with a little salt and pepper. If your pasta isn't close to done, turn the sauce down to the lowest setting. 4. Assuming your timer has gone off by now, drain the pasta and reserve a quarter cup of the pasta water. I never EVER remember, and you can bet I didn't this time, but it helps to marry the pasta to the sauce. If you forget like I did, rest assured that life will go on and it'll still taste great. 5. Make sure your sauce is back on medium-high heat and be sure the sake has cooked off before you add the pasta. Once that's done, add the strained pasta and a little of the reserved cooking liquid to the sauce pan. I use tongs to get it all mixed in together. Make sure it's all heated through and season it with salt and pepper. If you have enough parsley you can add some of it at this point too so it's mixed in. 6. As you plate it, add parmesan, parsley, and the salmon eggs. I feel like a squeeze of lemon is great, but I was too hungry to think of that earlier. I doused mine in fish eggs and it was amazing. It should be salty with a hint of acidity from the lemon. |
AuthorI love trying new foods, cooking, and gardening. I hope to share these experiences on this site. Thanks for taking a look! Categories
All
Archives
May 2020
|











 RSS Feed
