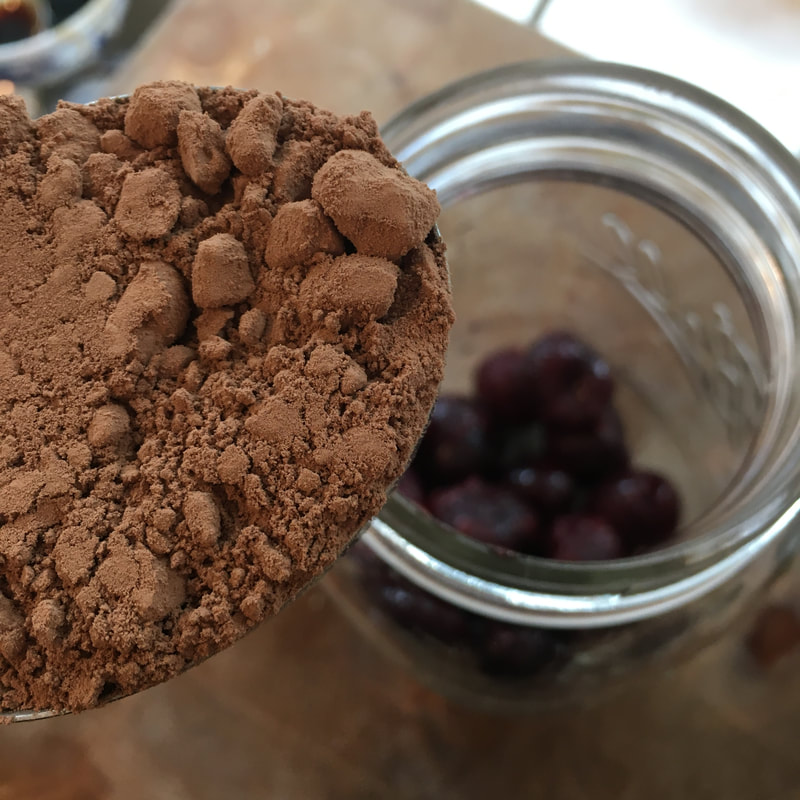
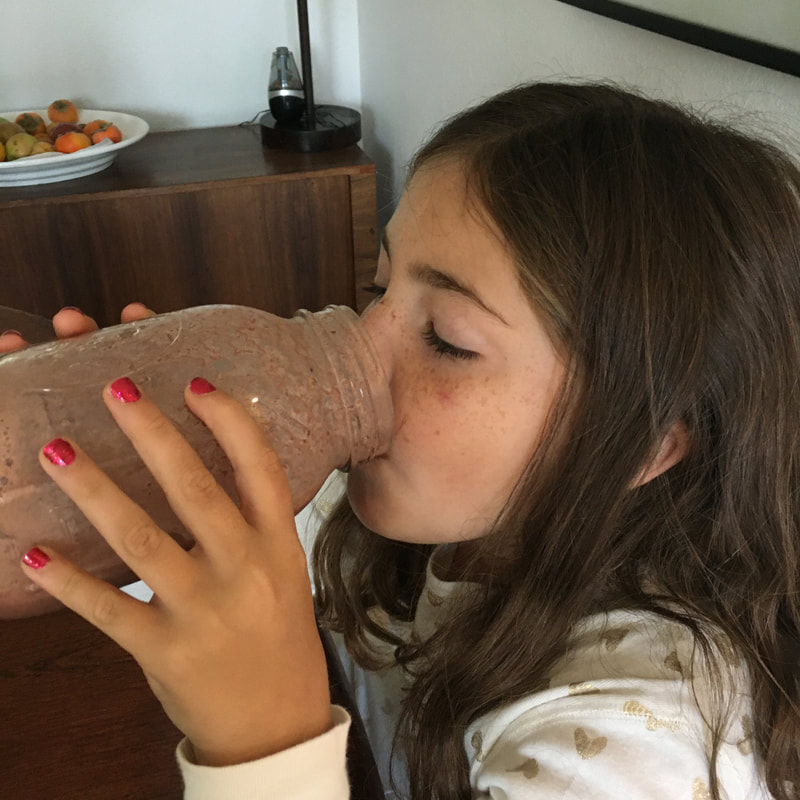
 This isn't very seasonal. November is a month for pumpkin and turkey, I know. But we've had some really hot days recently and I was reminded of how much we enjoy this smoothie. Both my kids love it, and I originally dreamed this idea up when I read about the amazing benefits of antioxidants for skin in summer. It's like healthy, light ice cream. Normally the phrase "light ice cream" would turn me off, but I mean it in a good way this time! An article I read last spring explained the dangers of all sunscreens. If you are as pale as I am, it's a devastating read, but I bought the book by the author and I'm happy to say I made it through a whole summer with no sunscreen. I'll let you read the article for yourself and draw your own conclusions. Here is the link to the article. It was when I was desperately trying to incorporate more berries in our diet (for our skin! so I'll look young-ish forever!) that we started drinking this. We make this with raw goat milk from our goats, but I think it would taste great with any kind of milk. You can play around with the proportions if you like, whether you want it thicker, more chocolate-y, or sweeter, but this is how we like it. Honestly, I never actually measured until this morning, so I don't think you really need to either, but this is a good guideline. Did you know that you can use a mason jar with a standard mouth (NOT wide-mouth) for your blender? I tried this yesterday for the first time and absolutely love it. We made this smoothie a couple times, and then we made a matcha latte using a tiny little pint mason jar. No mess and it came out clump free. In the picture I'm using a quart jar. 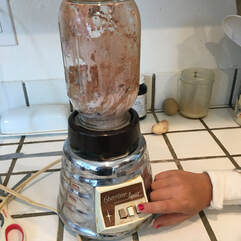 Chocolate Cherry Smoothie Ingredients: 1 cup frozen cherries 1 cup milk 1/4 cup cocoa powder 1-1/2 to 2 Tablespoons maple syrup Directions: Dump it all in the blender (or mason jar) and blend it until it's smooth and frothy. Stop and shake it a few times to make sure all the cocoa powder isn't stuck in a dry clump to the jar. Even if you end up with a few cherry chunks, the results are great. You can make it look pretty in a glass with a straw, but usually we just drink it straight from the jar.
According to my taste testers, this one is good to the last drop.
I haven't tried this yet, but I was thinking about adding some chocolate extract. Or vanilla extract. Or maybe even some powdered astragalus since I sneak it into everything over the winter. Clearly there are more smoothies to come.
1 Comment
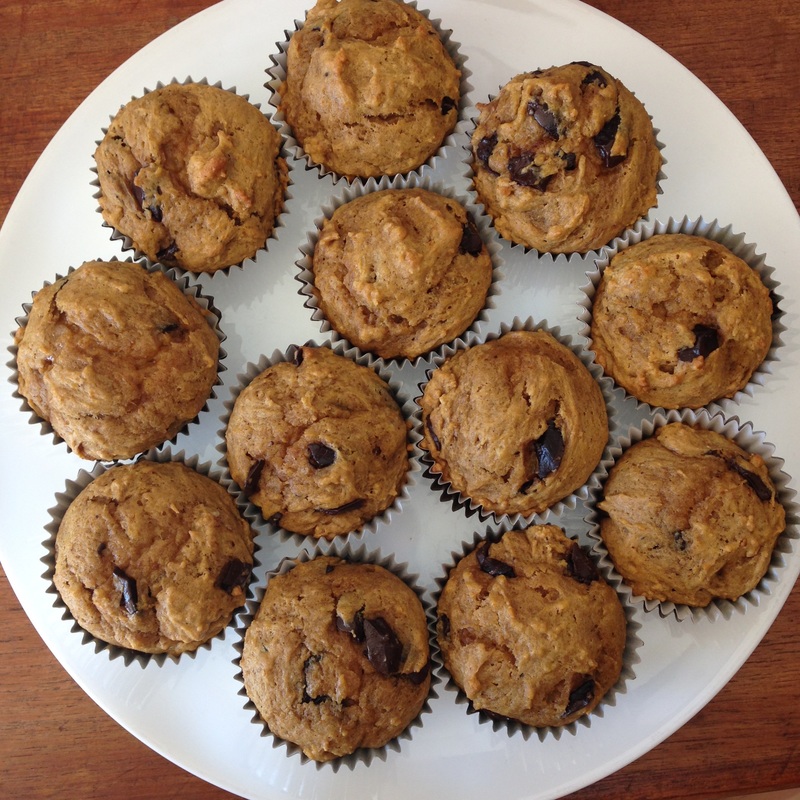 When my kids were smaller my friend Angela started blogging, and this is one of the recipes (of many really good ones) that she posted. Unfortunately, I think she took down the site a while ago, but I still have my favorites scratched out on recipe cards. I make them with my kids every year around this time. I have long been a fan of the pumpkin-chocolate combination. Someday when I have the time and I plan on cooking through a huge collection of pumpkin-chocolate recipes I've torn out of magazines over the years. Someday. It is best done with an enormous bowl, because it makes about 3 dozen muffins. Ingredients: 5 cups flour (white, all-purpose) 2-1/4 cups sugar 1 T. baking soda 1/2 T. baking powder 1/2 T. salt 1-1/2 T. cinnamon 1/2 T. nutmeg 1/2 T. cloves 6 eggs 3 cups canned pumpkin 1-1/2 cups butter, melted 2 cups chocolate chips Directions: In one bowl, stir the dry ingredients together (flour through cloves). In another, mix the wet ingredients together (eggs through butter). Mix the dry ingredients into the wet ingredients and add the chocolate chips, stirring to distribute them evenly. Preheat your oven to 350 degrees. Line a muffin pan (this makes 36, so you will probably have to do this in batches), and fill each liner about 2/3 up with batter. Bake the muffins for 20-25 minutes. 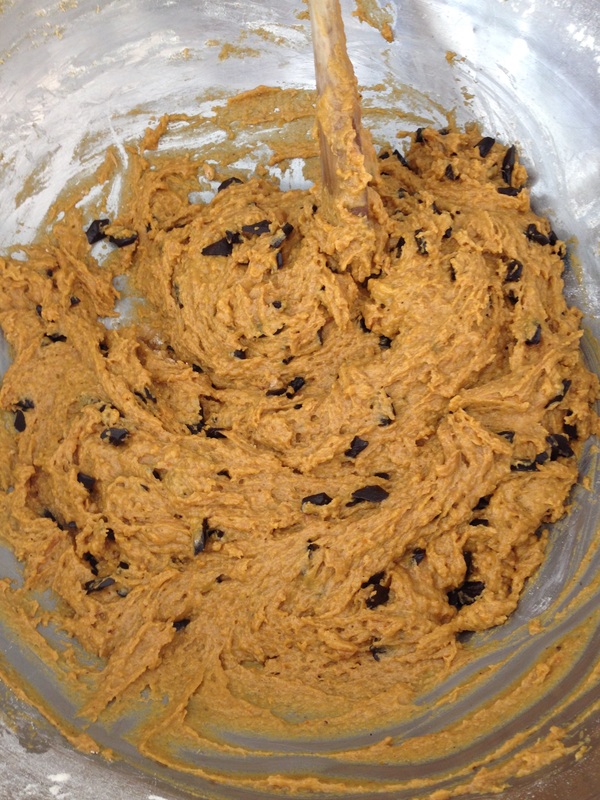
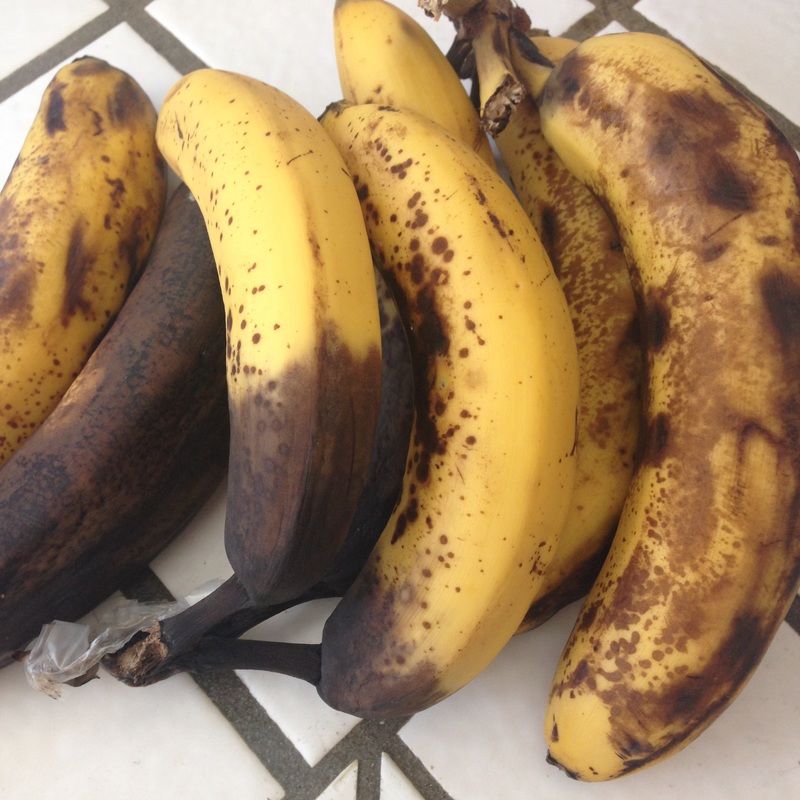
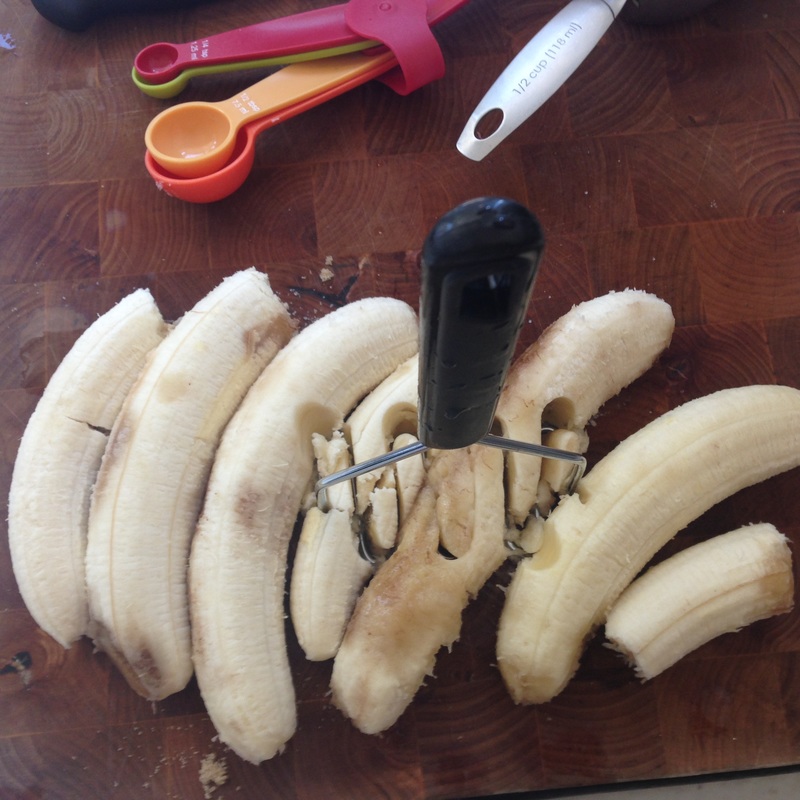
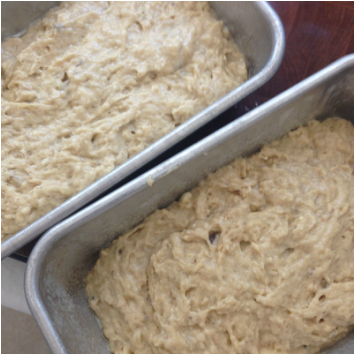
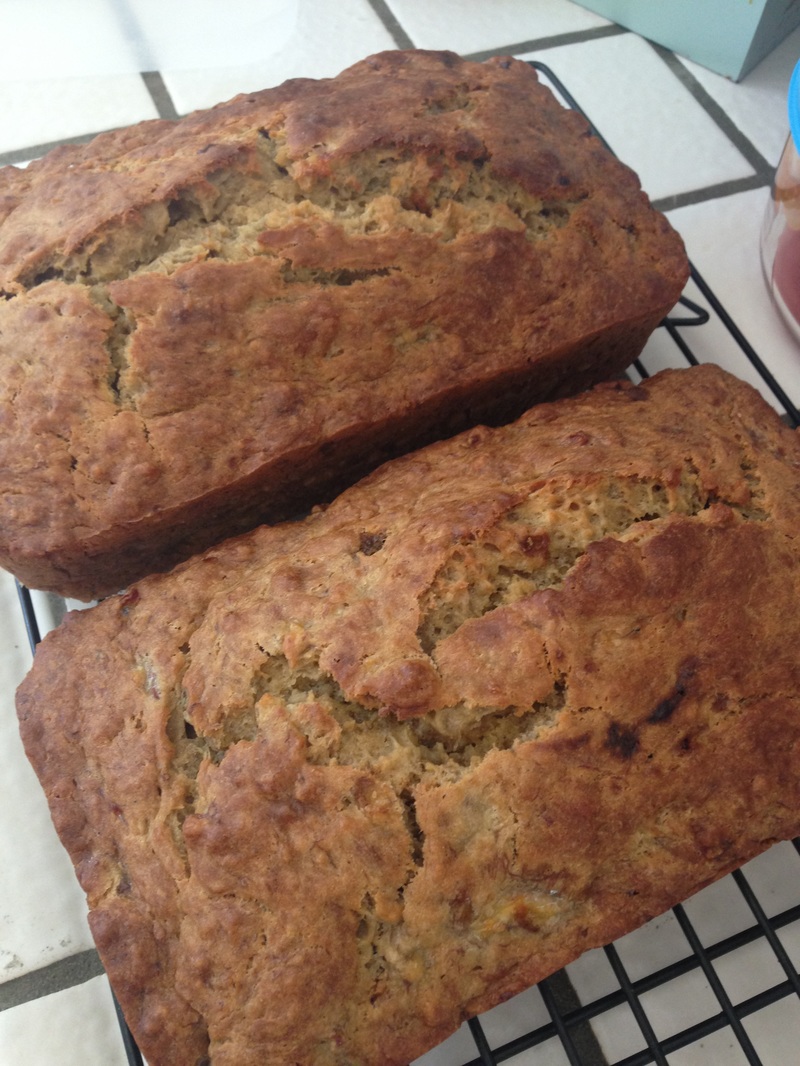
I'll say it up front. I'm sorry. In light of the fact that everyone in the continental United States already has their favorite banana bread recipe, I feel like I owe you an apology. When you realize that I dared to post a banana bread recipe that doesn't include chocolate chips, you might agree with me. However, this still manages to be some REALLY good banana bread. I've tried it with different combinations of flour, and I regret to inform you that while whole wheat pastry flour isn't bad, white is better. Also, although my recipe card has no directions on it, I'm pretty sure I meant to cream the soft butter and sugar together before adding the other liquid ingredients- however, I completely forgot and it was fine, so I will skip that step in the future. This makes one loaf (DOUBLE IT!!!) and of course you can add chocolate chips, and lots of them. Ingredients: 2 cups flour 3/4 teaspoon baking soda 1/2 teaspoon salt 1/2 cup sugar 1/2 cup brown sugar 1/4 cup butter, softened or melted 2 eggs 3 mashed bananas 1/3 cup sour cream or yogurt 1/2 teaspoon ground cardamom
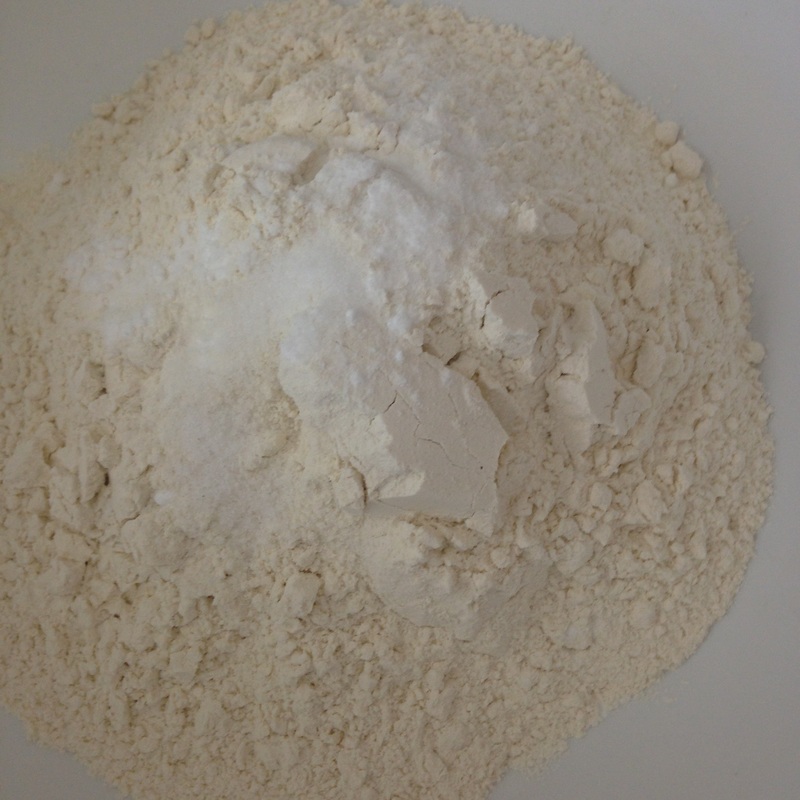
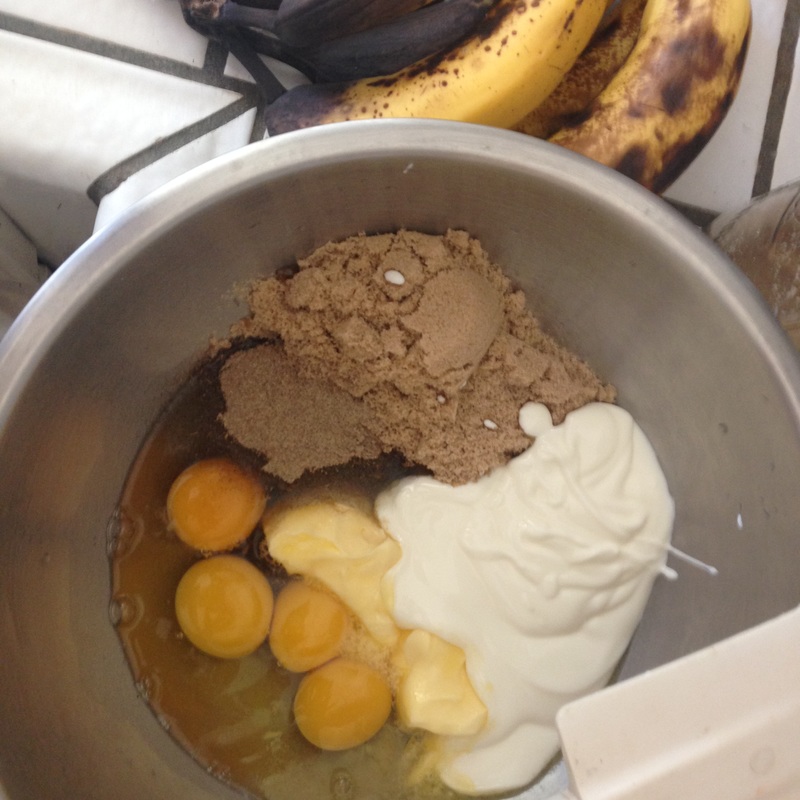
Directions: Mix the flour, baking soda, and salt together in a big bowl. Mix the sugar, the brown sugar, the butter, the eggs, the bananas, the sour cream and the cardamom in another bowl. Mix it thoroughly and then stir in the dry ingredients. Preheat the oven to 350 degrees, and grease a loaf pan with butter. Pour the batter in and then bake the banana bread for about an hour. Test for doneness with a toothpick or skewer.
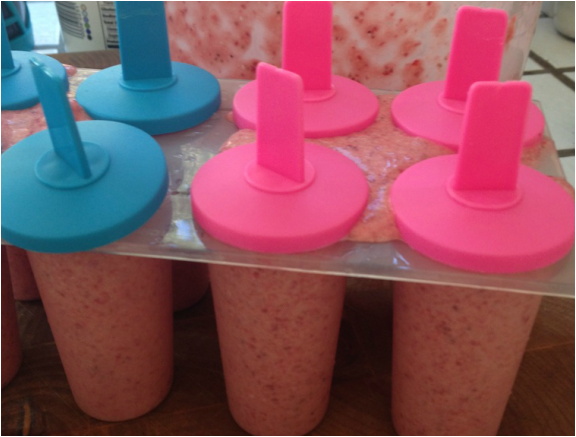
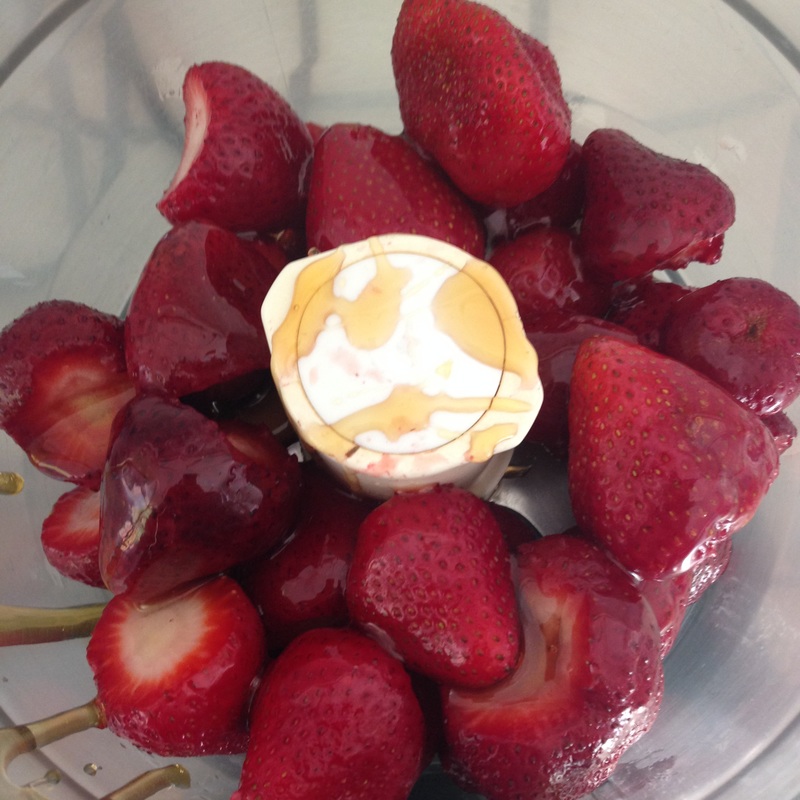
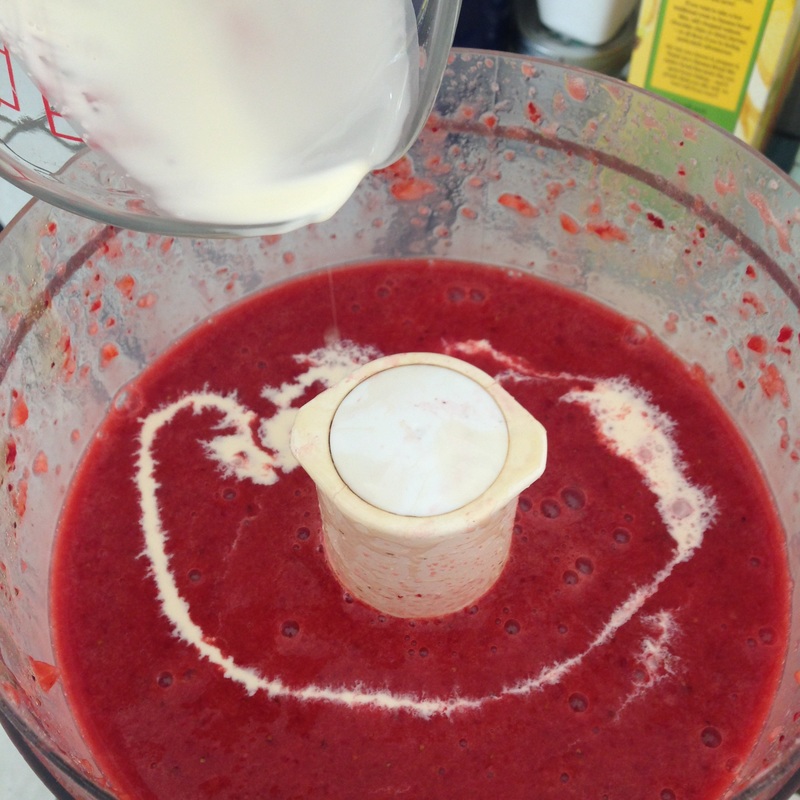
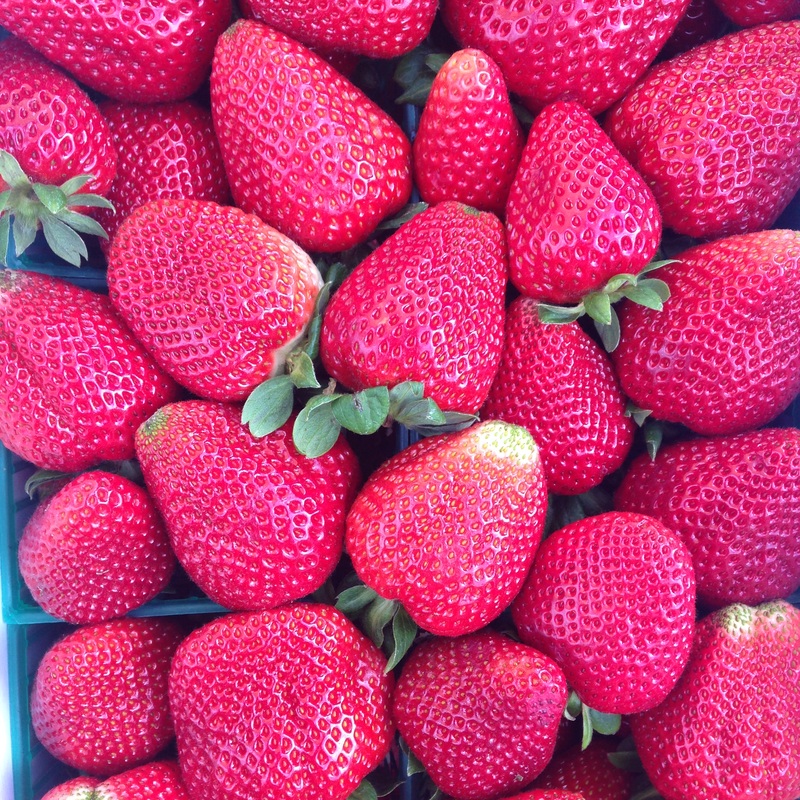 Small children have been trying to sneak into my freezer. An independent panel of little boys have assured me that these are the best popsicles they ever had. Need I say more? Ingredients: 2 baskets of strawberries 1/4 cup of honey 3/4 cup cream Directions: Blend the strawberries and honey together in a food processor or blender. Add the cream and blend again briefly. Pour the strawberry puree into popsicle molds and freeze. Enjoy!
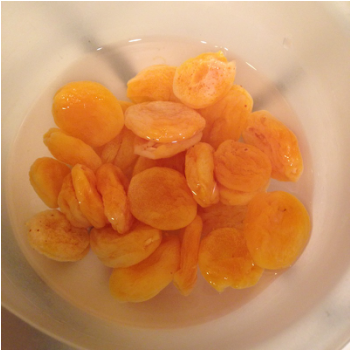
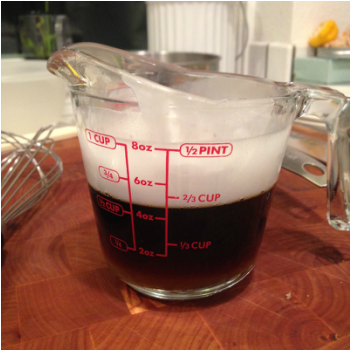
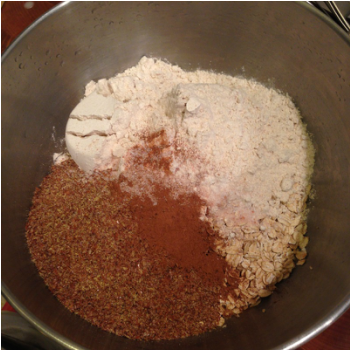
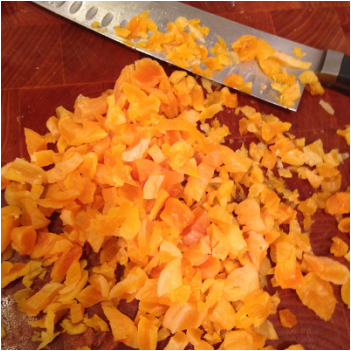
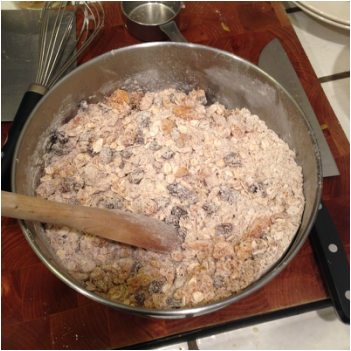
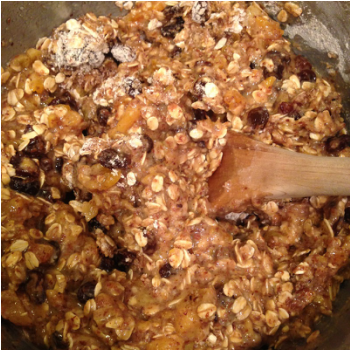
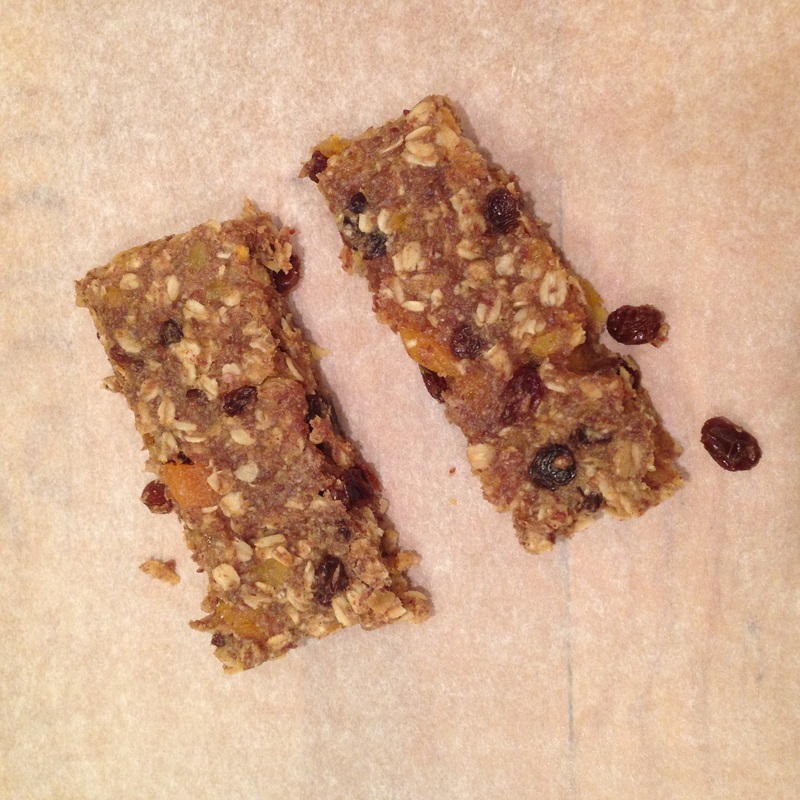
  It was brought to my attention recently that there is nothing to eat in the house. Whut? I started to get mad, but I decided to make Sunshine Bars instead. The original recipe came from Laurel's Kitchen, the ultimate source of 1970's vegetarian nutritional wisdom. It is full of whole wheat, tempeh-laden, yogurt-y goodness, and it was also one of the cookbooks my mom gave me when I left the house in 1996. She had a preview copy of the twentieth anniversary edition with a note from Laurel herself, and kindly gave it to me. The book warns against the evils of sugar, and rightly so, but there is still a small dessert section at the back with their recipe for Sunshine Bars. These are meant to be a homemade version of "health food bars", but they are much better. Depending on whether my kids go crazy for them or not I will make a double or even triple batch next time and freeze them. There is a lot of stirring and pouring for this one, so next time I'll also let my kids help. Substitute ingredients. As long as you keep the ratio of dry to wet the same, it should turn out fine. Ingredients: 1 cup boiling water 1 cup dried apricots 1/2 cup maple syrup 1/2 cup melted coconut oil 1-1/2 cups rolled oats 1 cup whole wheat pastry flour 1/2 cup flax meal 1 teaspoon cinnamon 1/2 teaspoon salt 1 cup raisins 2/3 cup almond flour
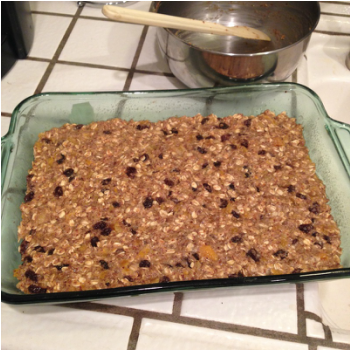
I wrapped mine individually in waxed paper for no particular reason except that it looked cute and reminded me of how my mom used to wrap my dad's lunch sandwiches back in the day. I'm not sure that making these saves any money, but at least you know exactly what you're putting in them. I also didn't calculate how much it cost to make these, but when I turned around and looked at my kitchen I remembered the real cost: clean-up. 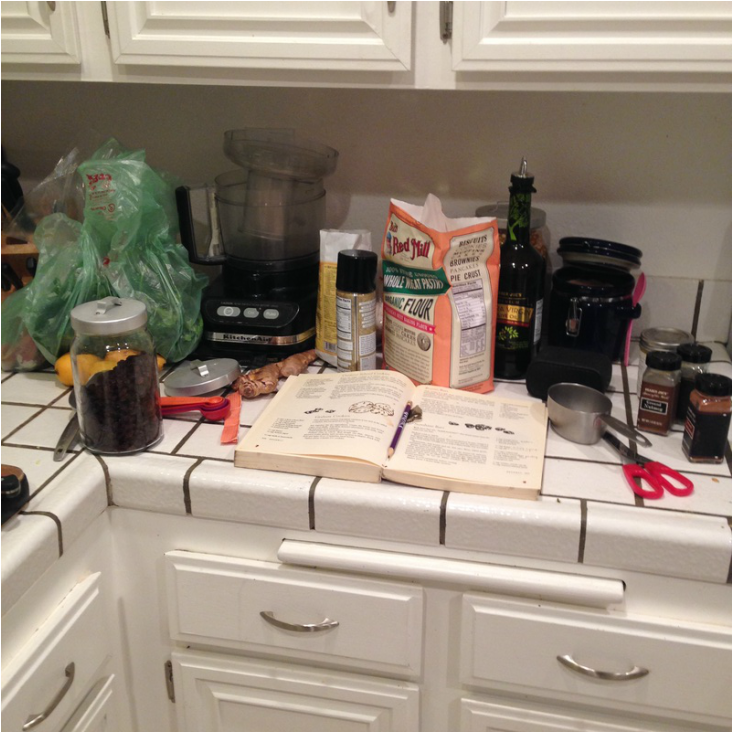 |
AuthorI love trying new foods, cooking, and gardening. I hope to share these experiences on this site. Thanks for taking a look! Categories
All
Archives
May 2020
|

 RSS Feed
Photos from Mechanoid Dolly, Mechanoid Dolly, fidber, Ken_Mayer, eflon, Dendroica cerulea, Urban_Integration
