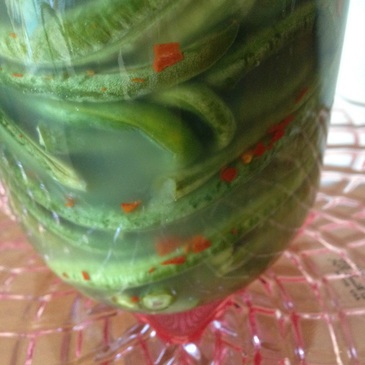
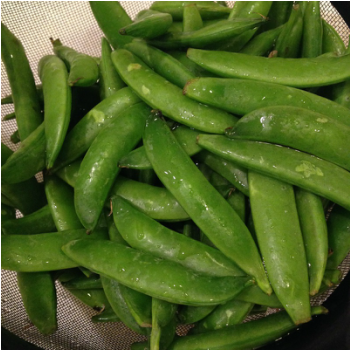
I always use long beans in a Thai curry, but last summer I tried something different. Unfortunately, it took me months to finish writing about it. But then, this is California, and there are loads of green beans at the farmers market, so who is to say this isn't seasonal? Liana Krissoff's Canning for a New Generation has a recipe for Fermented Yard-Long Beans which she based on a recipe from Sandor Katz's Wild Fermentation. I haven't seen his version, but I realized that this is made exactly the same way kim chi is made. My favorite kim chi recipe uses 1/4 cup salt to a cup of water, and this one uses 1/2 cup salt to 12 cups of water, but the idea is the same. Submerge vegetables in a brine long enough for the fermentation to work a transformation. It's the chile powder, garlic and ginger that make the kim chi taste Korean, so I was curious to try long beans pickled with nothing but chile pepper. They taste Chinese! And wonderful. I tried these in a stir fry and thought they were very good. A few of these add a bright acidic note which I really like. My children, however, hated it. You decide. Ingredients: Two bunches of yard-long beans (they are long, but not a yard long...) 1 tablespoon red pepper flakes 1/2 cup salt 12 cups water Directions:
Trim the beans and cut them in half. Put them in a food-grade bucket or a big mason jar and sprinkle the pepper flakes over them. Dissolve the salt in the water and pour enough over the beans to just cover them. Now pour the rest of the brine into a gallon zip lock bag and seal it well. Put it on top of the beans to keep them submerged. Or make your life easier with this pickle press. I use mine regularly. Now you wait three to five days. Some scum may form on the surface of the brine, and you can just skim that off. After three days, start tasting the beans to see if the appropriate sour pickle flavor has developed. It can't get much easier!
0 Comments
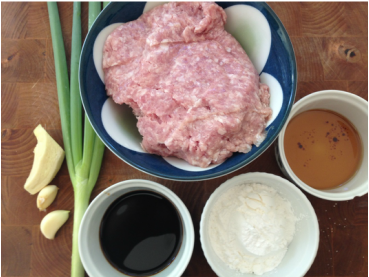
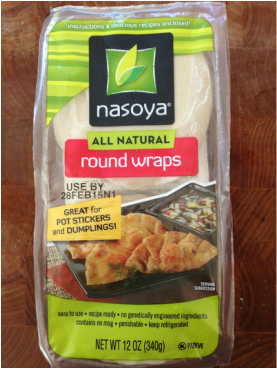
There must be hundreds of variations on wonton, but the first version I tried was a winner and I have stayed faithful to it, more or less. You can't go wrong- it smells good even before you cook it, something rarely said about raw pork. Some people make flawlessly beautiful wonton, some people just squish them together, but they all taste good. My children LOVE making these and would be insulted if they weren't allowed to participate in this. When we made this last night it made about 60 and served 7, but they were so good I think everyone at the table would have eaten more. My five year old ate like a trucker, and my seven year old skipped the rice to make sure he could fit in all the wonton he wanted. I made a huge stir-fry of cabbage, fresh corn, and green onion seasoned with soy sauce, mirin, and pepper to go with it. Ingredients: 1 pound ground pork 1-1/2 tablespoons soy sauce 2 tablespoons sesame oil 3 tablespoons cornstarch or arrowroot powder 1 scallion 2 cloves garlic 2 tablespoons of minced or grated garlic 1 package of round wonton wrappers (about 60) oil for frying (I used lard I had rendered and it was mouthwatering) more soy sauce for dipping white vinegar or rice vinegar for dipping
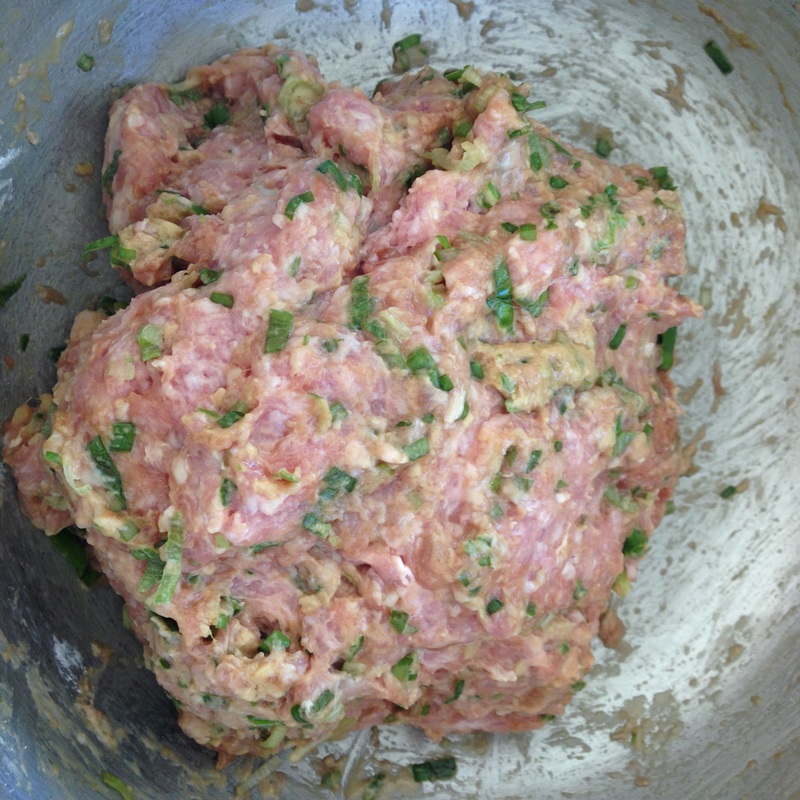
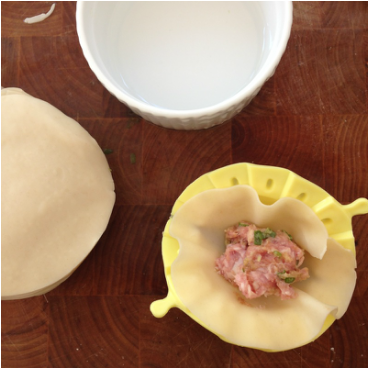
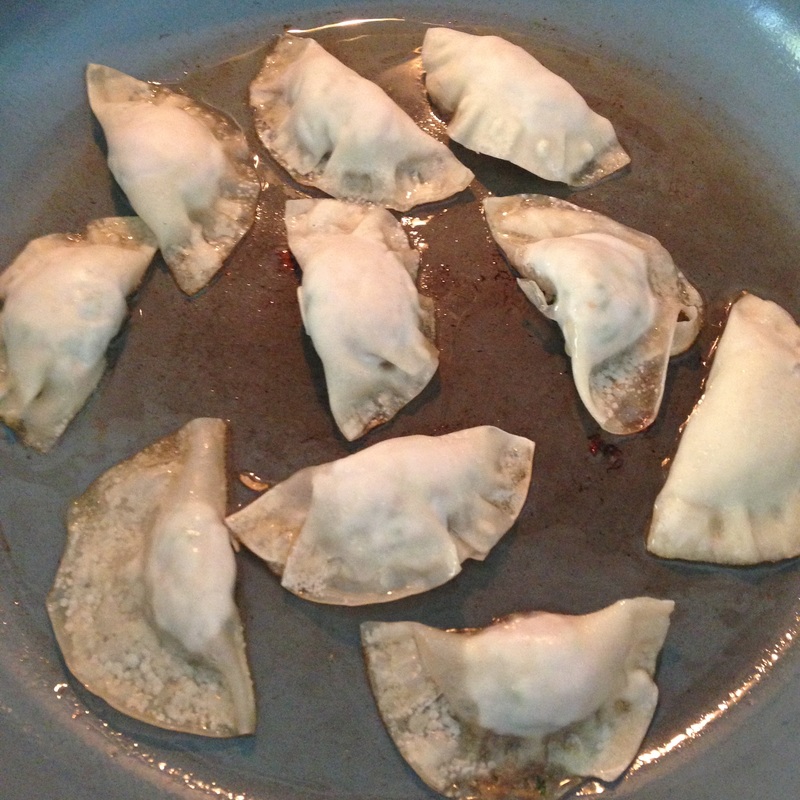
Directions: Mix the pork, soy sauce, sesame oil, ginger, cornstarch, scallion and garlic in a bowl. This is your filling. Take one wrapper, place 1 teaspoon of filling in the center, and wet half the edge of the wrapper with a drop of water. Using either a plastic wonton mold or your fingers, fold and press the edges together. There are many ways to do this. Too much filling and it will explode, too little and it's a disappointment when you go to eat it. You'll get the hang of it. Take a look at the picture above. Heat a non-stick skillet and generously coat the bottom of the pan with oil (or tallow or lard). Place a layer of wonton in the pan and fry them until they are well browned on the bottom. Pour in about 1/4-1/3 cup of water in the pan and cover it quickly with a lid because it will hiss and spit like crazy. Set a timer for three minutes and allow the dumplings to steam. After three minutes, scoop them out with a slotted spatula and transfer them to a plate. You will have to do multiple batches if you are cooking all the wonton. Try to get the frying pan decently clean between batches or you may run into problems like soggy wonton or burnt nasty bits. Next make the dipping sauce. Again, there are many variations on the same theme out there, but here is an easy one I use. Pour some soy sauce into a jar, and add white vinegar, then add a little water to thin it out. The amounts vary tremendously depending on what brands you use. If you use rice vinegar and a soy sauce that isn't brutally salty you might not need to add any water. You can also add chopped scallion, a drop of sesame oil, chili oil, or whatever else you like.
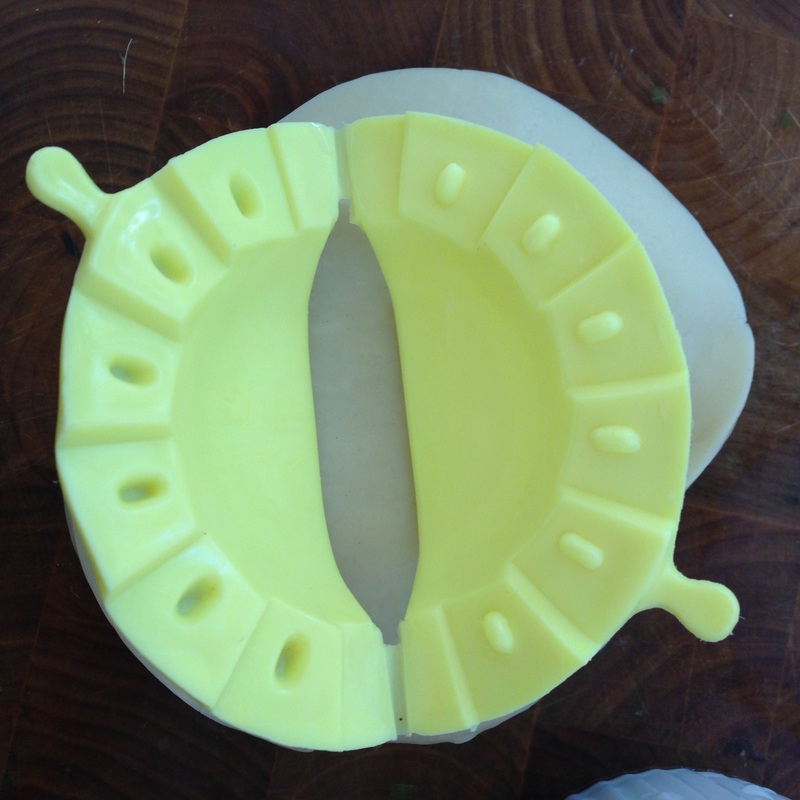
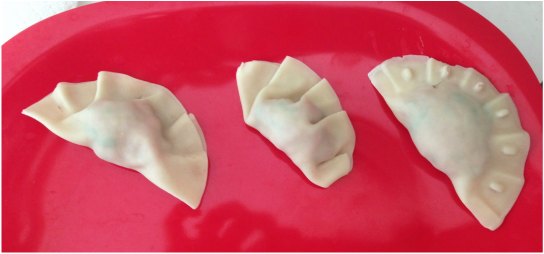 The right one was done in the press. The middle one was done by folding one side against a flat side. The left was just pressed together by hand and then folded. You get the idea- it doesn't matter.
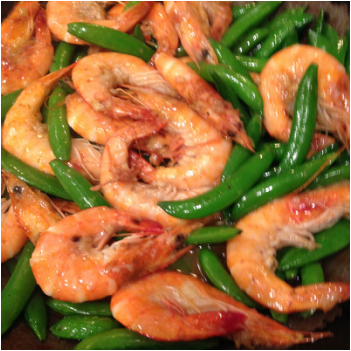
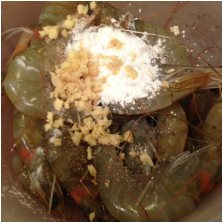
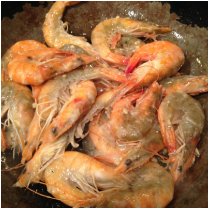
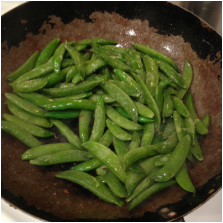
"Mom! You forgot to cut off their heads!" I don't know what came over me. All I can say is that I was rushed and tired, and for five minutes, when the task of cleaning the shrimp fell on me, I lost my head and didn't remove theirs. My family was not amused; they were nauseated. Too bad, because the sauce was great. So even if the sight of their beady little eyes and whiskers is a big turn-off, give it a try. Shells and heads are optional. I can't remember where I found the original recipe, and I never wrote down all the proportions because sometimes it's nice not to measure. It's been great every time. I'm going to write this out exactly as I have it on my recipe card from seven years ago. Shrimp Marinade: ginger cornstarch or arrowroot powder salt sake sesame oil Sauce: a drop of chicken broth water oyster sauce cornstarch or arrowroot powder Other Ingredients: oil for frying salt a little minced garlic 1/2 pound snap peas or snow peas, rinsed and de-stringed if they are tough 2/3 pound shrimp, preferably peeled and cleaned Directions:
night, they marinated for no more than ten minutes and the world did not end.) Heat up some oil in a wok or fry pan over high heat, and when it's hot add the minced garlic. Give it a stir and then add the shrimp. Keep stirring. When they are cooked, transfer them to another container and set them aside.
Stir the shrimp back in. The shrimp will feel velvety too, but not from yuck and goo like my family assumed, but from the cornstarch in the marinade. We ate this with hot rice and cabbage pickles. 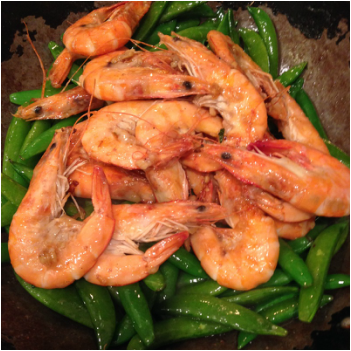 Fry garlic, add shrimp. Remove. Add salt and snow peas. Add sauce. Add shrimp. Serve. |
AuthorI love trying new foods, cooking, and gardening. I hope to share these experiences on this site. Thanks for taking a look! Categories
All
Archives
May 2020
|


 RSS Feed
Photos from Mechanoid Dolly, Mechanoid Dolly, fidber, Ken_Mayer, eflon, Dendroica cerulea, Urban_Integration
