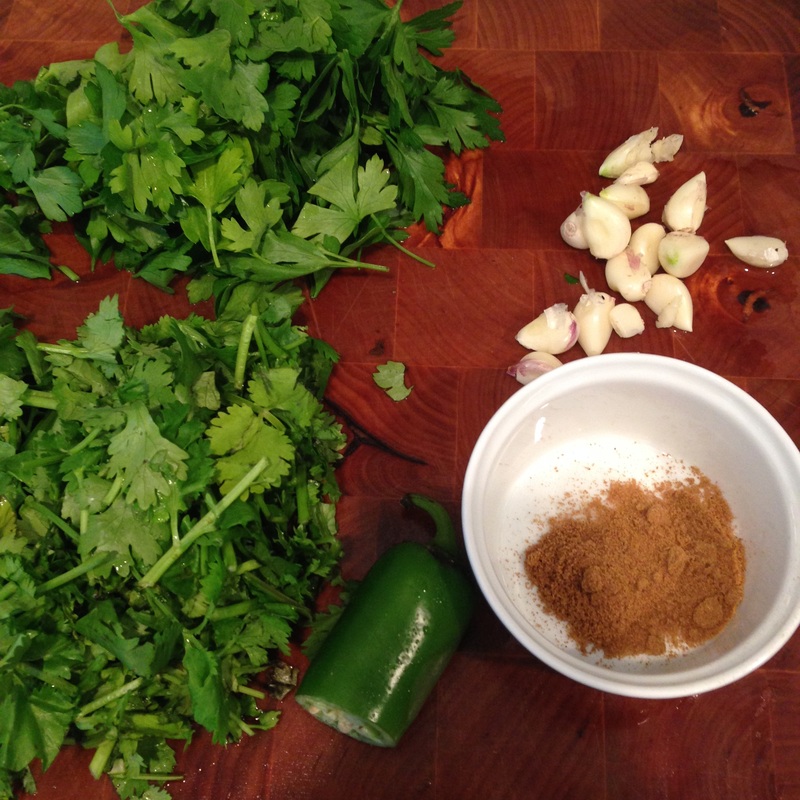
Green herb sauce doesn't sound very appetizing, but neither does zchoug, which is what this is actually called. Your choice.
This is a really good way to use up leftover herbs before they go bad. I am sure there are countless possible variations on this, but here is a version I know tastes good. It is wonderful paired with hummus, scooped onto boiled eggs, added to an omelet, as a spread on sandwiches, or mixed into mayonnaise. I read somewhere once that herb consumption is one of the top ten predictors of good health. I have no idea if that's true or not, but I eat this and feel healthy anyway. Maybe a little virtuous too. Ingredients: 1 cup cilantro 1 cup parsley a few cloves of garlic 1 spicy green pepper or jalapeño 1 teaspoon of ground cumin 2 tablespoons of olive oil salt to taste Directions: Blend everything in a food processor. Season to taste.
0 Comments
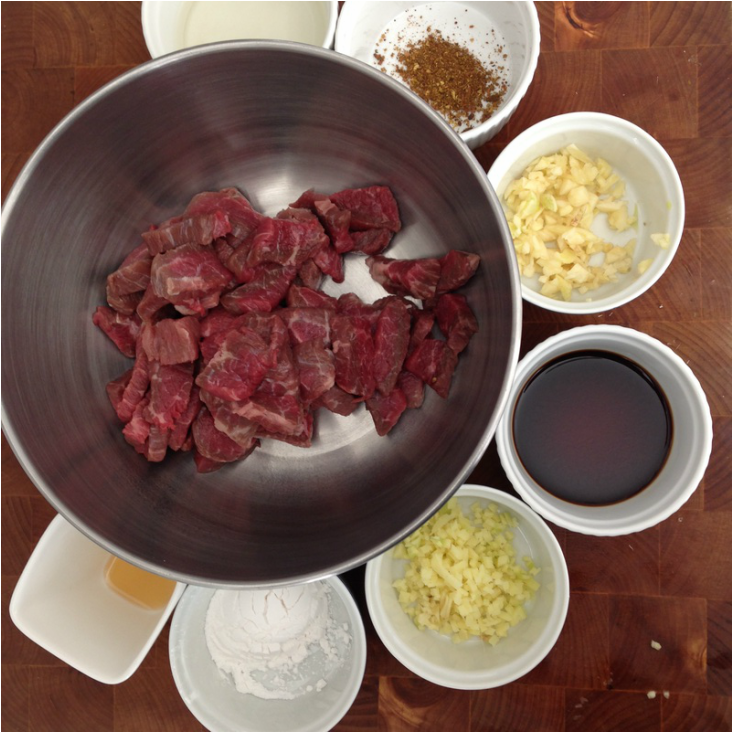
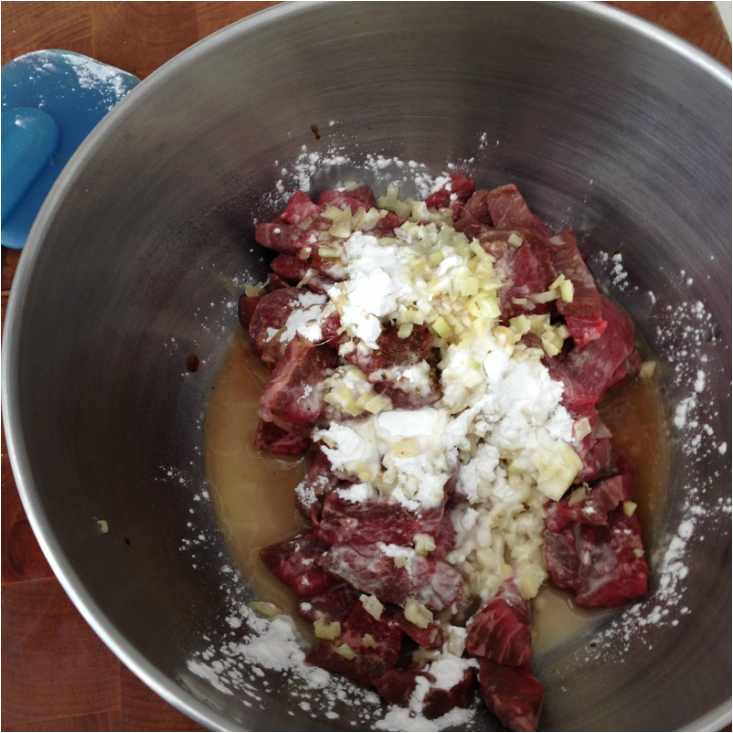
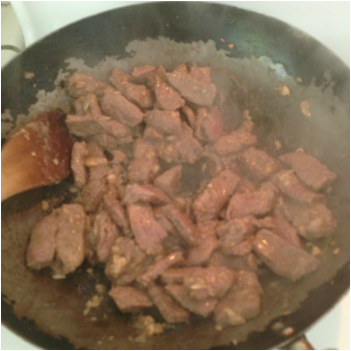
I prepare the meat the night before, and set up the rice cooker on a timer earlier in the day so that when dinner time rolls around this comes together quickly. Here is how I do it. Marinade Ingredients: chopped garlic chopped ginger soy sauce sake or wine arrowroot powder or cornstarch toasted sesame oil 10-spice powder (see my post on 10-spice Tilapia for the recipe) Stir it up, cover it, and refrigerate it overnight. I'm not including amounts because this is not something you measure, just a dump-and-guess kind of procedure. The 10-spice powder is optional. If you are comfortable stir-frying then read no further, but if you aren't sure about the rest or you're curious about how someone else does it, keep reading.
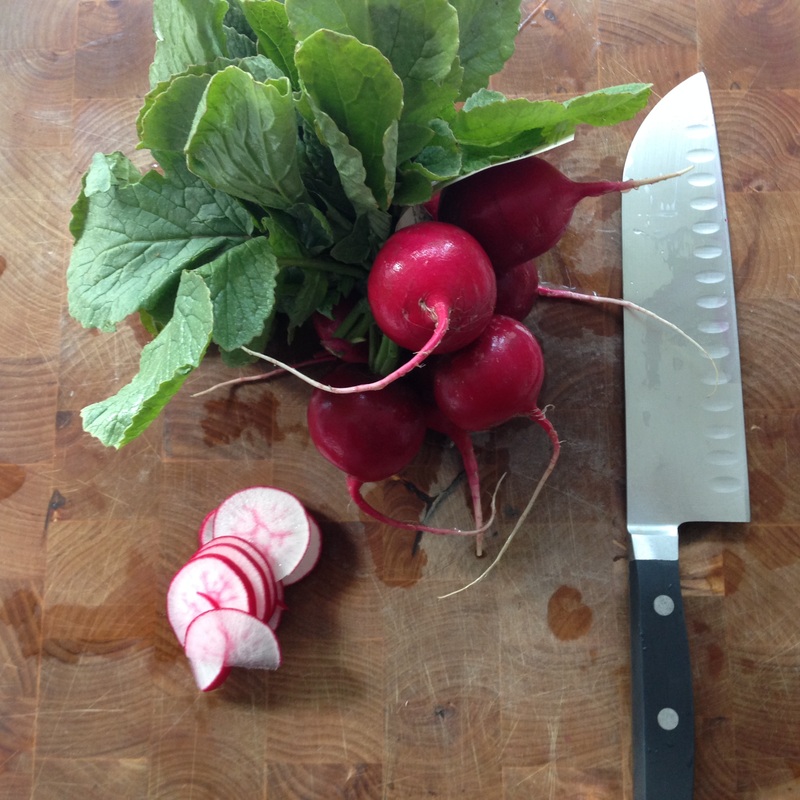
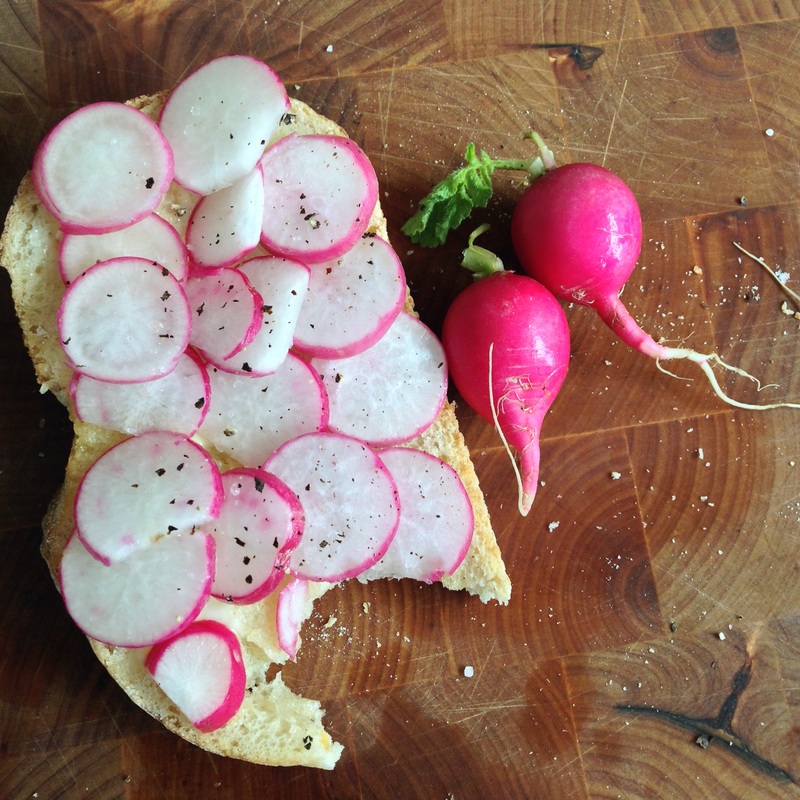
This is not so much a recipe as a suggestion. I tried this with low expectations. I'm not a huge fan of radishes, but it's one of the few things that grow well in my garden. I was really surprised by how much I liked this. This is just buttered, toasted sourdough bread, slices of radish, salt and pepper. But it's SO GOOD! Sometimes the simplest things are the best. It makes a great lunch if you have a boiled egg on hand.
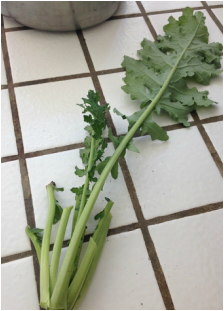
Also, I found out this summer that you can eat radish greens. I mixed them with turnip greens (which also grow well in my garden) and sautéed them all together in butter as a side dish for roast chicken and rice.  It may still be August, but the mornings are feeling a little Arctic. I know noodle soup sounds to most people like more of a lunch or dinner thing, but this makes a great breakfast. As a kid I ate lots of instant ramen in all of its MSG-laden, salty-fried-brothy glory, but I won't eat that anymore. Here is a great recipe that tastes as good or better. The trick is in the broth. Broth requires little effort to make, but it does have to simmer for a few hours. If you do not have this done beforehand your instant soup replacement will take you hours. The best broth for this seems to be made with a mix of chicken bones, chicken feet, and pork bones. You can buy chicken feet and chicken bones at Berkeley Bowl, and Ranch 99 sells pork bones. If you want pork bones from a healthy pig, try the El Cerrito Natural Grocery Store. The first time I cooked with chicken feet I thought I was going to be ill, but the resulting broth was so good I got over my squeamishness. I don't usually buy anything to make broth, I just keep a gallon size freezer bag with bones from meals, parsley stems, dying carrots, etc. The picture below shows a frozen hunk of whatever was in the freezer bag plus a pound of chicken feet. It is a little gruesome. Sorry. 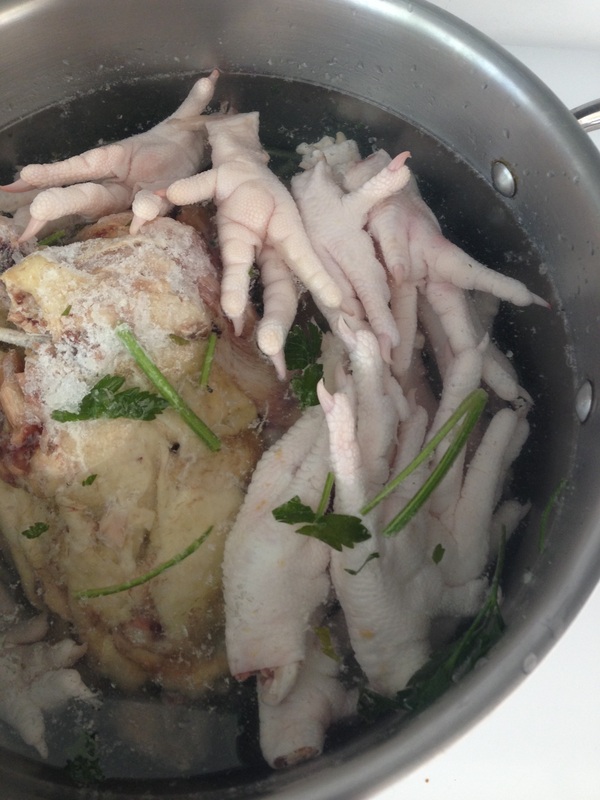 Cover it all with filtered water and bring it to a boil. When the foam forms at the top, skim it off. Lower the heat to the lowest setting you can where you still see the occasional bubble pop up, and then forget about it for a few hours. You can also put it in a slow-cooker and forget about it until morning. When you are ready to use the broth, pour it through a strainer into a bowl. It should look thick and golden. Most people chill their broth and skim off the fat, but don't do that this time. Now for the recipe.
Ingredients: 4 cups of thick golden broth 4 tablespoons of soy sauce 1/2 teaspoon of salt 2 packages of frozen ramen noodles, or any egg noodle 1 green onion sliced very thinly 1-4 peeled boiled eggs or just raw eggs if you are comfortable poaching an egg shichimi togarashi (seven spice powder) or pepper Method: 1. In a small saucepan, heat up the broth and add the soy sauce and salt. If you don't have any boiled eggs, you can poach fresh eggs in the broth. 2. In a larger saucepan, boil water and cook the noodles. When they are done, strain them. 3. Divide the noodles between four bowls. Top each with either slices of boiled egg or a poached egg and some green onion. Pour a cup of the seasoned broth over each bowl and sprinkle on some shichimi or pepper.
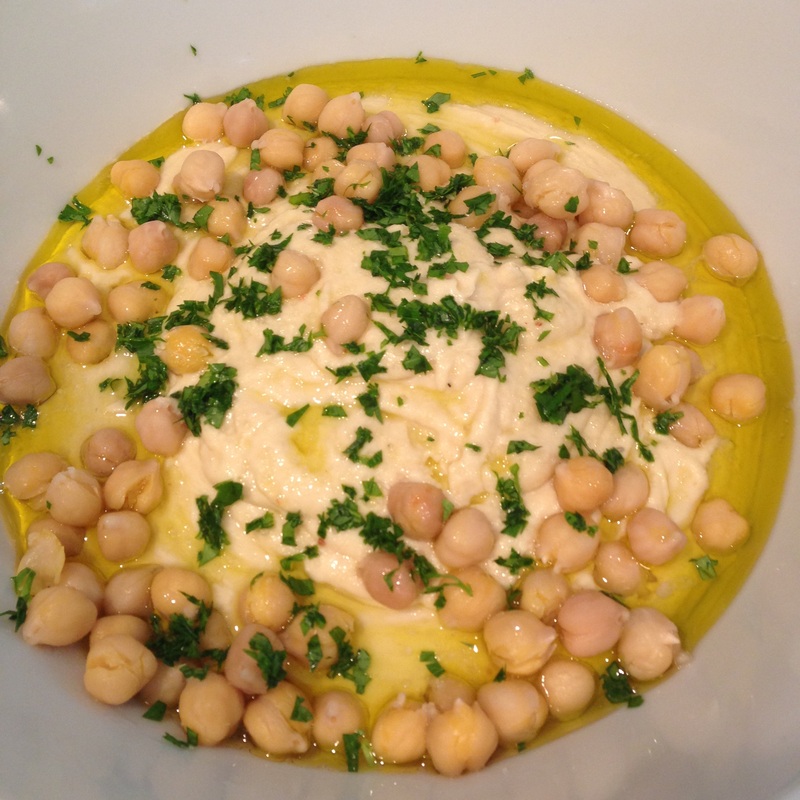
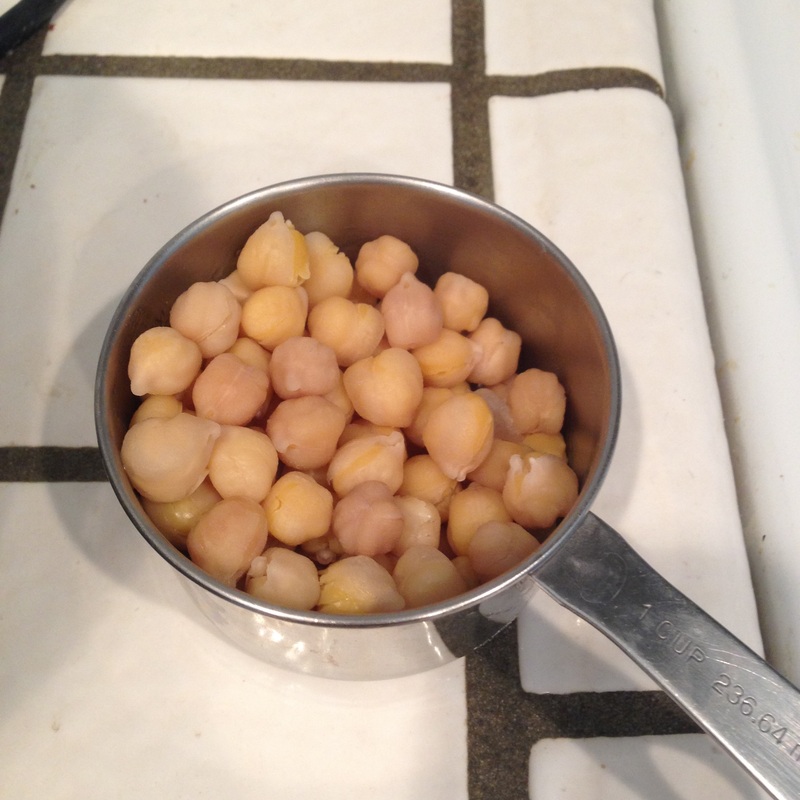
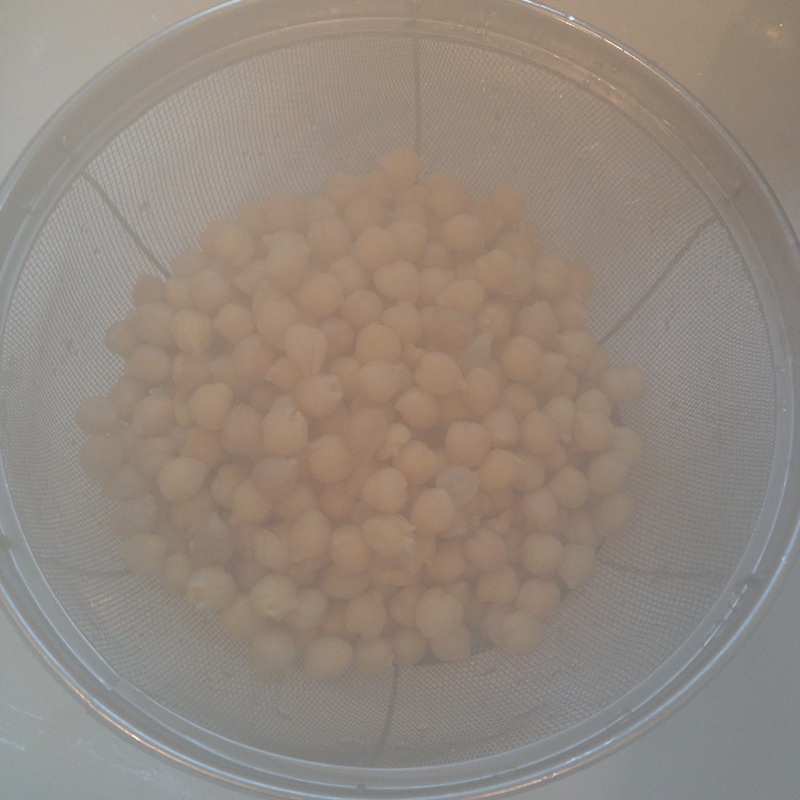
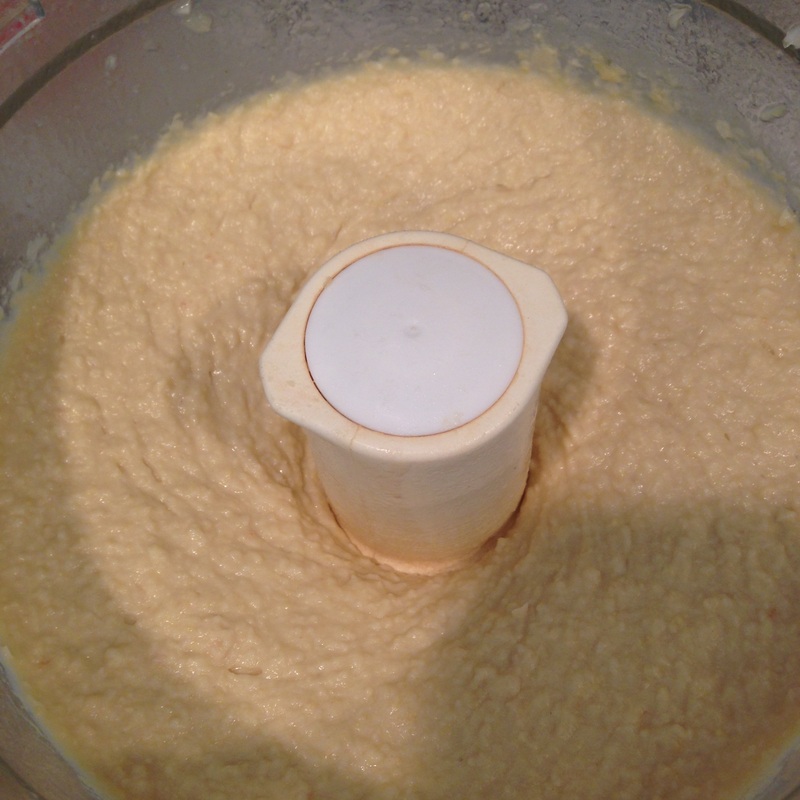
It was really good, but next time, could you please leave out the beans? ~my six year old son Ingredients: 1-1/2 cups dried chick peas 2 cloves of garlic 3/4 teaspoon of salt 1/2 cup of tahini 1/4 cup of fresh lemon juice 3/4 cup olive oil I am so sorry- the directions appear out of order if you are looking from a mobile phone. Either look at the desktop version or just skip around and follow the numbers in order. Directions:
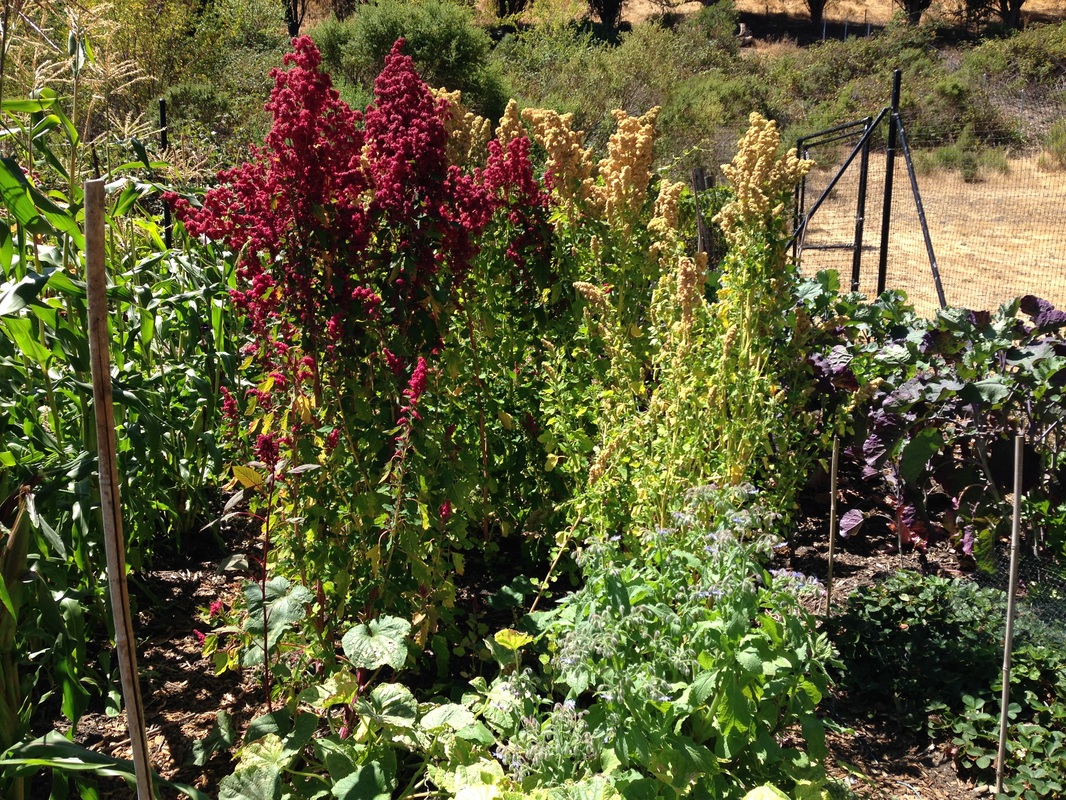
Driving on La Paloma today my family passed a sign for organic u-pick strawberries. Too good to pass up! We drove in and found not so much a u-pick farm as a glorified home garden. The owner has sold to some local restaurants, but recently decided to open up her farm on the weekends to locals. She walks with you through the garden, tells you what is ready to harvest, and you pick what you like. She charges $30 for one grocery bag, or $45 for two. The farm is open 12:30-4:30 Saturdays and Sundays. She lays out your produce on the blanket in the picture below and then wraps it up for you. I had come directly from the farmer's market, so I only bought a little and she charged me $10.
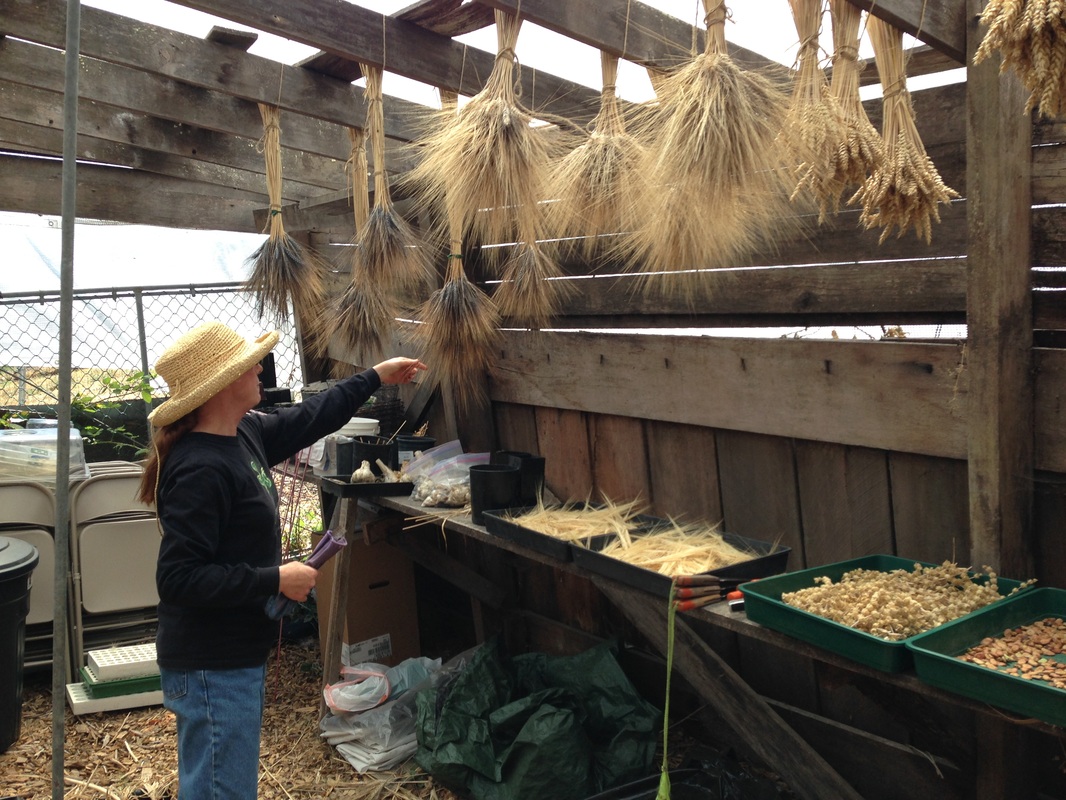
It is definitely worth checking out. I was impressed by the variety of foods grown- cucumber, different kinds of mint, corn, popcorn, quinoa, amaranth, tomatoes, basil, edible flowers, kale, lettuce, arugula, and grapes. In a shed were shallots, garlic, different varieties of heirloom wheat, and beans. The corn below is black popcorn, which will be dried out enough to pop in another two weeks. I also bought borage flowers and nasturtium which I put in a salad. Borage, also known as Bee Plant, has bright blue flowers that taste like cucumber. They were a beautiful addition to a salad this afternoon. If you would like to visit, the address is 501 Paloma Rd, El Sobrante, CA.
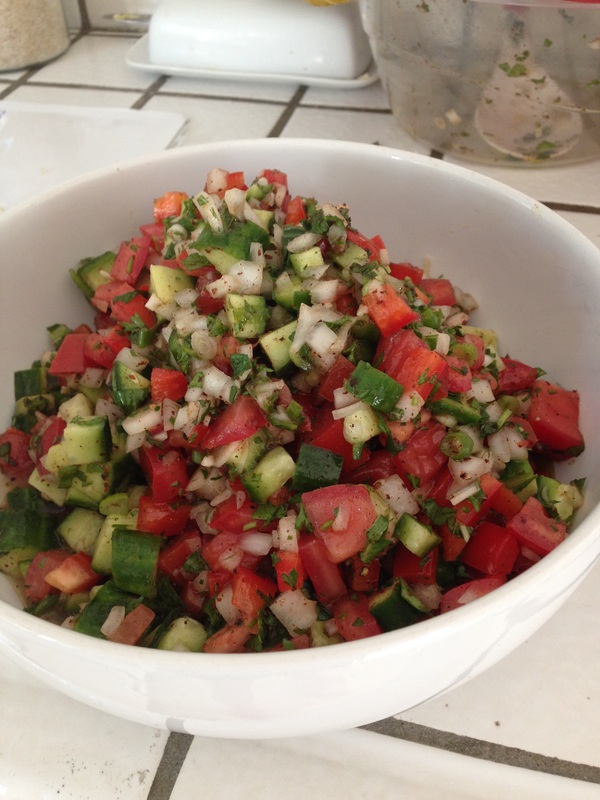
Ingredients: 1/4 cup minced cilantro 1/4 cup minced mint 1/4 cup minced parsley 2 teaspoons ground sumac 1 teaspoon ground cinnamon 1/2 cup olive oil 6 scallions, thinly sliced 4 cloves of minced garlic 4 medium ripe tomatoes, cored, seeded, and minced 3 medium cucumbers, seeded and minced 2 serrano chiles, stemmed, seeded and minced 1 red bell pepper, stemmed, seeded and minced 1 large white onion, minced juice and zest of 3 lemons salt and freshly ground pepper, to taste Instructions: Mix all the ingredients in a bowl and allow it to sit 20 minutes before serving.
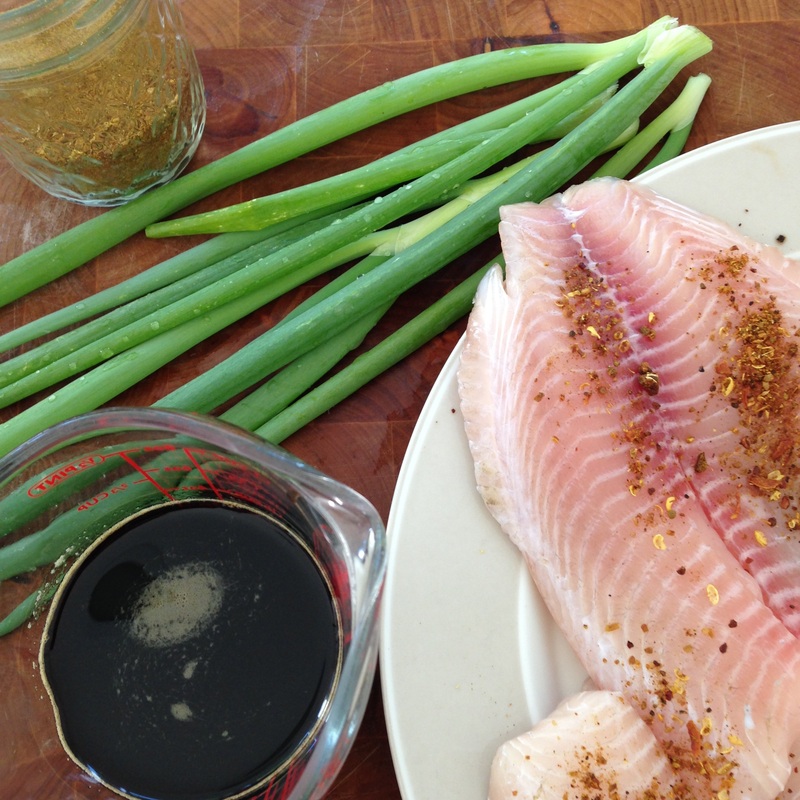
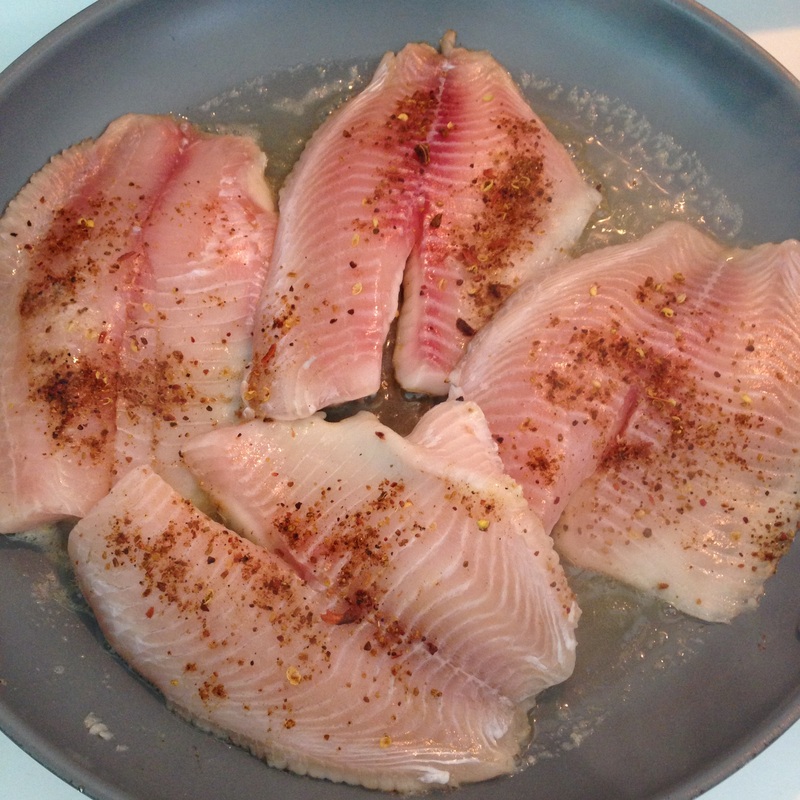
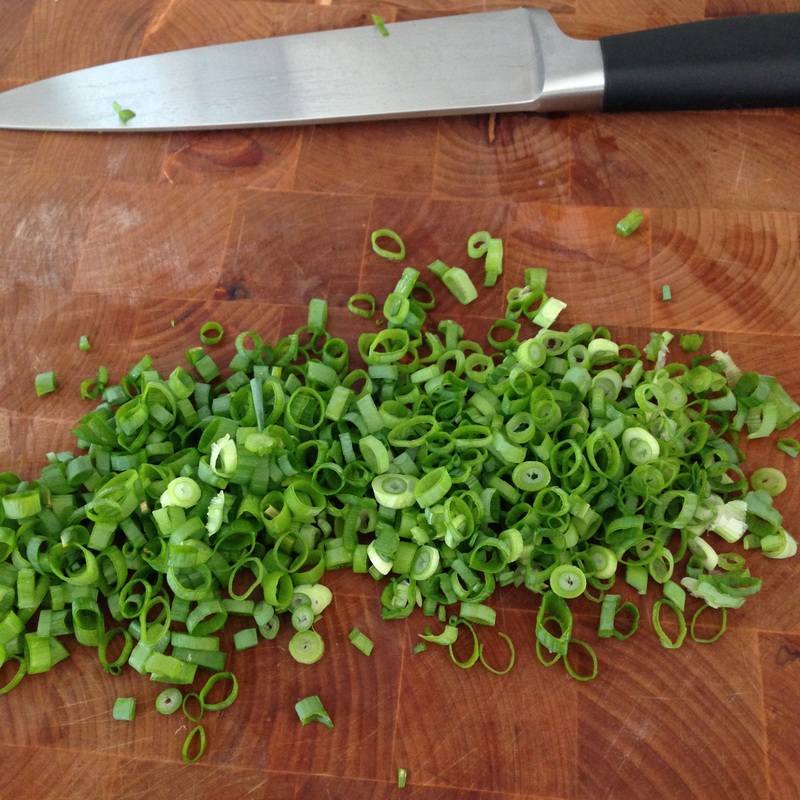
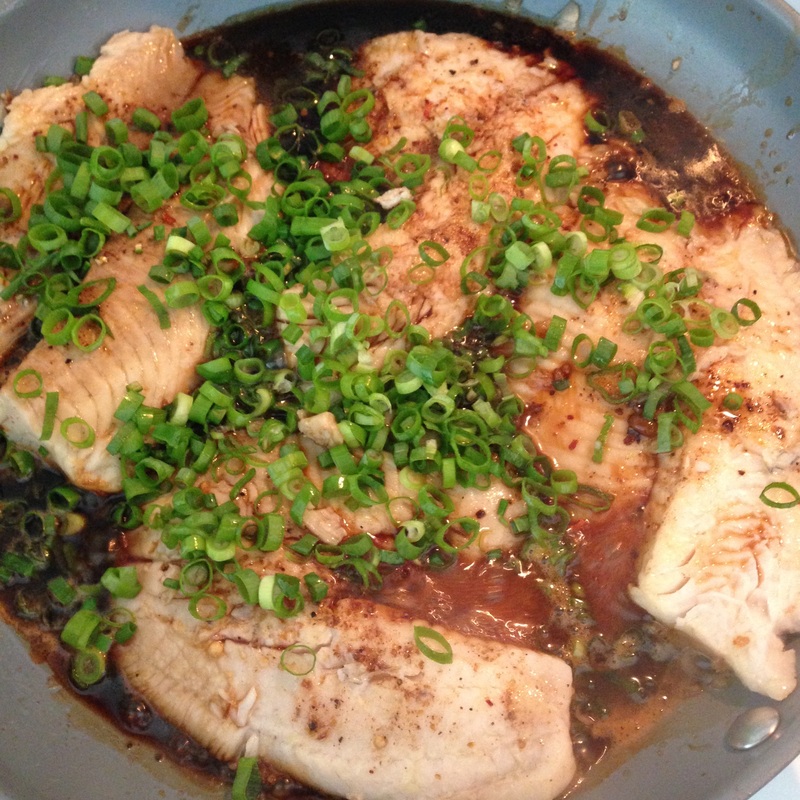
Ingredients: 1 pound tilapia fillets 1 teaspoon 10-spice powder (or 5-spice powder) 1/4 cup soy sauce 3 tablespoons brown sugar (at least it's brown! practically good for you!) 1 tablespoon butter or olive oil (more if you aren't using a nonstick pan) 3 scallions, thinly sliced Method: Sprinkle the fish fillets with the 10-spice powder. In a small bowl, combine the soy sauce and sugar. Heat a frying pan or nonstick skillet over medium-high heat, and add the butter. Fry the tilapia fillets on one side for a few minutes. The edges will start to turn white, but the top will still look raw. Flip them over and pour the soy sauce and brown sugar over it. Fry another minute until it flakes easily with a fork and sprinkle with the scallions. So easy! But if you'd like to make it a little more complicated, scroll down. 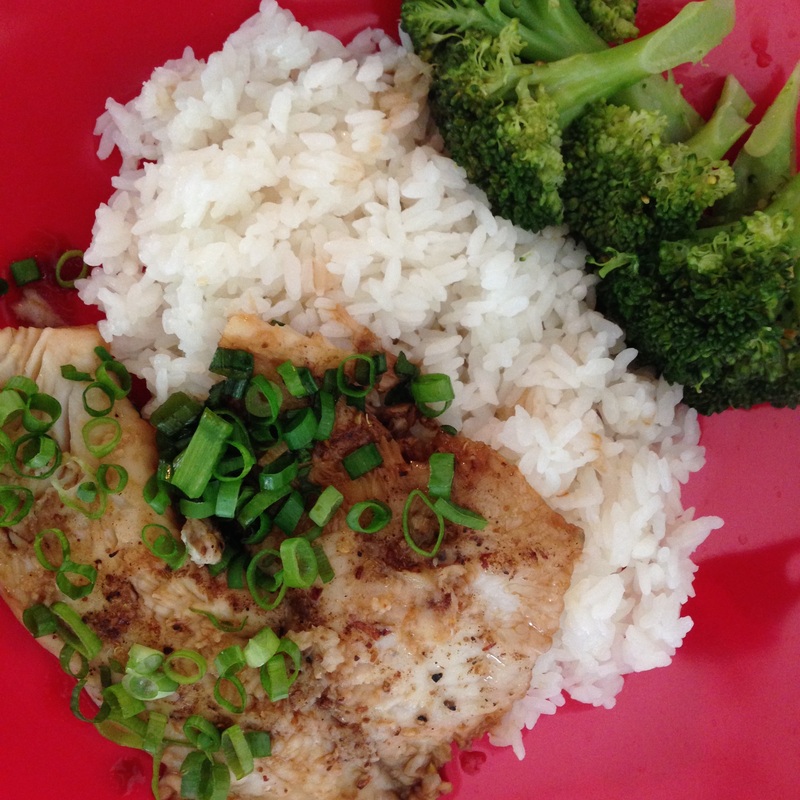
Here is the recipe for 10-spice powder. You can add it to marinades or mayonnaise and it will add an exotic note. This is from Barbara Tropp's China Moon Cookbook.
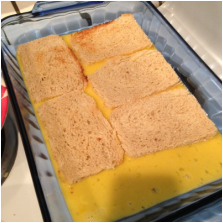
Whole Spices: 2 tablespoons fennel seeds 10 star anise, broken into points 1 tablespoon coriander seeds 3/4 teaspoon whole cloves 3/4 teaspoon cumin seeds 1-1/2 teaspoons black peppercorns Ground Spices: 1/2 teaspoon ground cinnamon 1/4 teaspoon ground ginger 1/2 teaspoon ground turmeric Toast the the whole spices in a dry skillet over low heat, stirring constantly to make sure they don't burn. Once the spices become fragrant, pour them into a clean coffee grinder and pulverize them. Stir in the ground spices, and store it in a jar.  I bought a new cookbook, The Medieval Kitchen. It contains recipes from France and Italy in the fourteenth and fifteenth centuries. Exciting! There are a number of recipes I'd like to try eventually, like "Orange Omelette for Harlots and Ruffians" and "Inside-out Stuffed Fresh Sardines or Anchovies". But in the meantime, it seemed pretty safe to start out with French toast. The original recipes don't include exact measurements, so there is a bit left to the imagination, but the general idea was fun to try. The secret ingredient? Rose water. I was a little afraid since I'm not a huge fan of perfuming my food, but the result was interesting. It seems that back then they really didn't distinguish much between sweet and savory. This may actually have been served (rose water and sugar and all) with game meat. Nice idea, but I am a product of this century and the last, and we eat French toast for BREAKFAST! I used half white sandwich bread, and half sourdough bread because that was what was on hand, but the sourdough bread was much better. So the closer you can get to thick, old-fashioned stale white bread, the better. You'll also notice there is no milk. I believe that's why you can let the bread soak for ten minutes without everything turning to mush.
Ingredients:
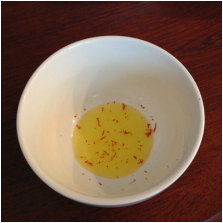
6 slices of real, stale white bread 6 eggs 1 tablespoon of sugar 3 tablespoons of rose water 6 threads of saffron generous amount of butter for frying sugar for sprinkling over the toast Method: 1. Cut off the crusts from your bread to form squares and toast them until they are a light golden color. 2. Beat the eggs with 1-1/2 tablespoons of rose water and a tablespoon of sugar. Pour it into a large flat container large enough to hold all the toast in one layer, and soak the bread slices for ten minutes or less if it gets soggy. 3. Grind up or crumble six threads of saffron and steep in another 1-1/2 tablespoons of rose water. 4. Gently fry the bread slices in butter, turning frequently and being careful not to burn it. 5. When it has all been cooked, pile it onto a plate and sprinkle it with the yellow rose water. Sprinkle with plenty of sugar right before serving. So if the day ever comes when you are left with rose water, eggs, and stale bread in the cupboard, now you have a plan, right?
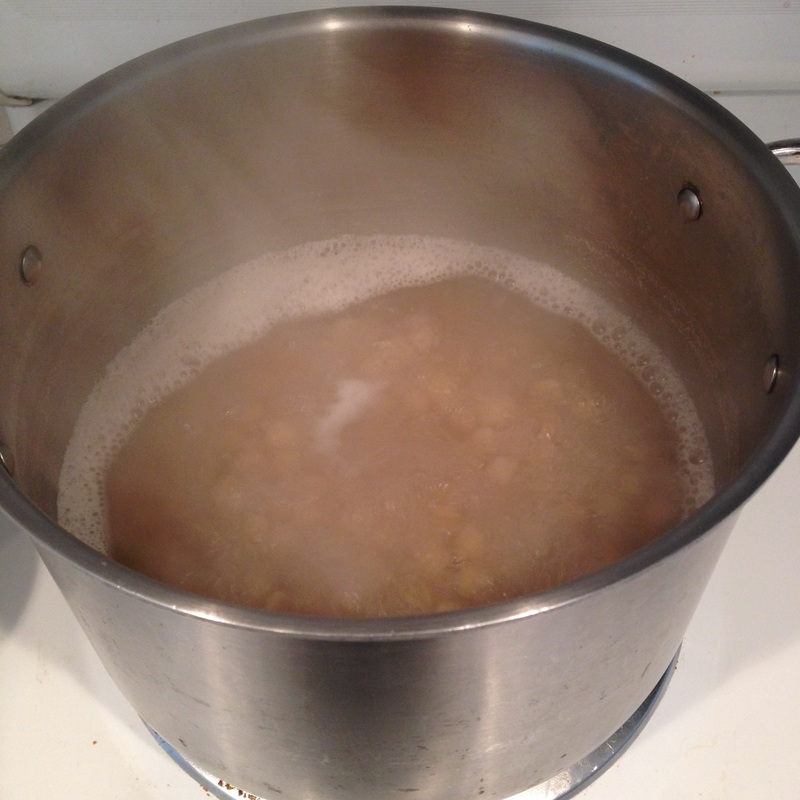
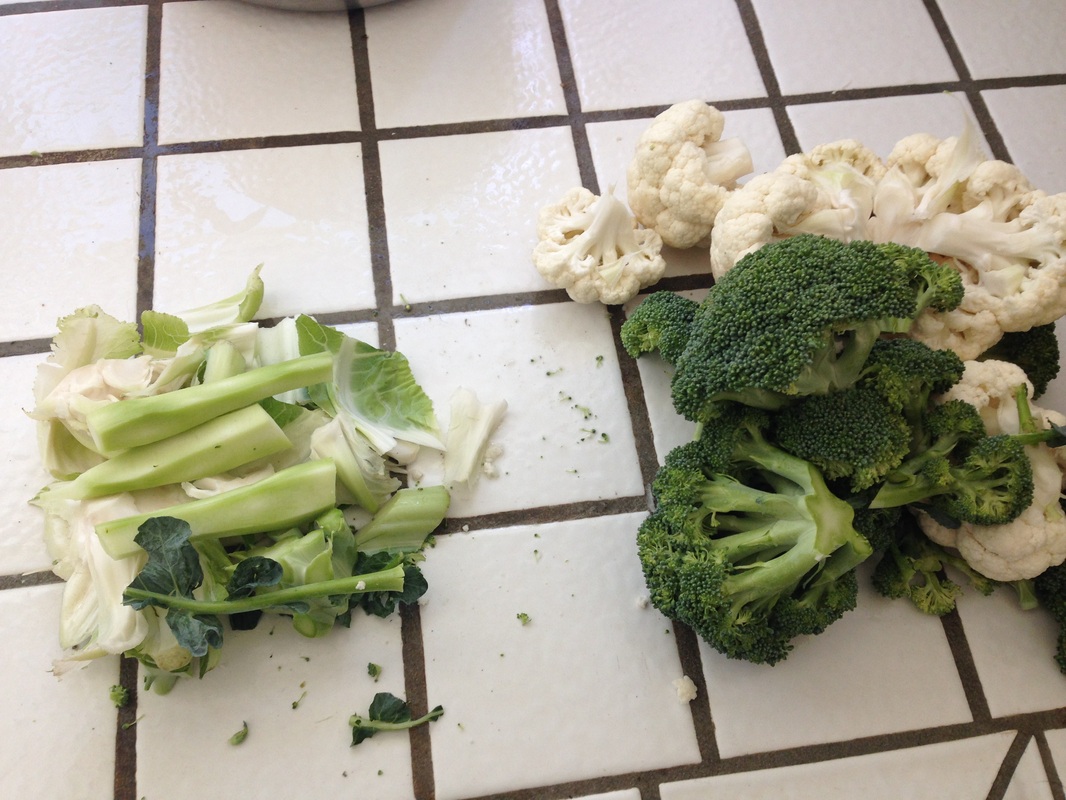
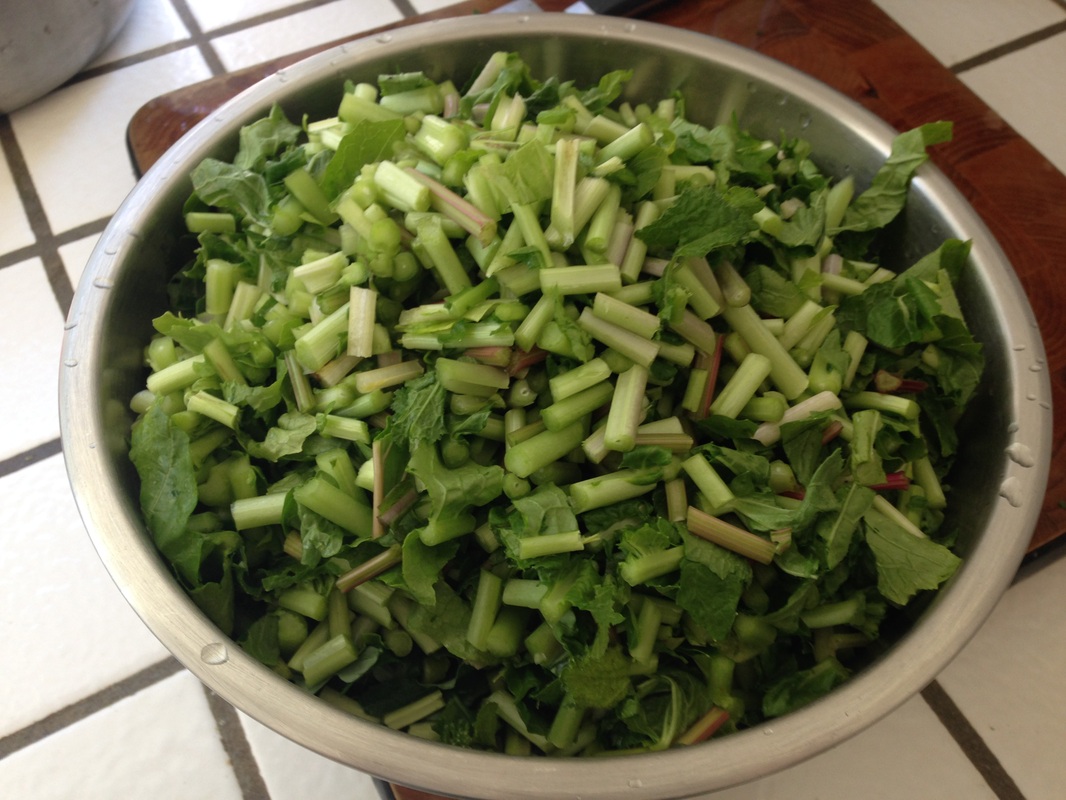
Be sure to remove any dirty or tough pieces, and then chop all your stems up into roughly the same size. If you don't have enough yet, throw them in a freezer bag until you have at least four to five cups. Now put it in a pot and add a generous amount of garlic, some salt, a VERY generous amount of olive oil, and then fill up about halfway with filtered water. Usually you will just begin to see the water when it's time to turn it off. Be careful, because you can always add more water later, but if you have too much you will end up with soup, not pesto. If you have a little over four cups of greens, add about a half a cup of olive oil. Today I had a huge bowl to cook and I was running low on olive oil so I supplemented with a gob of bacon fat on the principal that bacon fat improves most things, and greens particularly. If you do the same thing be sure to salt lightly since bacon fat is so salty. 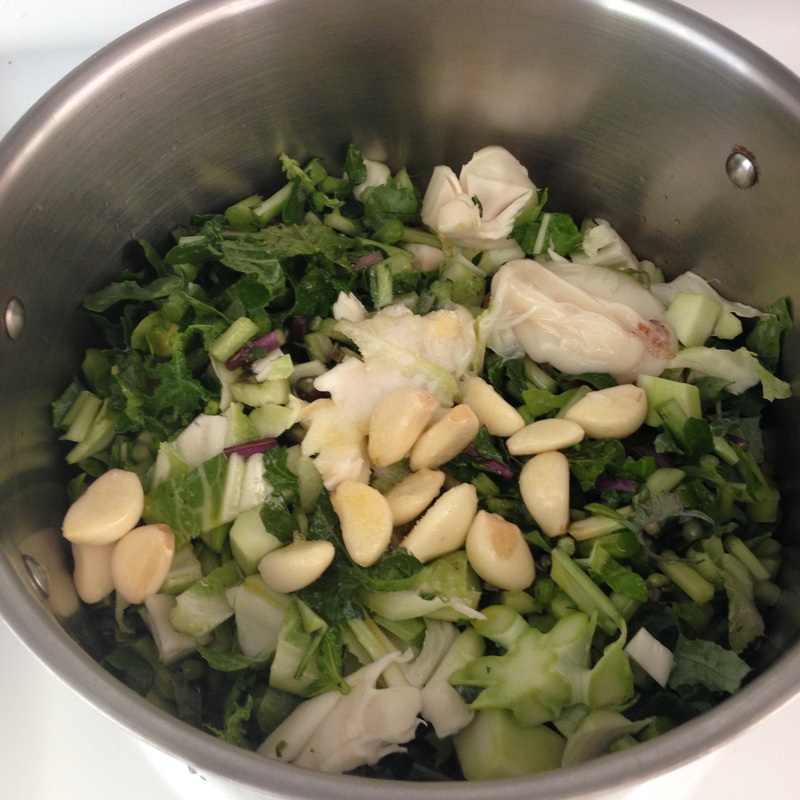
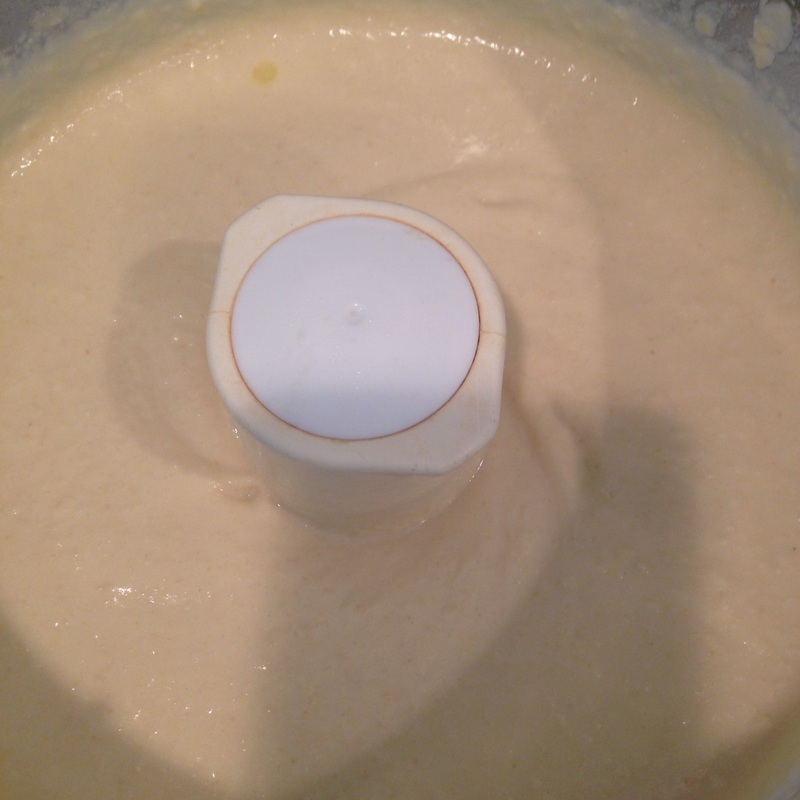
Once the water heats up, it will start to look like this: 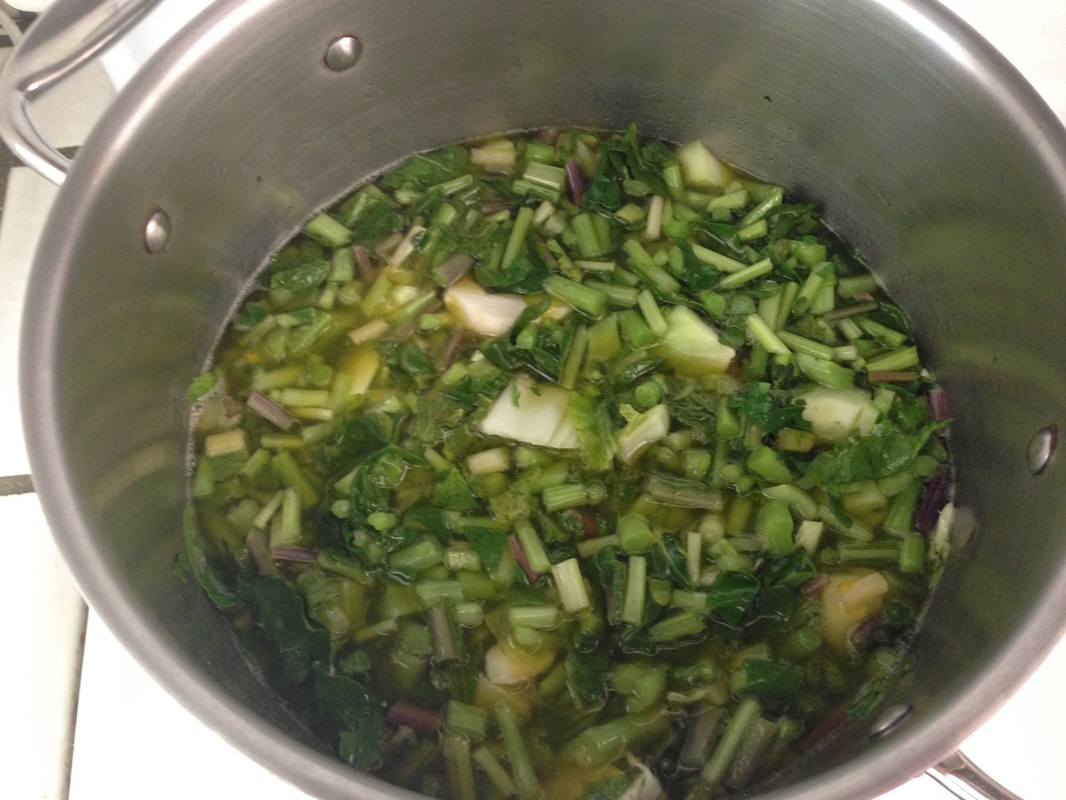
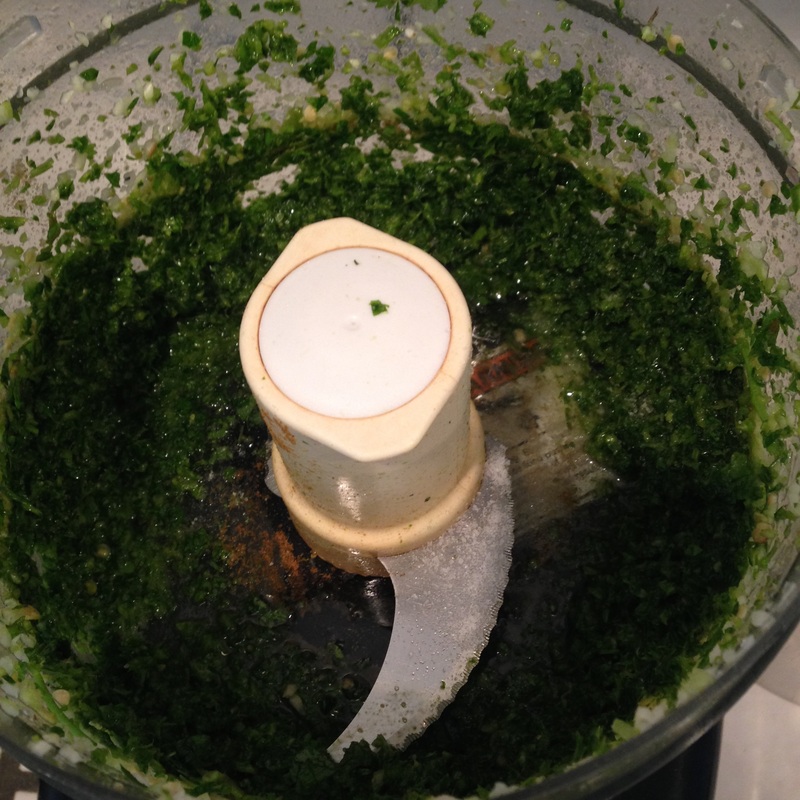
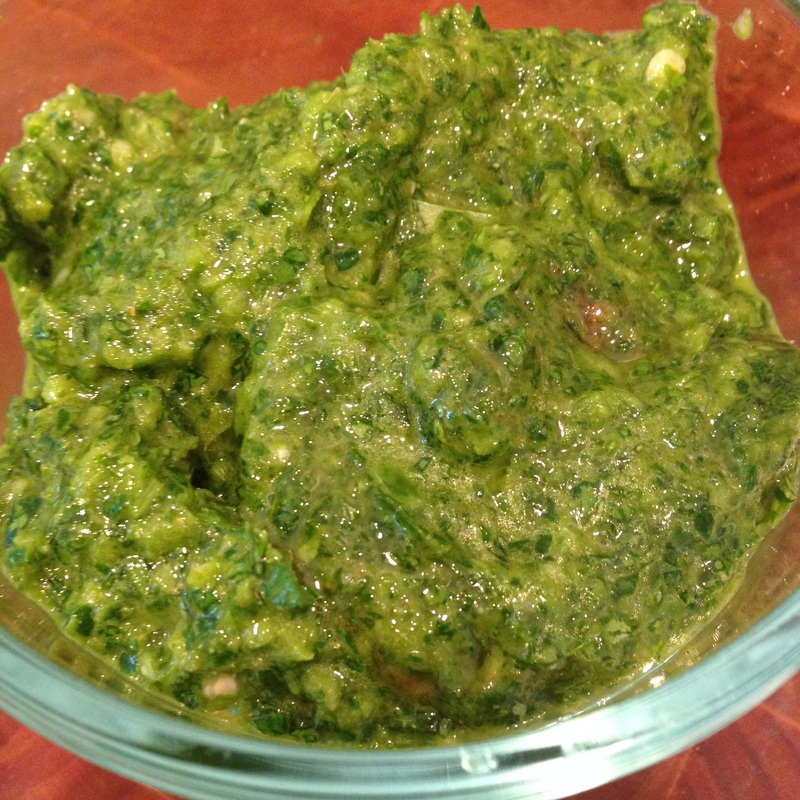
Bring the mixture to a boil and then turn it down to keep it at a simmer. Simmer until you can mash it up easily with a spoon. Taste for salt and add some if necessary. Transfer it to a blender or food processor once it has cooled and puree it thoroughly. If you think you added too much water, just leave some out when you puree it and add it back in until you like the consistency. Unlike basil pesto this is not a brilliant green but a disappointing pea soup mush. Sorry. At least it was made out of ingredients you would only have composted otherwise. To use it right away, add it to a pound of hot cooked pasta with one cup of grated parmesan. I usually freeze it in two cup containers for a day when I don't feel like cooking. 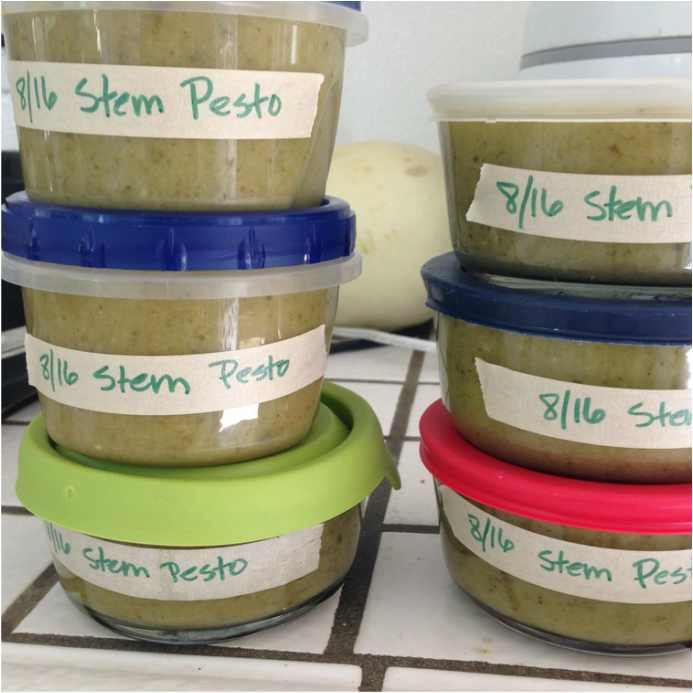
|
AuthorI love trying new foods, cooking, and gardening. I hope to share these experiences on this site. Thanks for taking a look! Categories
All
Archives
May 2020
|


 RSS Feed
Photos from Mechanoid Dolly, Mechanoid Dolly, fidber, Ken_Mayer, eflon, Dendroica cerulea, Urban_Integration
