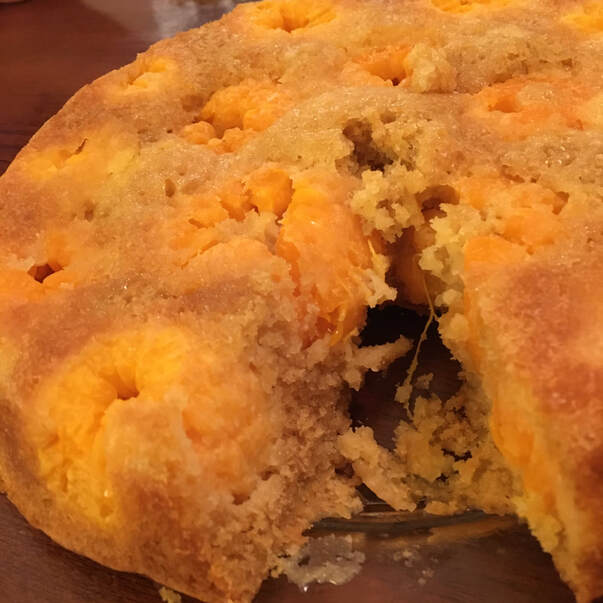
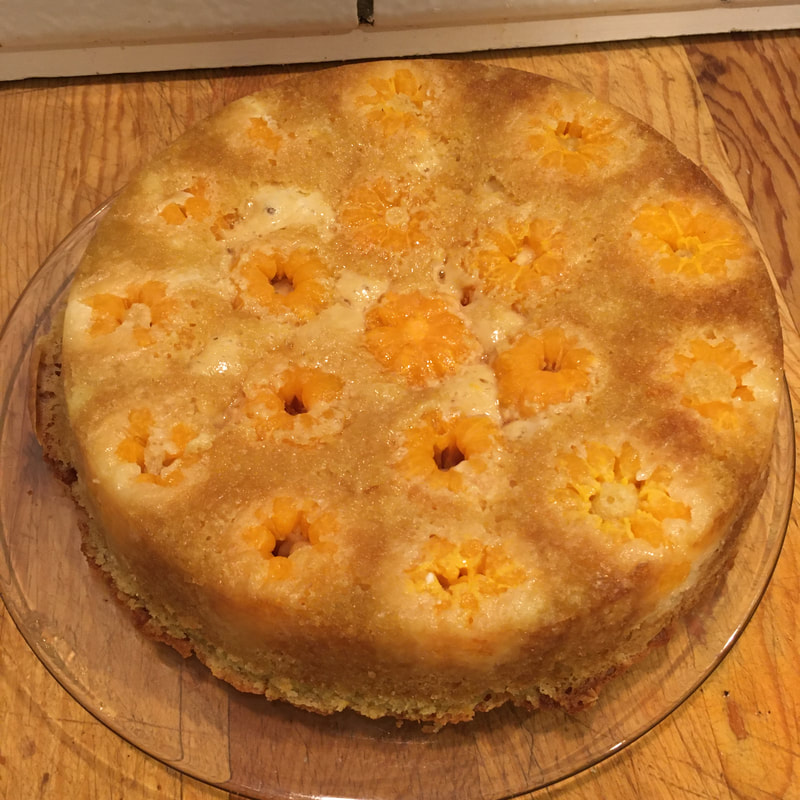
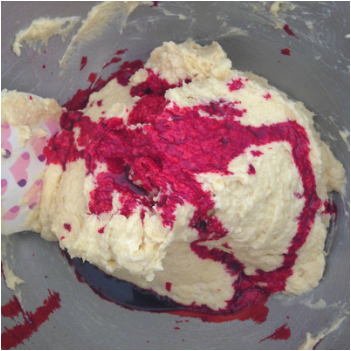
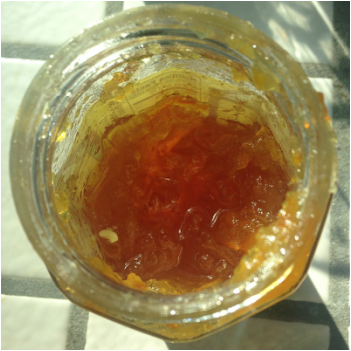
 I’ve never tasted a tangerine baked into a cake before, but it is surprisingly refreshing and sunshiny. The bits of cake around the tangerine are almost custardy, but the tangerine itself tastes a little like a peach. That’s some great winter cheer! The farmer’s markets are loaded with tangerines right now. We bought a few bags of them and then ended up drowning in them, so I was super excited to find a video on YouTube showing a cake with them. It seems like there aren’t very many recipes for cooking or preserving citrus if you end up with a glut. Here is the original video. It makes sense to me that in warm regions (other than California) there should be a history of preservation and cooking with citrus, but I can’t find my Persian cookbook anywhere. The hunt continues. In this culture, orange marmalade seems to be the peak of our creativity. But this cake is really delicious! I tested enough of it to know. So I certainly recommend you watch the video, but here are my notes as well since the lovely Layla Jawad doesn’t use very specific amounts. I think this is great because clearly it’s hard to mess this up, but I did mess it up a bit myself. Also, since this is basically a quick bread, I think the results are more reliable if you mix the wet and dry ingredients separately before mixing them together.
Ingredients: 4 eggs 1 cup milk 1 cup sugar (I used brown) 1 cup of butter, room temperature and cubed, plus a little extra to grease the pan 1 teaspoon vanilla extract the zest and juice from one orange seedless tangerines, peeled and as much pith removed as you can 3 cups all-purpose flour 2 teaspoons baking powder 1 teaspoon baking soda 2 9-inch cake pans or 1 9x13 pan parchment paper
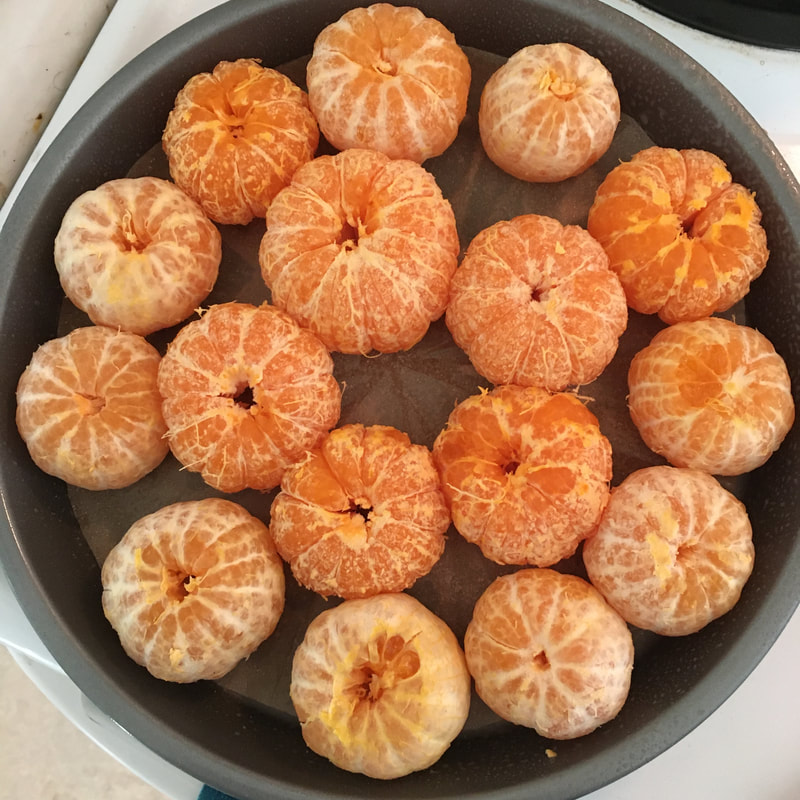
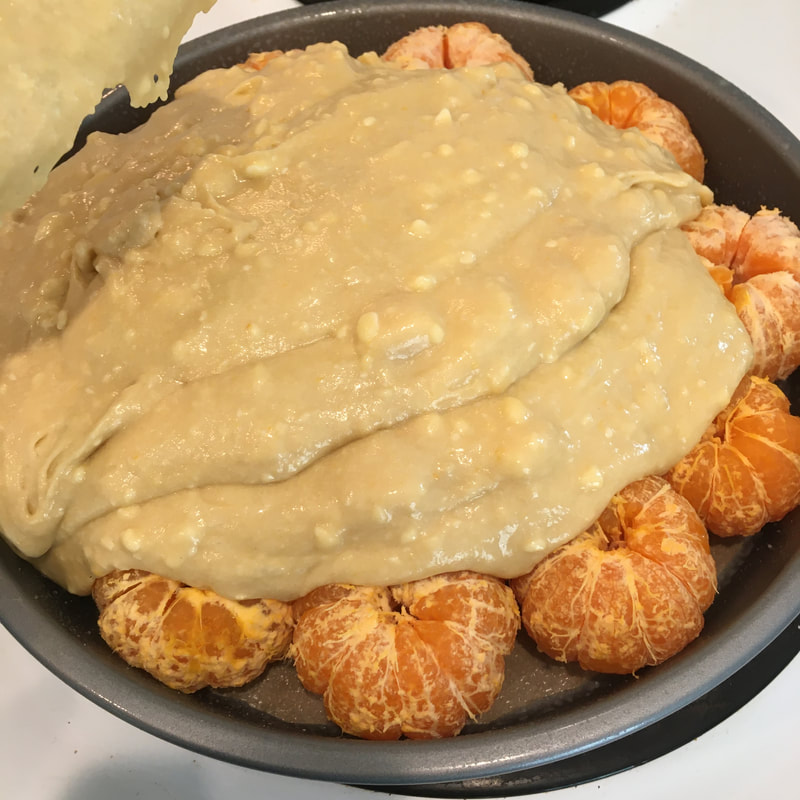
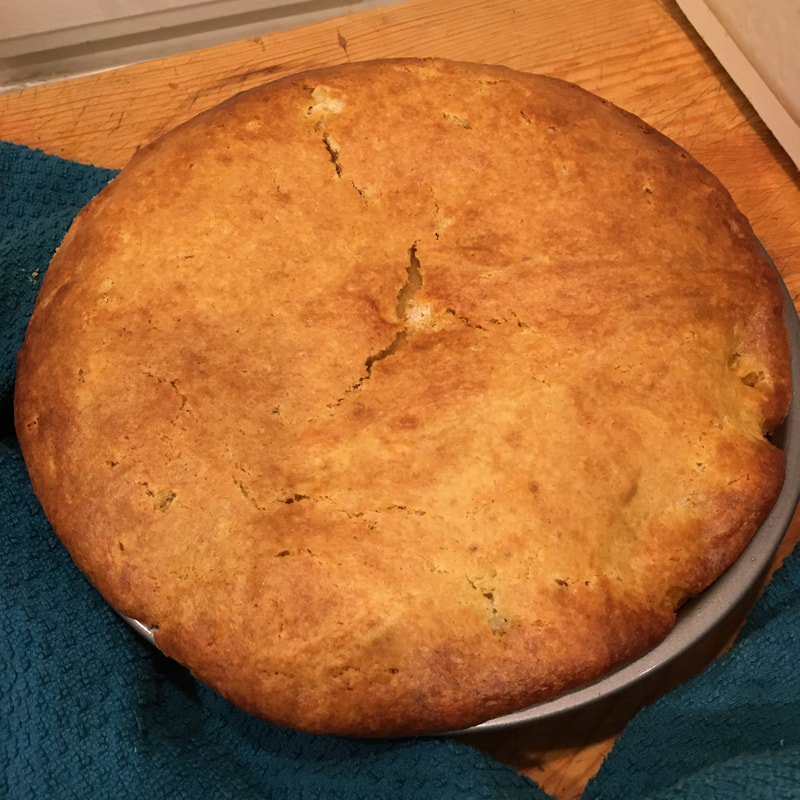
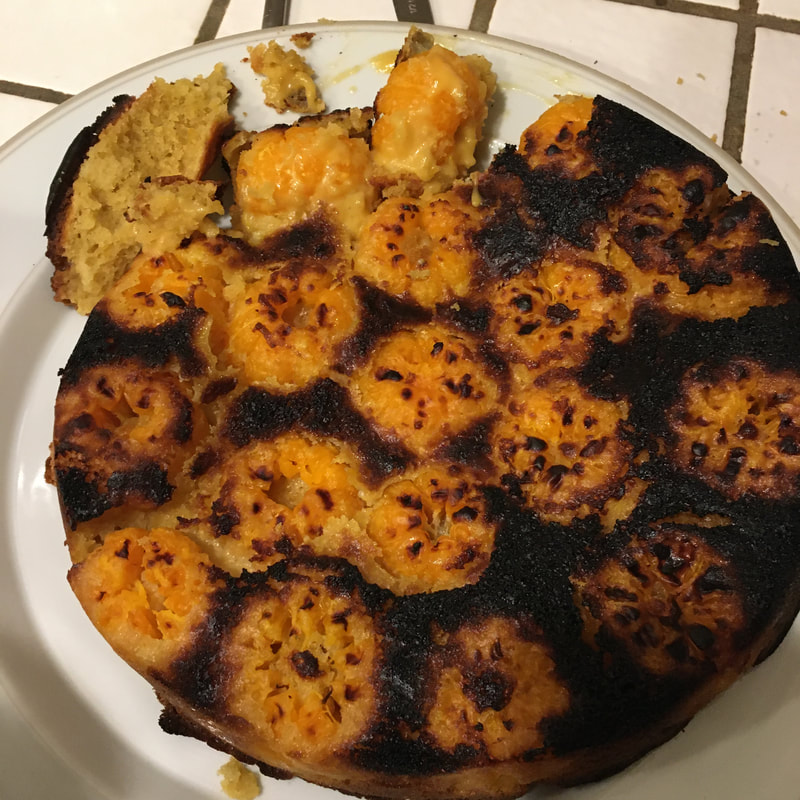
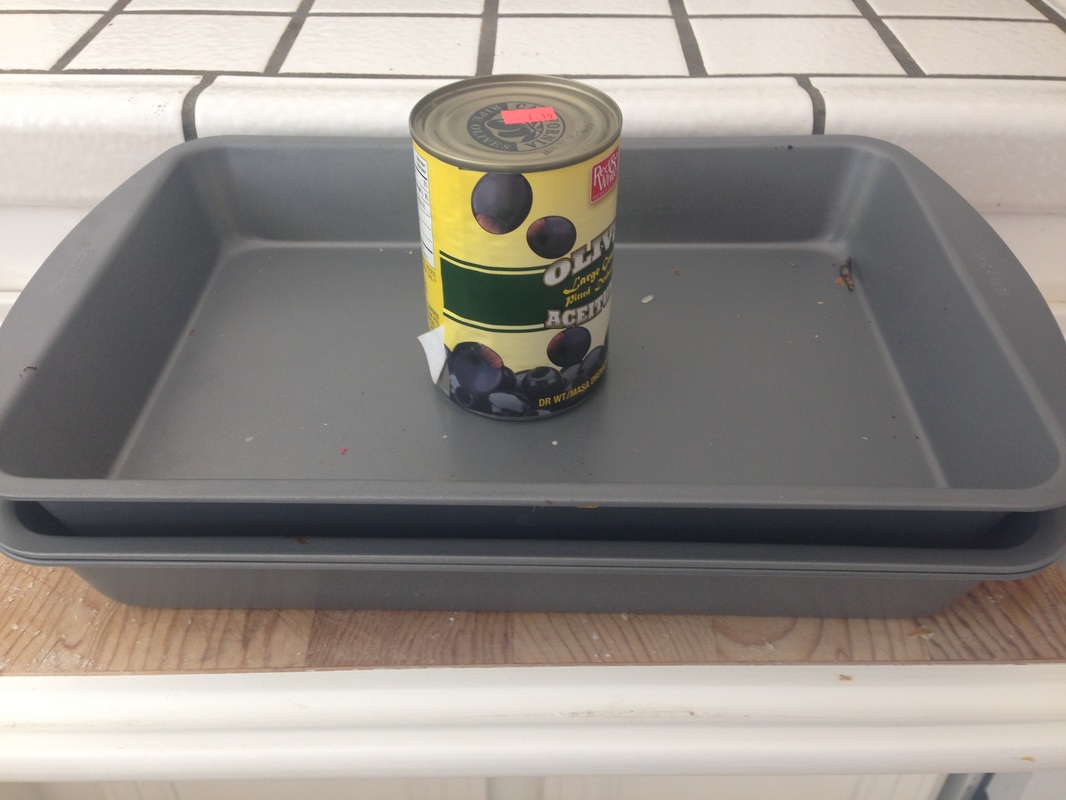
Directions: 1. Butter your pan(s) and line with parchment paper if you’re using the cake pans. Butter the parchment paper as well if you’re using it. Sprinkle some sugar over the bottom of the pan(s). Preheat the oven to 350 degrees Fahrenheit. 2. In one bowl, blend together the eggs, milk, sugar, butter, vanilla, and the zest and juice from the one orange. I used a hand mixer. In another bowl, blend together the flour, baking powder, and baking soda with a whisk. 3. Stir the dry ingredients into the wet ingredients in several additions and blend them to combine. Your batter is ready. 4. Place the mysterious and unspecified number of tangerines in your buttered baking dish, but don’t crowd them too much like I did or it won’t cook through. Pour the batter over the top and spread it a little, then bake for 40-45 minutes. So are you curious yet as to how I could have messed this up? First, the butter should be room temperature. Second, I crowded my pans with too many tangerines. Leave some space between them! This resulted in doughy spots around the tangerines which you couldn't see until the cake was inverted. Then I tried to fix one under the broiler, and it burned. The second one I put in the microwave and it finished cooking just fine. Whew!
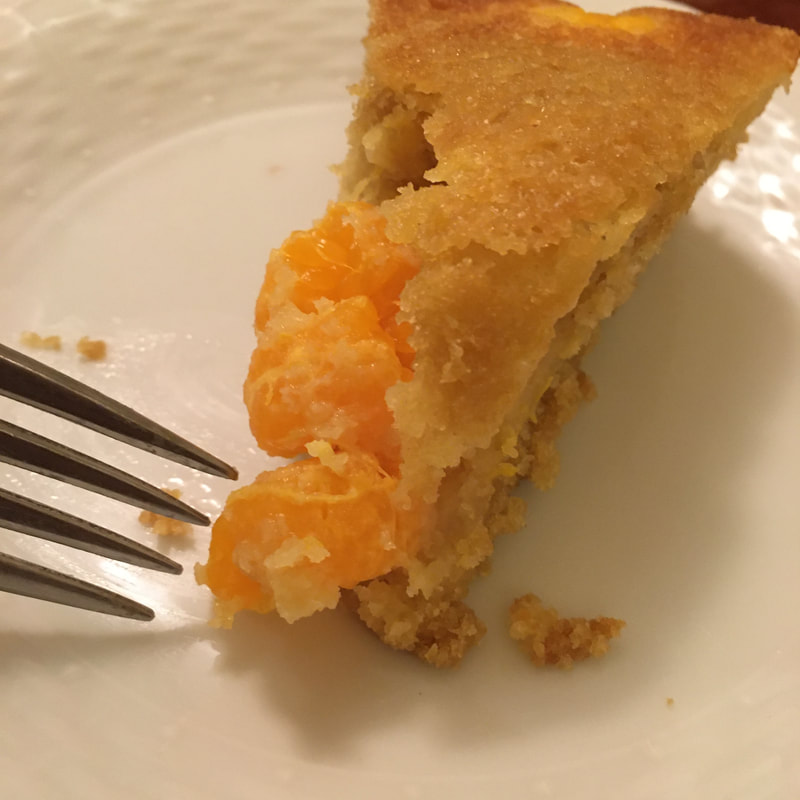
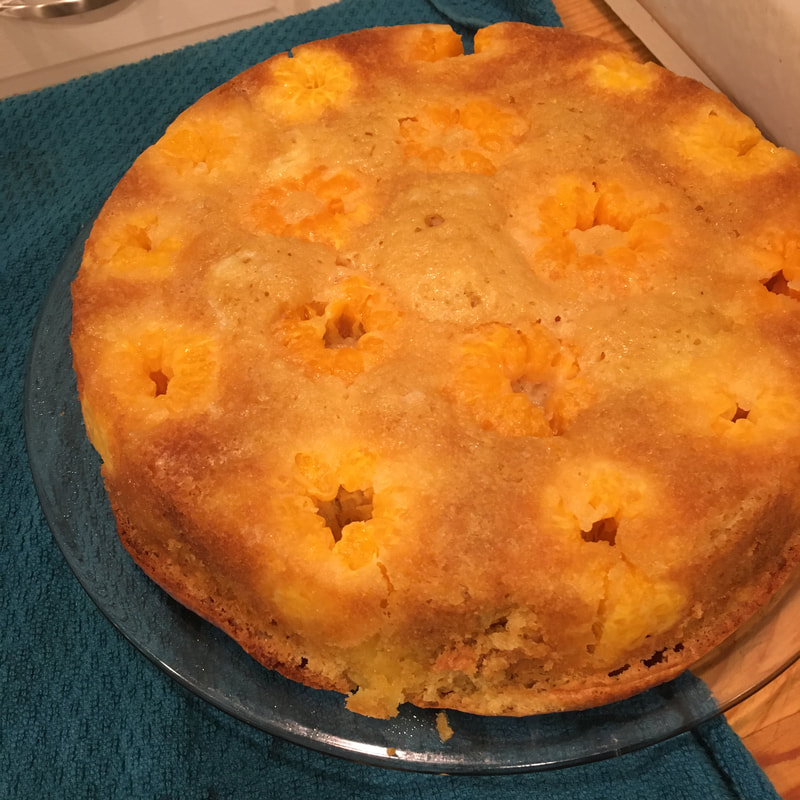 Just right. 
0 Comments
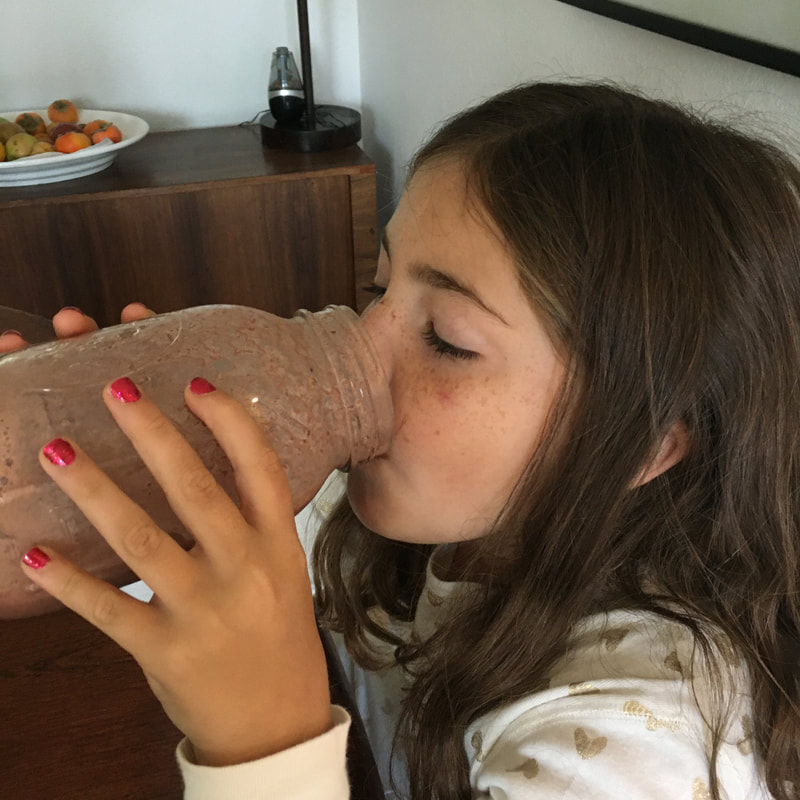
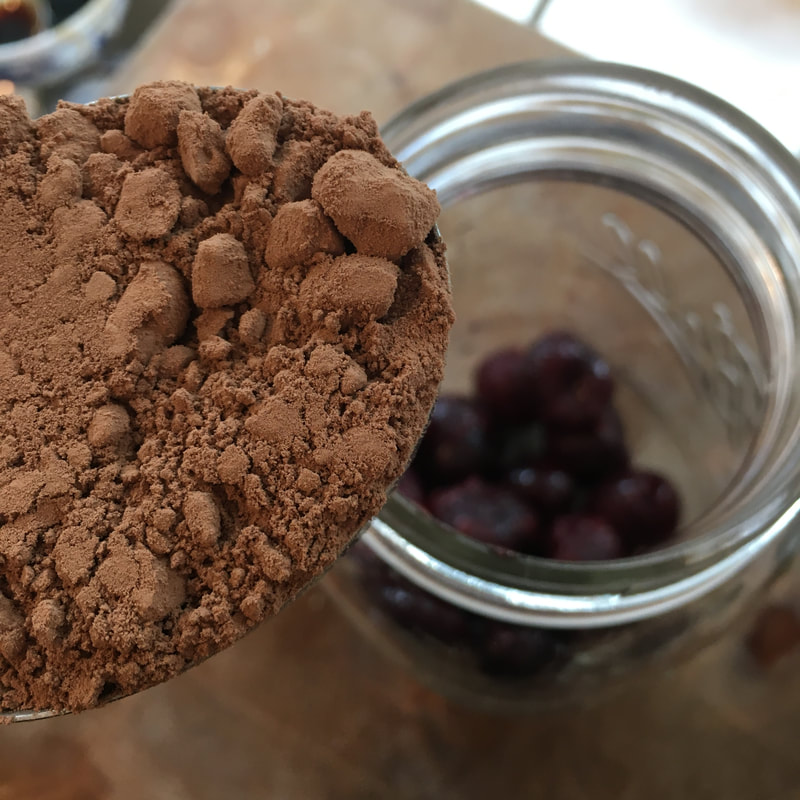 This isn't very seasonal. November is a month for pumpkin and turkey, I know. But we've had some really hot days recently and I was reminded of how much we enjoy this smoothie. Both my kids love it, and I originally dreamed this idea up when I read about the amazing benefits of antioxidants for skin in summer. It's like healthy, light ice cream. Normally the phrase "light ice cream" would turn me off, but I mean it in a good way this time! An article I read last spring explained the dangers of all sunscreens. If you are as pale as I am, it's a devastating read, but I bought the book by the author and I'm happy to say I made it through a whole summer with no sunscreen. I'll let you read the article for yourself and draw your own conclusions. Here is the link to the article. It was when I was desperately trying to incorporate more berries in our diet (for our skin! so I'll look young-ish forever!) that we started drinking this. We make this with raw goat milk from our goats, but I think it would taste great with any kind of milk. You can play around with the proportions if you like, whether you want it thicker, more chocolate-y, or sweeter, but this is how we like it. Honestly, I never actually measured until this morning, so I don't think you really need to either, but this is a good guideline. Did you know that you can use a mason jar with a standard mouth (NOT wide-mouth) for your blender? I tried this yesterday for the first time and absolutely love it. We made this smoothie a couple times, and then we made a matcha latte using a tiny little pint mason jar. No mess and it came out clump free. In the picture I'm using a quart jar. 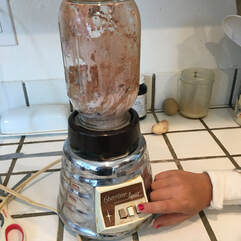 Chocolate Cherry Smoothie Ingredients: 1 cup frozen cherries 1 cup milk 1/4 cup cocoa powder 1-1/2 to 2 Tablespoons maple syrup Directions: Dump it all in the blender (or mason jar) and blend it until it's smooth and frothy. Stop and shake it a few times to make sure all the cocoa powder isn't stuck in a dry clump to the jar. Even if you end up with a few cherry chunks, the results are great. You can make it look pretty in a glass with a straw, but usually we just drink it straight from the jar.
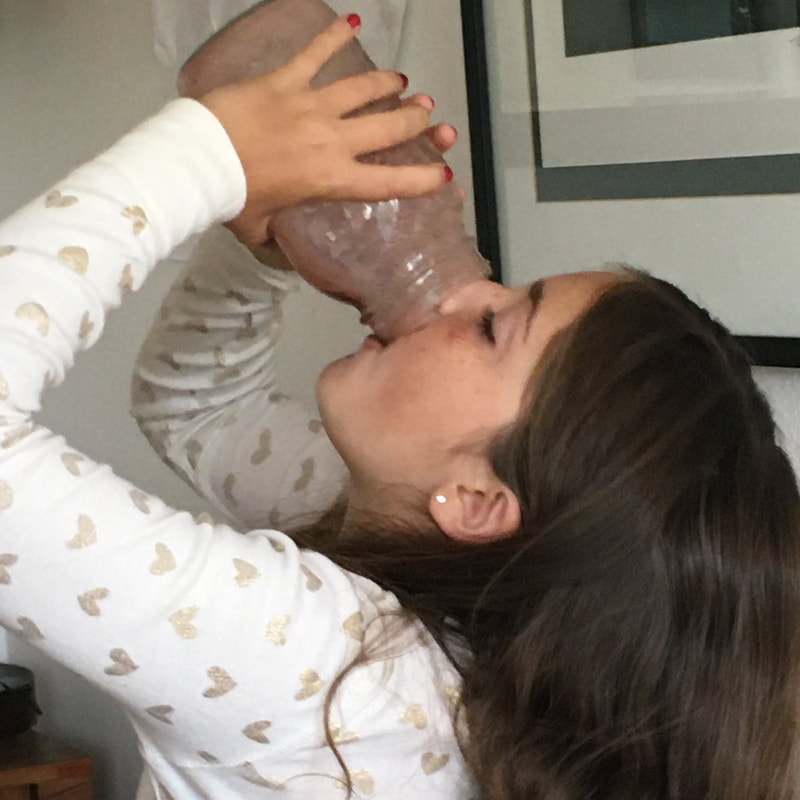
According to my taste testers, this one is good to the last drop.
I haven't tried this yet, but I was thinking about adding some chocolate extract. Or vanilla extract. Or maybe even some powdered astragalus since I sneak it into everything over the winter. Clearly there are more smoothies to come. 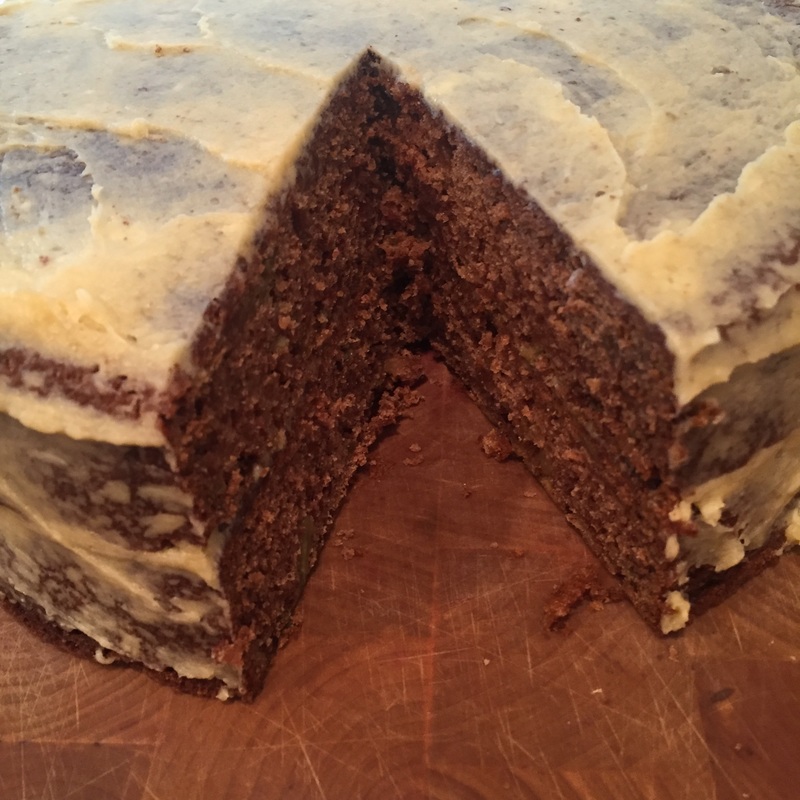 Last year we made apple molasses, apple sauce, apple pie, dehydrated apples, everything apple. This year the trend continues with apple cake. I found the recipe in The San Francisco Ferry Plaza Farmer's Market Cookbook, and it's as easy as making muffins. Dump, dump, stir, bake. The dough tasted a little bitter from the baking soda and I had serious doubts, but it was wonderful the next morning for breakfast. It was not too sweet, and everyone was relieved not to have to eat eggs or oatmeal again. Try it and you'll see. We "iced" the cake with a mixture of butter and honey. Ingredients: 1 Tablespoon unsalted butter or spray for the pan 1-1/2 cups coconut oil, warmed to be soft if necessary 1-1/2 to 2 cups brown sugar 4 eggs 2 cups flour (I used a gluten-free mix) 1 Tablespoon baking soda 2 teaspoons ground cinnamon 1/2 teaspoon ground nutmeg 1 teaspoon salt 3 cups of grated unpeeled Granny Smith apples 1 Tablespoon vanilla extract Directions: Spray or grease two 9 inch cake pans and preheat the oven to 325. Mix the coconut oil, sugar, and eggs in one bowl. Mix the flour and the other dry ingredients in another bowl and then add them to the wet ingredients. Stir until combined, and then add the grated apple and vanilla. Pour half the batter into each cake pan and bake for 35-40 minutes. Test it with a toothpick in the center when you think it's done. After you take the cakes out, let them sit in the pans for about ten minutes before unfolding them and letting them cool. We "iced" our cakes with a mixture of butter and honey. 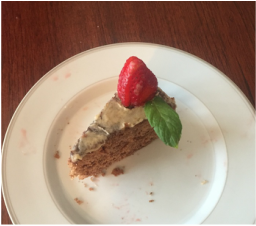 Painstakingly decorated and photographed by my nine year old son.
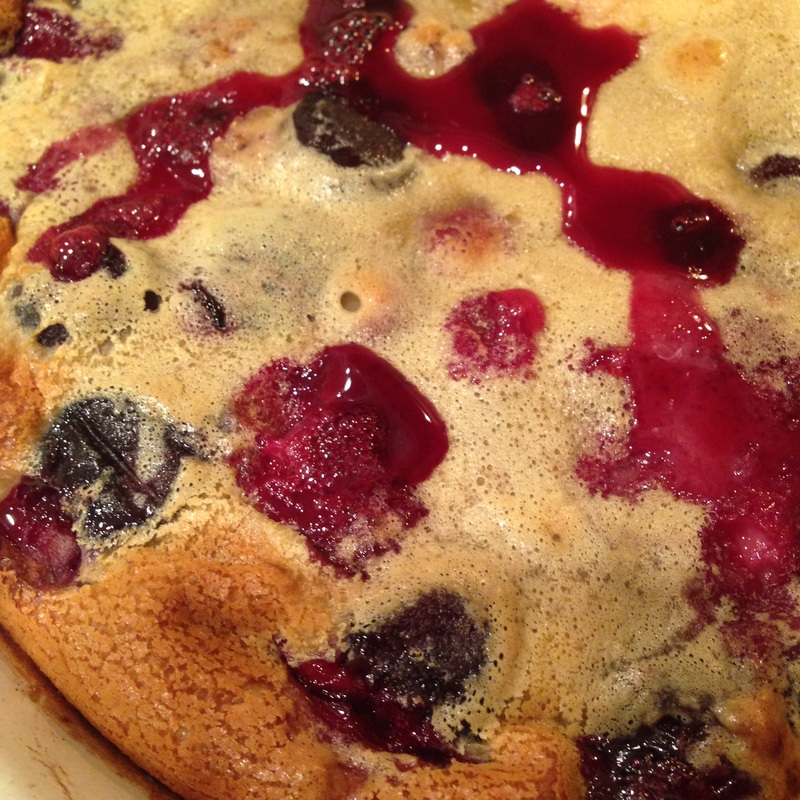
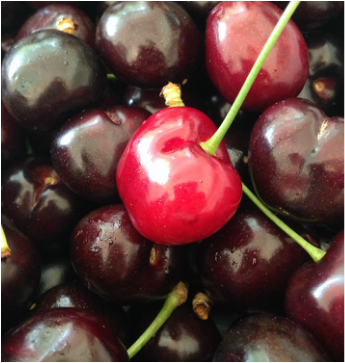
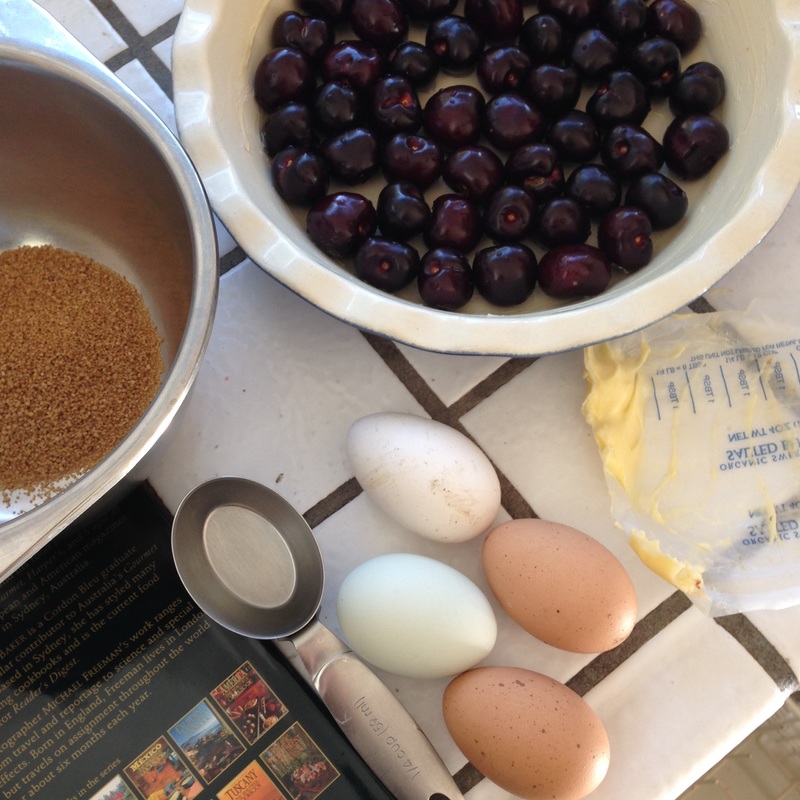
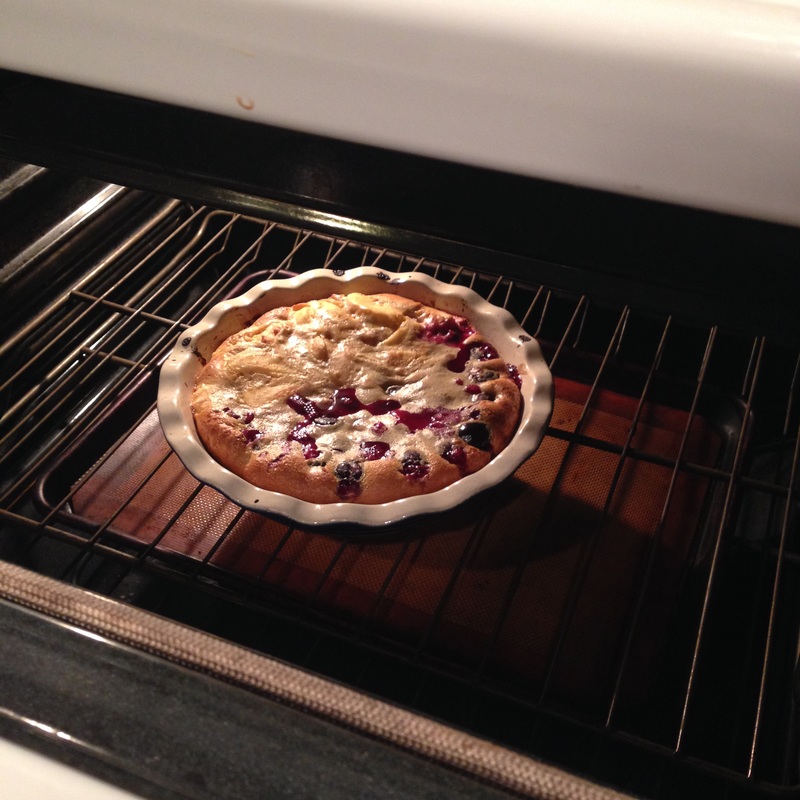
It's cherry season again! This Memorial Day Weekend we found plenty of sweet ripe cherries at a u-pick farm in Brentwood. It's painful to waste a cherry by cooking it, but this is the one exception I believe it. The cherries are baked in a simple sweet custard. This is easy, delicious, quick, and very difficult to mess up. Perfect for me! I tried it with peeled, pitted slices of peach too. Delicious. I substituted the flour for tapioca flour and rice flour. Great! I ran out of milk and substituted an unknown quantity of whipping cream and water. Just fine. I don't own kirsch, so I've never used it, but triple sec worked fine and so did vanilla. I reduced the sugar by half. And that's why this is virtually unbreakable. I'm including the original recipe with my variations in parentheses. This was adapted from Provence the Beautiful Cookbook. Ingredients: 2 Tablespoons unsalted butter 1 pound stemmed cherries, not pitted (unless you want the extra work) 1/2 cup sugar (my cherries were so ripe I only used 1/4 cup) 4 eggs small pinch salt 1/2 cup flour (or 1/3 cup tapioca flour, or 1/2 cup rice flour) 1 cup milk 1/4 kirsch (I used 3 Tablespoons of Triple Sec or vanilla) confectioner's sugar for sprinkling
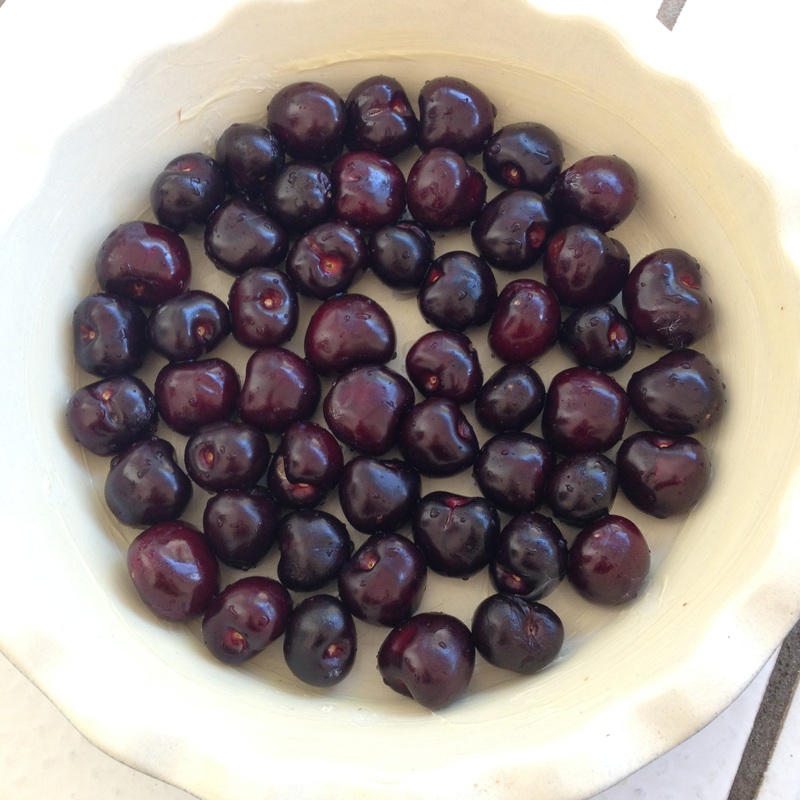
Directions: Preheat the oven to 375. Butter a 9 or 10 inch baking dish with a tablespoon of butter. Put the washed cherries in one layer in the bottom of the baking dish. In a separate bowl, beat together the eggs, sugar, salt, flour, milk, and kirsch. Pour the egg mixture over the cherries, and dot the top with a little butter. Put it in the oven and start checking after twenty minutes. (The outside edges will cook first, sometimes puffing up to improbable proportions, but it will fall down again.) Once the middle looks set but not dry, take it from the oven. Sprinkle with a little confectioners sugar if you like and serve it when it's lukewarm. Any sooner and the cherries will be like molten lava. 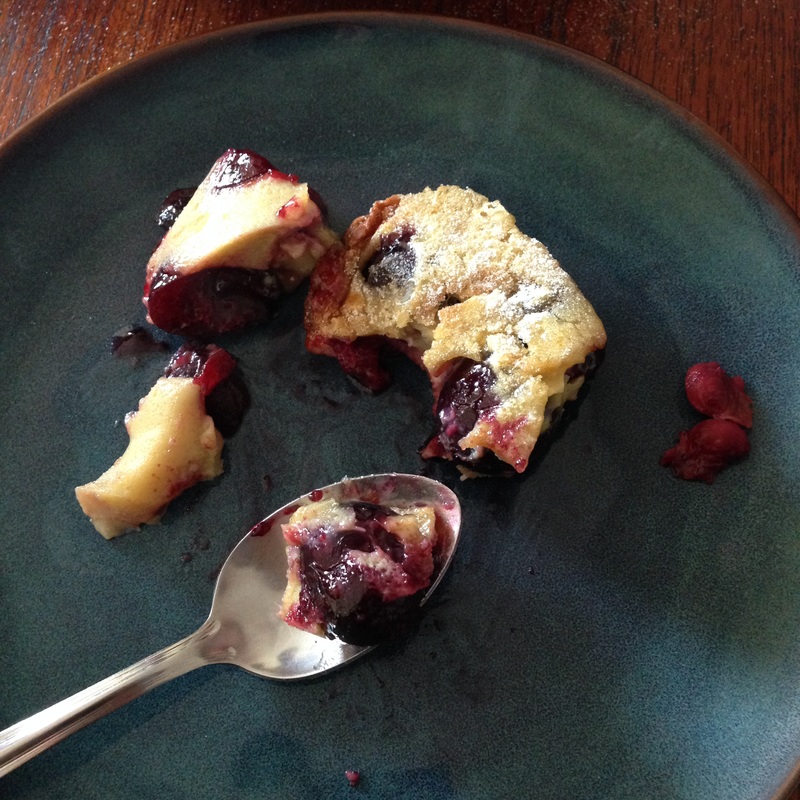 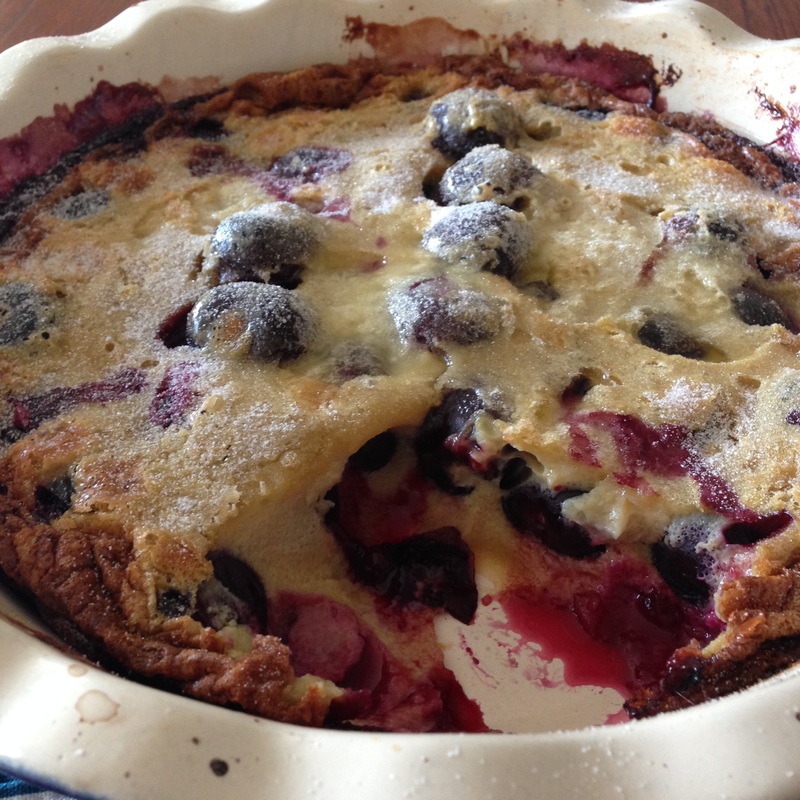 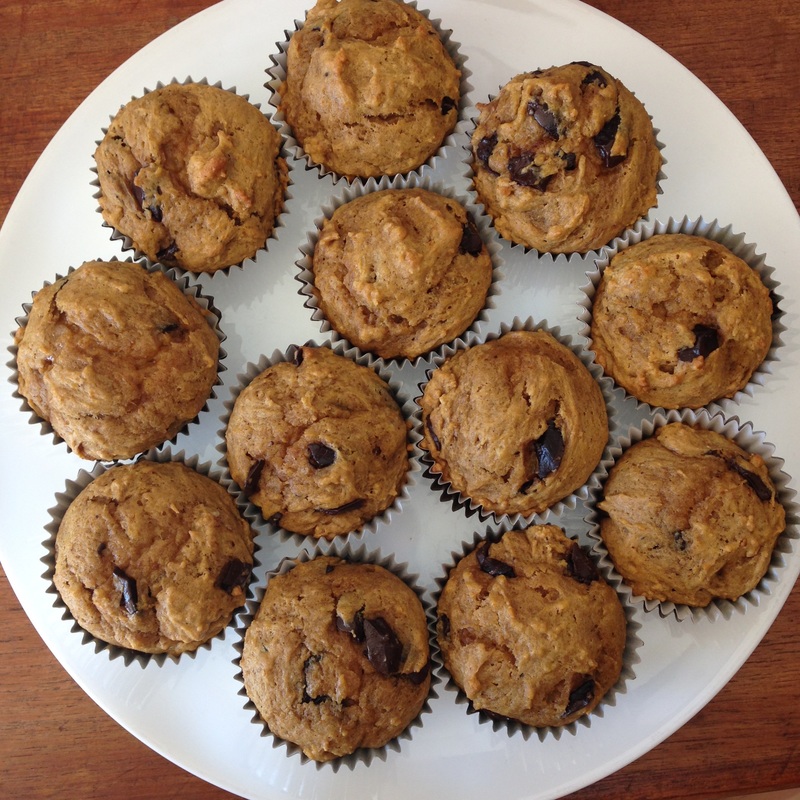 When my kids were smaller my friend Angela started blogging, and this is one of the recipes (of many really good ones) that she posted. Unfortunately, I think she took down the site a while ago, but I still have my favorites scratched out on recipe cards. I make them with my kids every year around this time. I have long been a fan of the pumpkin-chocolate combination. Someday when I have the time and I plan on cooking through a huge collection of pumpkin-chocolate recipes I've torn out of magazines over the years. Someday. It is best done with an enormous bowl, because it makes about 3 dozen muffins. Ingredients: 5 cups flour (white, all-purpose) 2-1/4 cups sugar 1 T. baking soda 1/2 T. baking powder 1/2 T. salt 1-1/2 T. cinnamon 1/2 T. nutmeg 1/2 T. cloves 6 eggs 3 cups canned pumpkin 1-1/2 cups butter, melted 2 cups chocolate chips Directions: In one bowl, stir the dry ingredients together (flour through cloves). In another, mix the wet ingredients together (eggs through butter). Mix the dry ingredients into the wet ingredients and add the chocolate chips, stirring to distribute them evenly. Preheat your oven to 350 degrees. Line a muffin pan (this makes 36, so you will probably have to do this in batches), and fill each liner about 2/3 up with batter. Bake the muffins for 20-25 minutes. 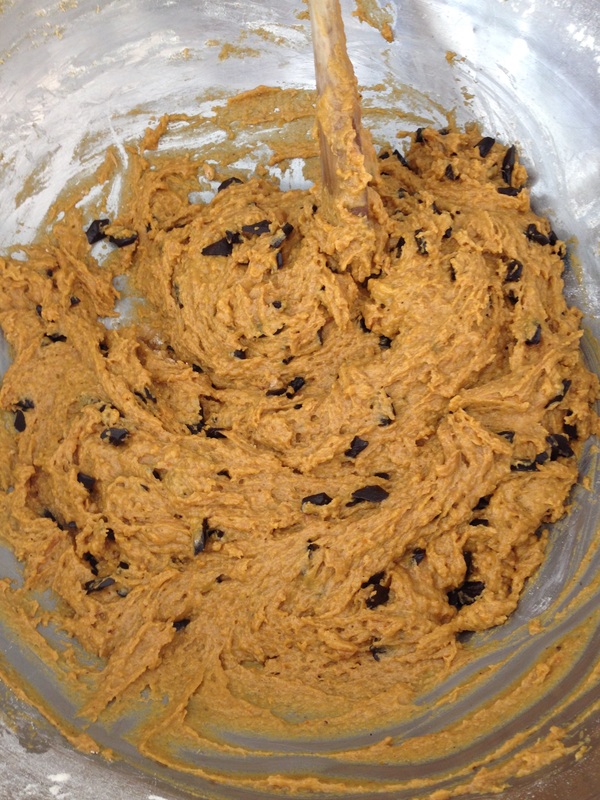
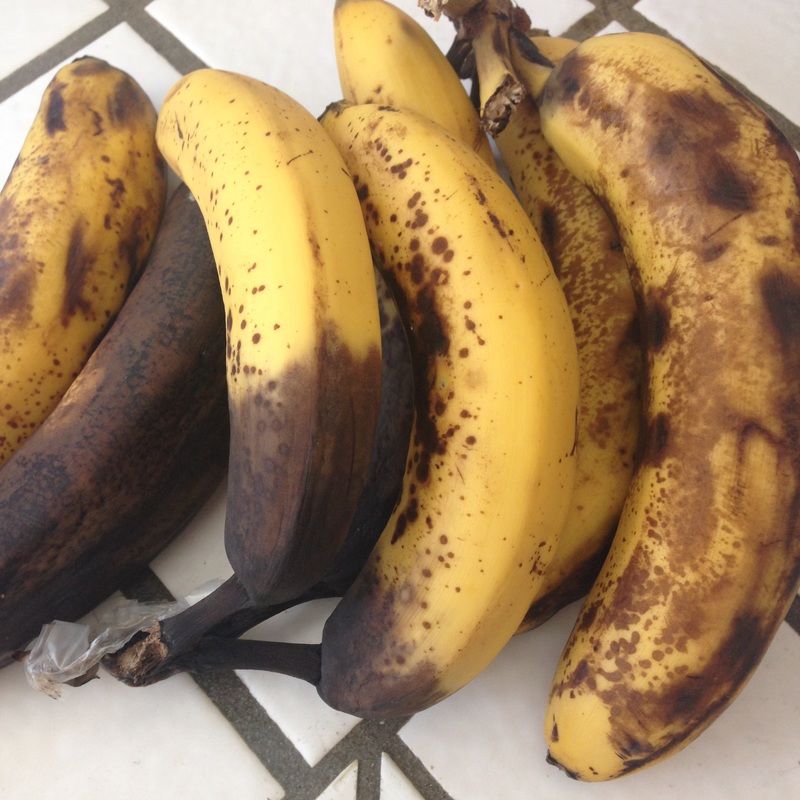
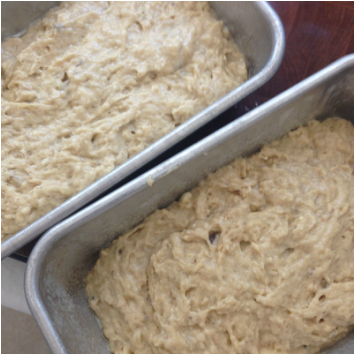
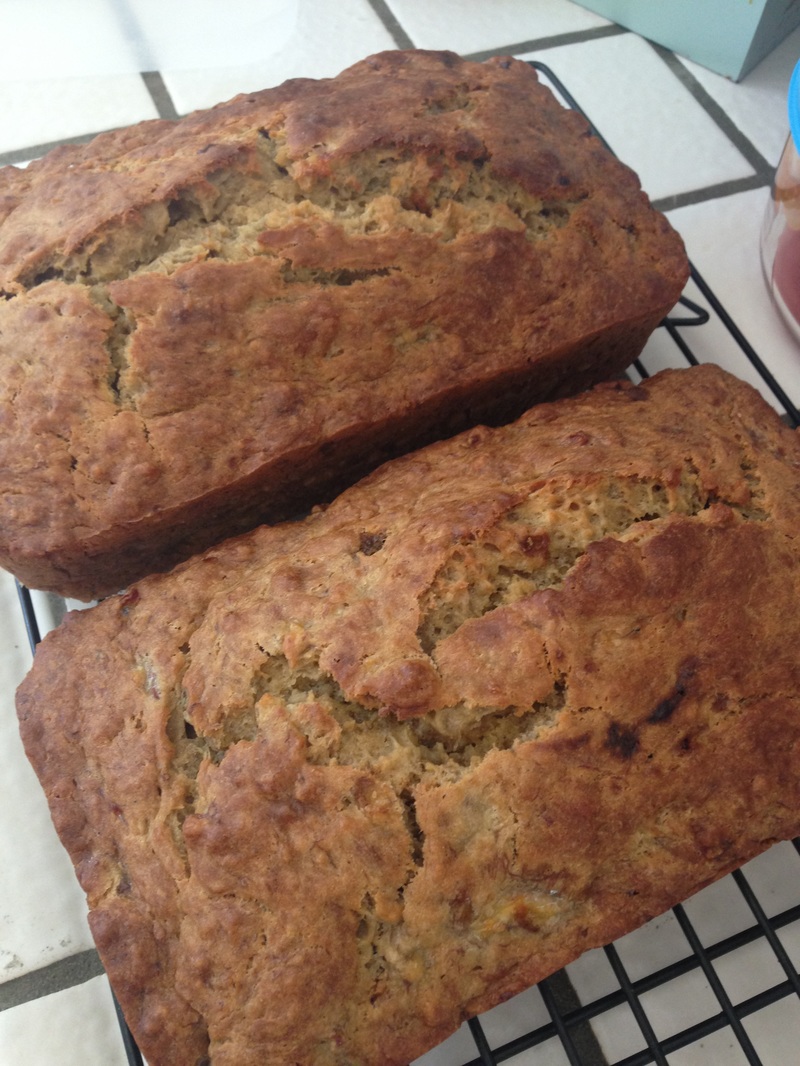
I'll say it up front. I'm sorry. In light of the fact that everyone in the continental United States already has their favorite banana bread recipe, I feel like I owe you an apology. When you realize that I dared to post a banana bread recipe that doesn't include chocolate chips, you might agree with me. However, this still manages to be some REALLY good banana bread. I've tried it with different combinations of flour, and I regret to inform you that while whole wheat pastry flour isn't bad, white is better. Also, although my recipe card has no directions on it, I'm pretty sure I meant to cream the soft butter and sugar together before adding the other liquid ingredients- however, I completely forgot and it was fine, so I will skip that step in the future. This makes one loaf (DOUBLE IT!!!) and of course you can add chocolate chips, and lots of them. Ingredients: 2 cups flour 3/4 teaspoon baking soda 1/2 teaspoon salt 1/2 cup sugar 1/2 cup brown sugar 1/4 cup butter, softened or melted 2 eggs 3 mashed bananas 1/3 cup sour cream or yogurt 1/2 teaspoon ground cardamom
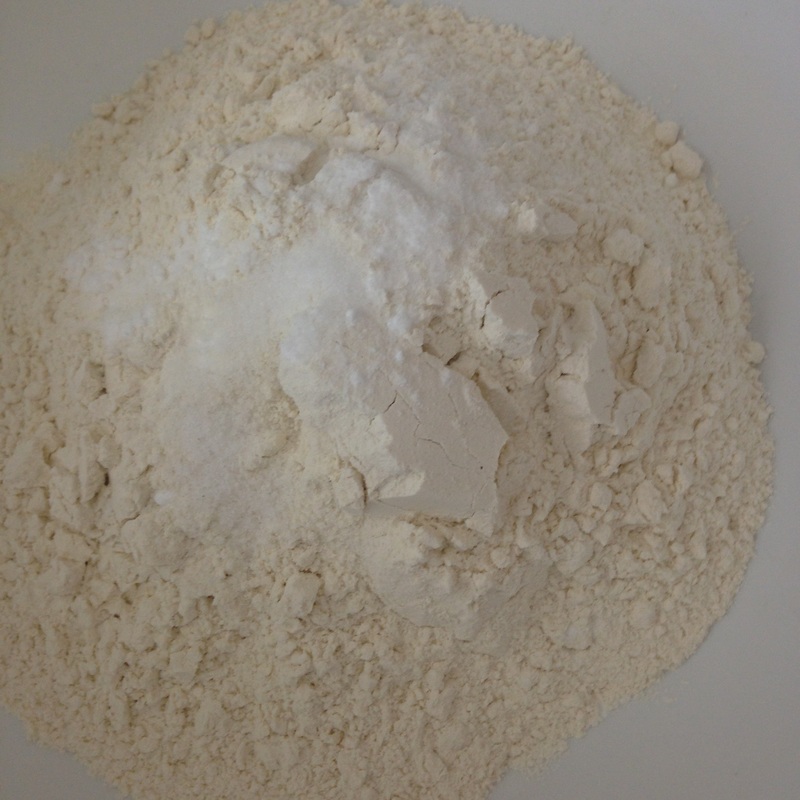
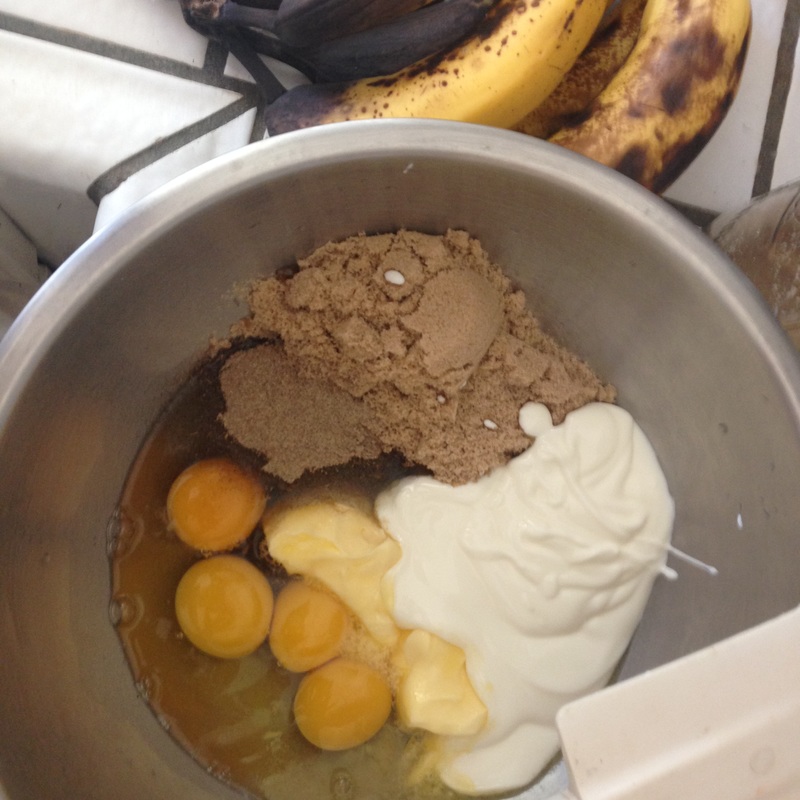
Directions: Mix the flour, baking soda, and salt together in a big bowl. Mix the sugar, the brown sugar, the butter, the eggs, the bananas, the sour cream and the cardamom in another bowl. Mix it thoroughly and then stir in the dry ingredients. Preheat the oven to 350 degrees, and grease a loaf pan with butter. Pour the batter in and then bake the banana bread for about an hour. Test for doneness with a toothpick or skewer.
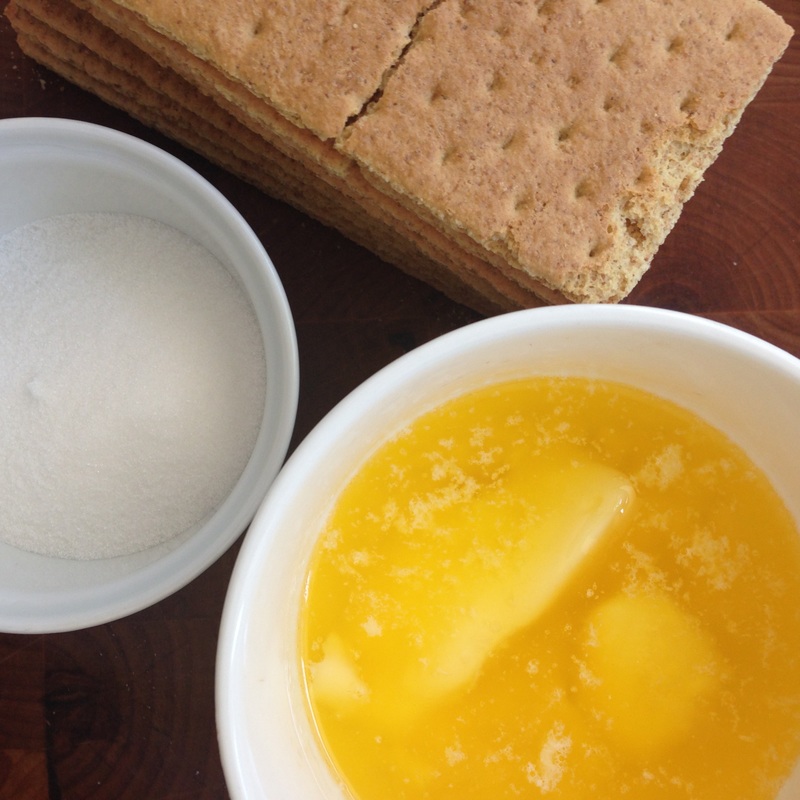
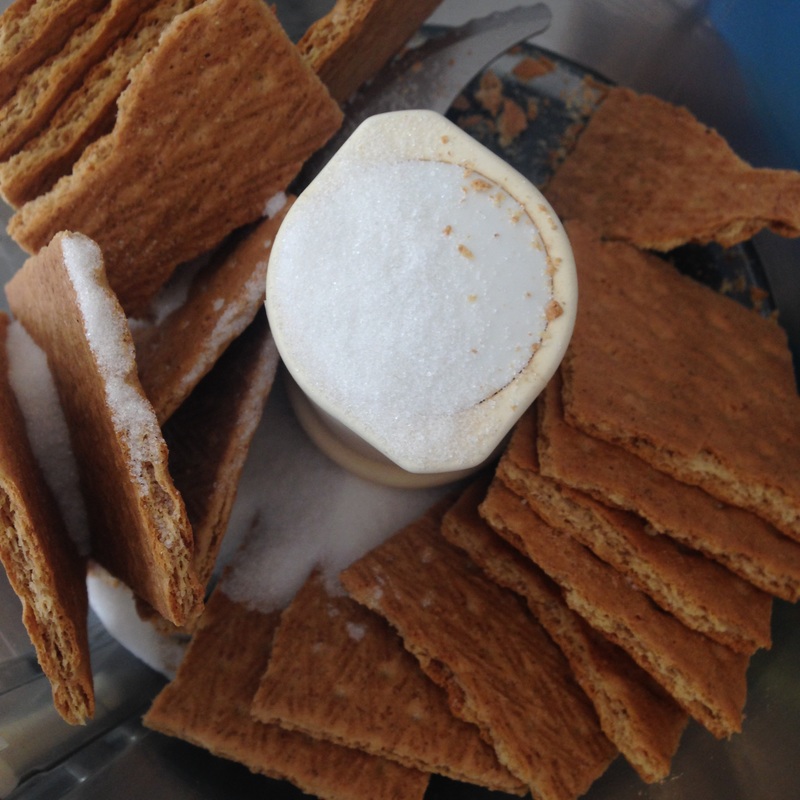
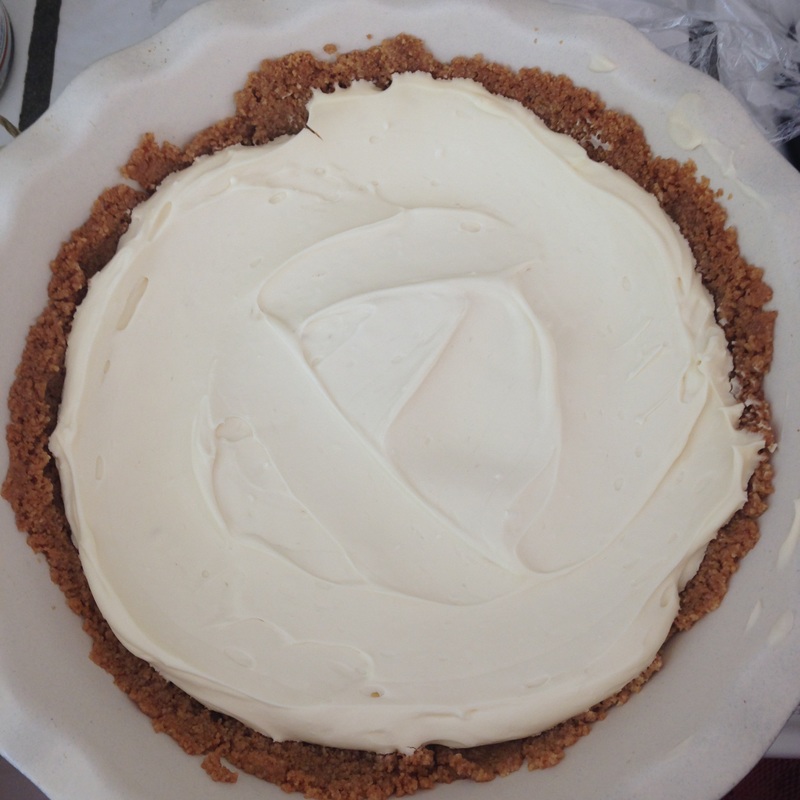
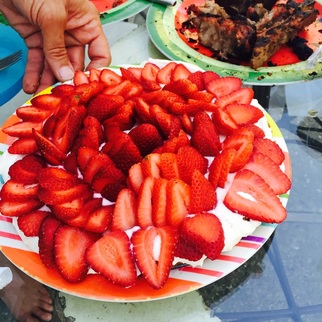
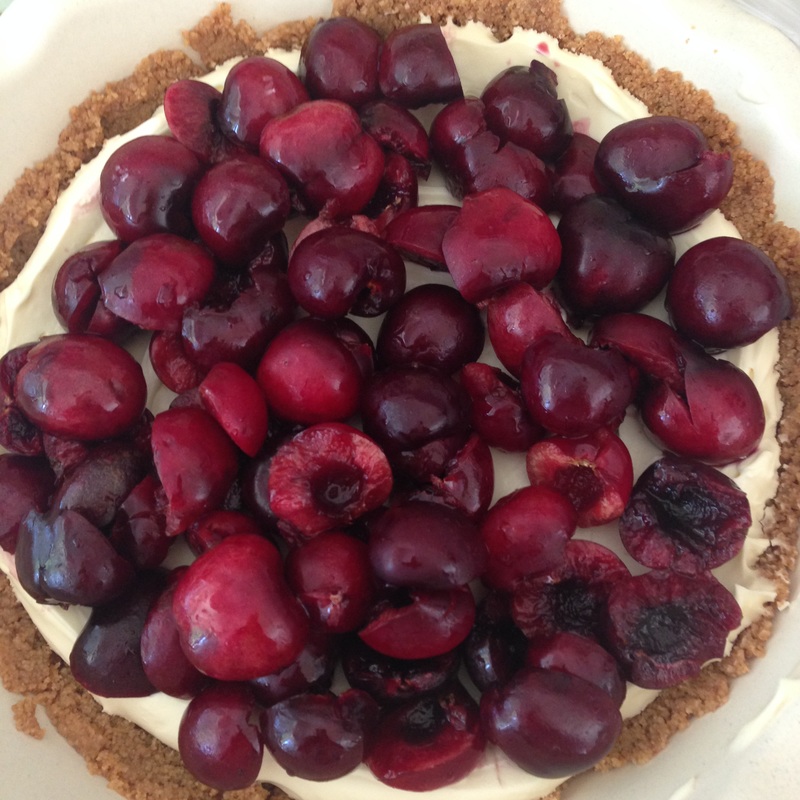
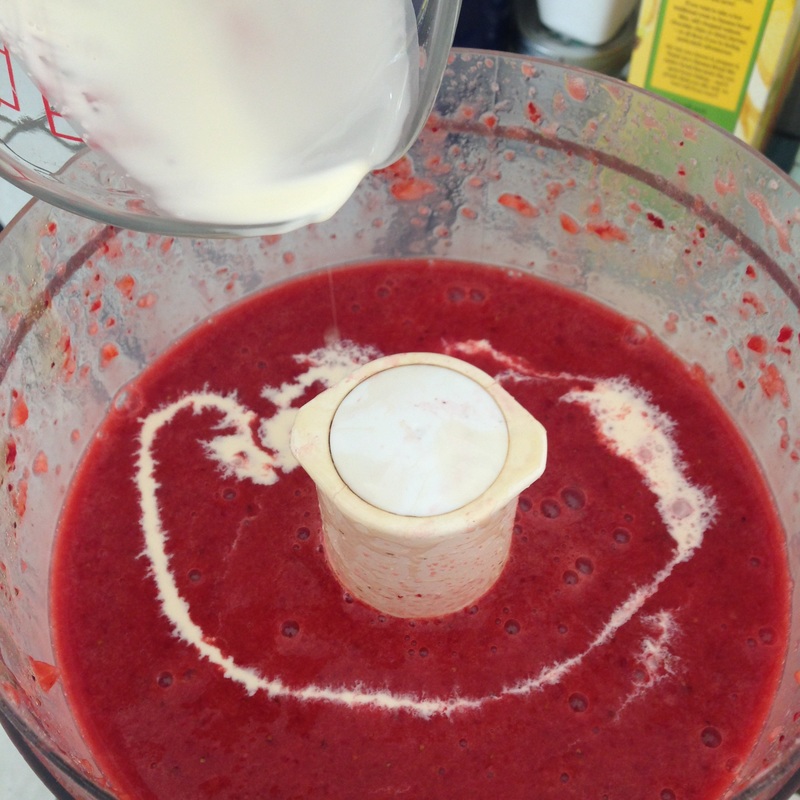
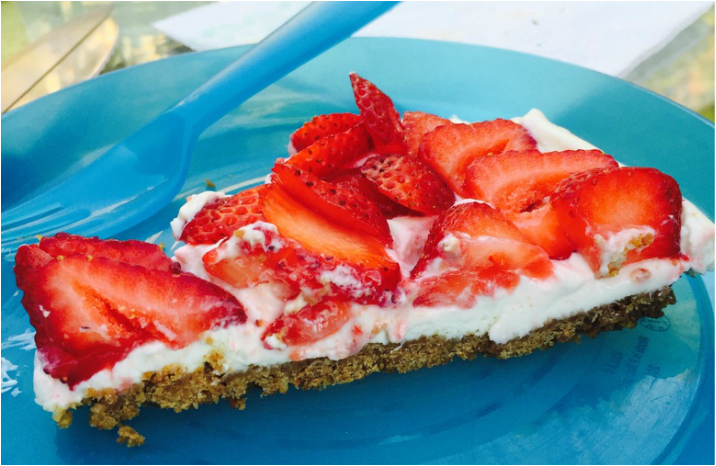 If you were worried that eating all of that light, sweet summer produce was going to result in unwanted weight loss, don't worry. I have the answer to that: the fresh fruit tart. Loaded with fat and sugar, you are guaranteed to keep those fabulous curves. I started making this when I was pregnant with my first child. Pitting one pound of cherries by hand was the most onerous part, and I asked my husband to help. A few minutes later I found him, cherry juice dripping down his chin, looking like he had participated in some kind of sick vampiric feast. No, it was worse than that. He was pitting them in his mouth, spitting the seeds into the sink and the cherries into the bowl. And this is why we privately refer to this as the Regurgi-Cherry Tart. A cherry pitter is only about $15 and is more than worth the investment. The idea is very simple. A graham cracker crust layered with a sweetened whipped cream/cream cheese mixture, and lots of fresh fruit. The best pan for this is a 9" tart pan with a removable bottom, but mine rusted out long ago and so I used a pie dish instead. The original recipe was from Food magazine at least eight years ago. Ingredients: 9 graham crackers 2 tablespoons sugar, and then another 2 tablespoons for the cream mixture 6 tablespoons melted butter 6 ounces cream cheese at room temperature 3/4 cup whipping cream at least one pound of fresh fruit (strawberries, cherries, mangoes, or kiwi), washed and sliced however you like Directions for the crust:
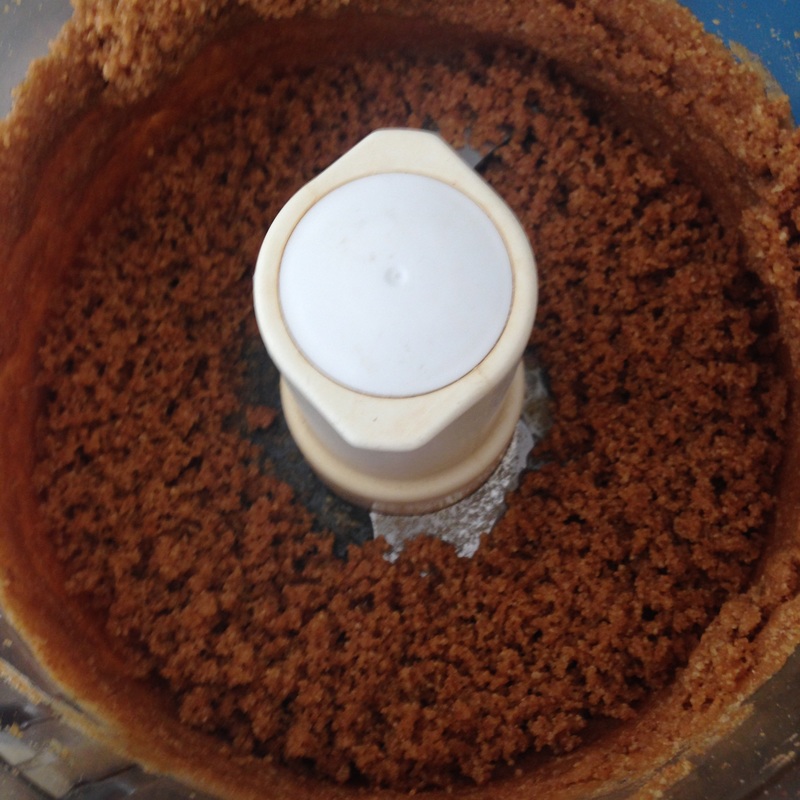
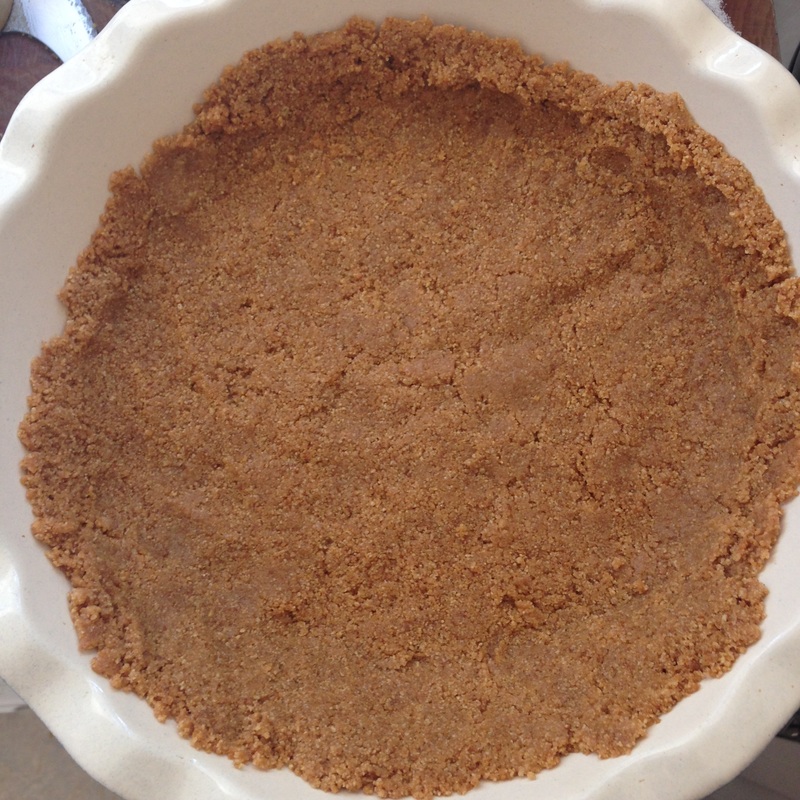
Preheat the oven to 350 degrees. Combine the graham crackers and sugar in the bowl of a food processor and pulse until you have crumbs. Add in the butter and pulse to combine. Pour it into a tart dish or a pie plate and press down to firm the crumbs into a crust. Bake the crust for 10-12 minutes until the crust just starts to brown. Allow the crust to cool. Directions for the cream:
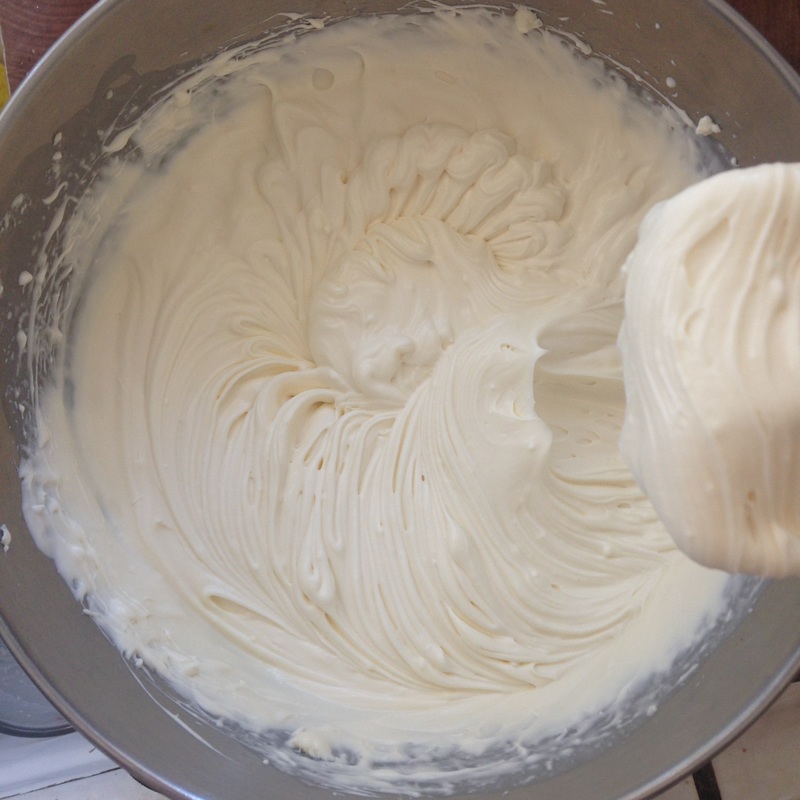
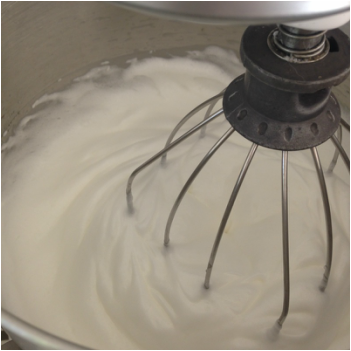
Using a hand mixer, beat the cream cheese. Then add the cream and sugar and beat again until soft peaks form. Spread it over your crust and top with fresh fruit.
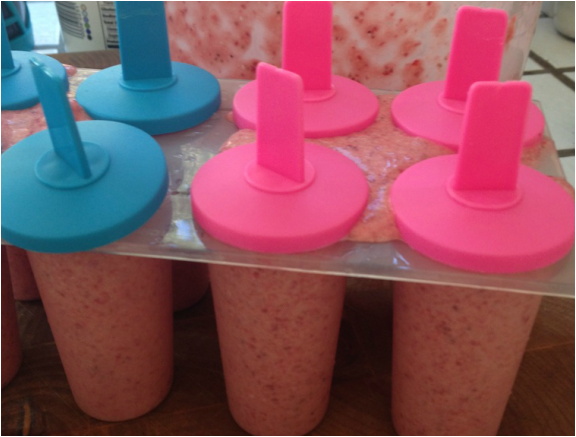
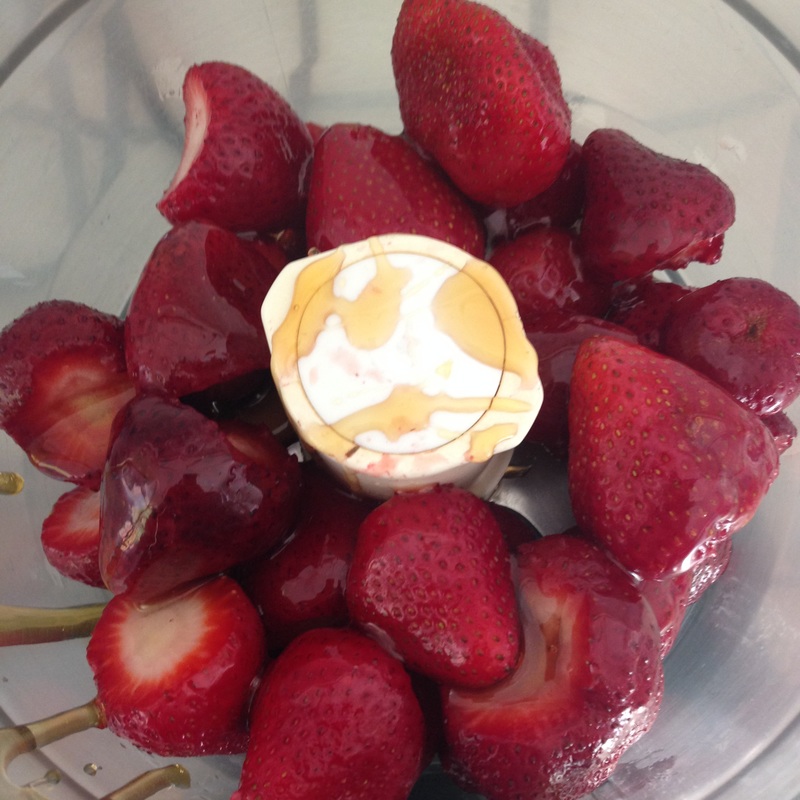
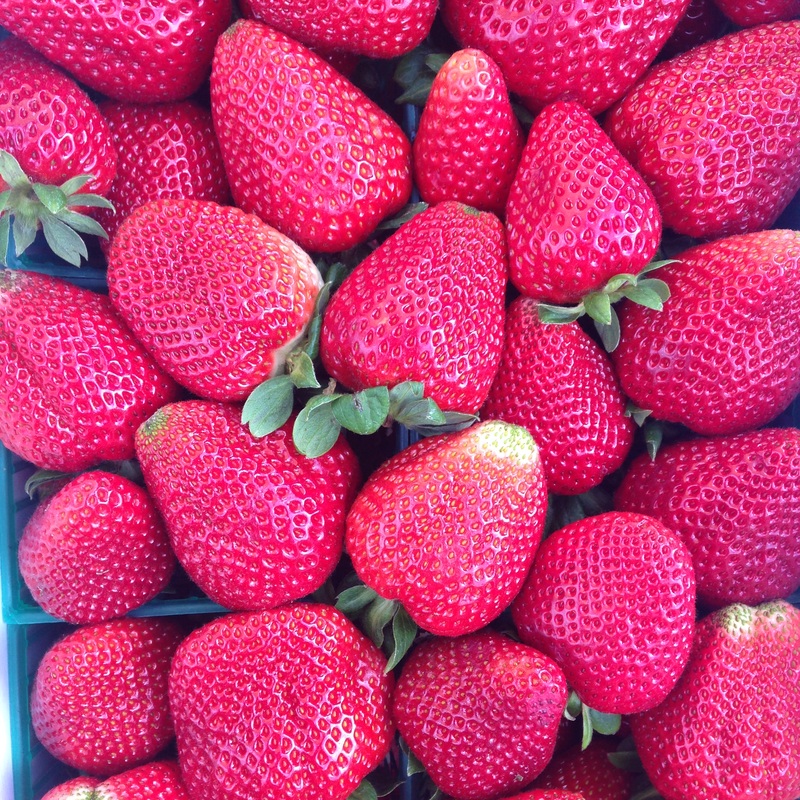 Small children have been trying to sneak into my freezer. An independent panel of little boys have assured me that these are the best popsicles they ever had. Need I say more? Ingredients: 2 baskets of strawberries 1/4 cup of honey 3/4 cup cream Directions: Blend the strawberries and honey together in a food processor or blender. Add the cream and blend again briefly. Pour the strawberry puree into popsicle molds and freeze. Enjoy!
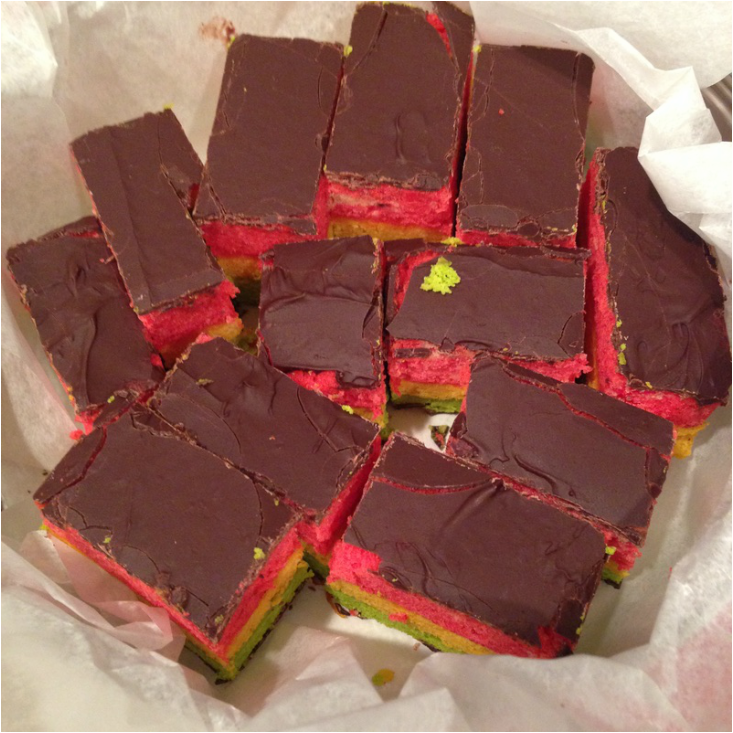
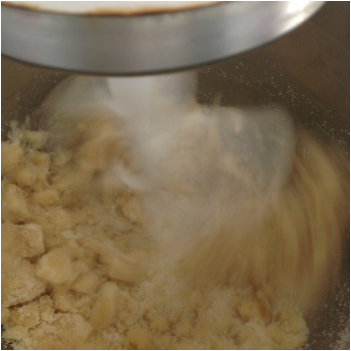
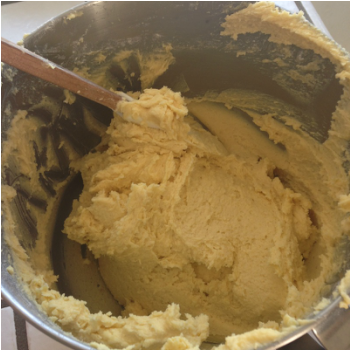
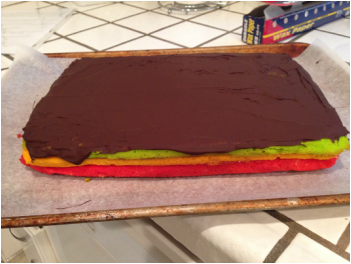
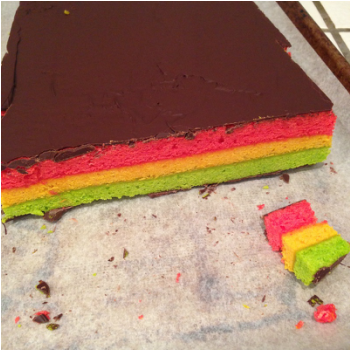
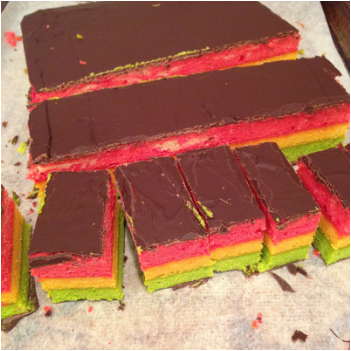
 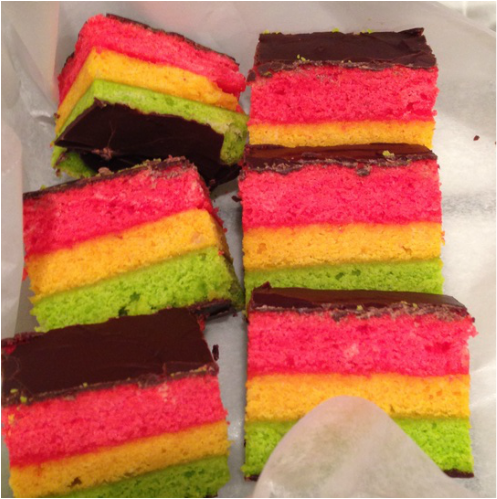 Except for the extreme hassle, the high price, and the irritating over-enthusiasm your children will bring to this project, it's a perfect recipe. It's also the only thing I've ever made that really, REALLY impressed my husband. If we make the drive to buy these in the city, we still pay $2-3 each. This recipe makes a LOT of cookies, and they freeze well. They are dense, almond flavored bits of heaven that go well with black coffee. Mmm. The original recipe claims that the only special equipment you need to make this are 3 9"x13" cake pans, and I suppose that's true, but you will also need a pastry brush, 2 baking sheets, wax paper, an icing spreader, 3 bowls, and a mixer. I believe this is pushing the limits of home baking, but the results are worth it. This is a great cookie. The colors are supposed to me red, white, and green like the Italian flag, but since I made this the day before Easter I tried pink, green, and yellow. Still pretty. I found this recipe a few years ago on epicurious.com.  Ingredients: 2 cups unsalted butter at room temperature non-stick cooking spray or extra butter 6 large eggs, separated 1 and 1/3 cups sugar 12 ounces of chopped almond paste, chopped 2-3/4 cups plus 1 tablespoon white flour (fussy!) 1 teaspoon red food coloring 1 teaspoon green food coloring 1 teaspoon salt 3/4 cup orange marmalade about 1/2 pound semi-sweet chocolate chips Directions:
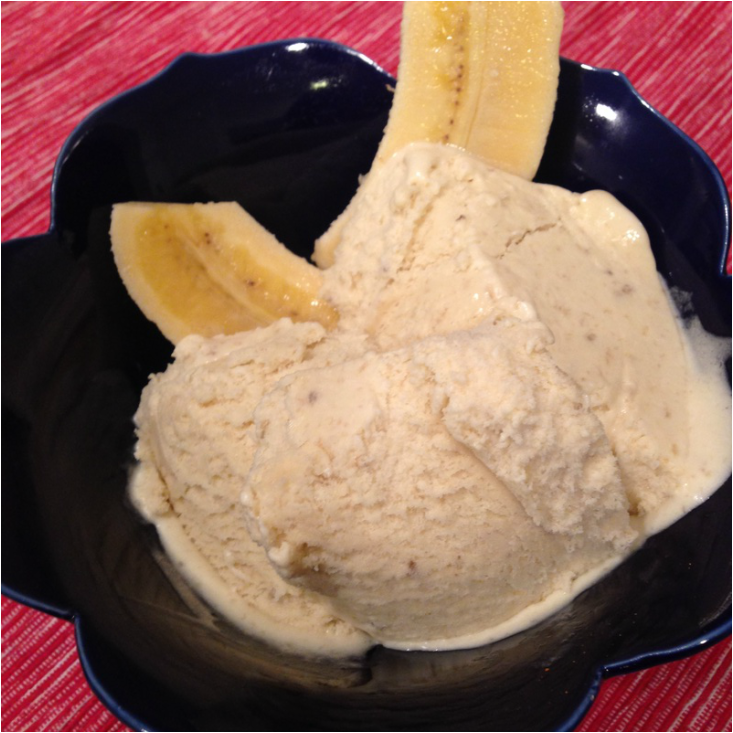
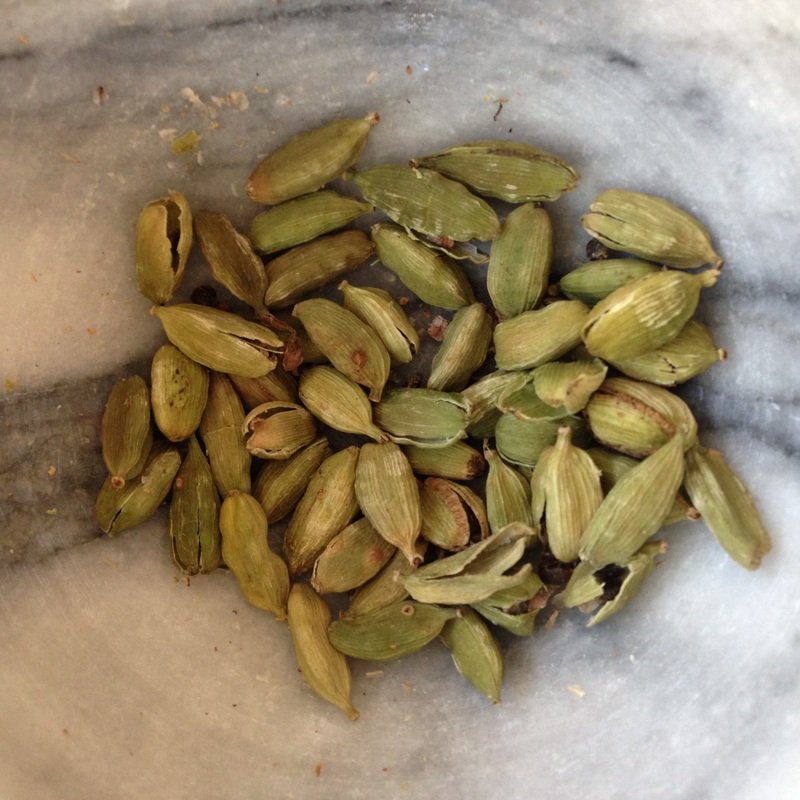
Cardamom is one of my favorite spices, but not one we use much in the West for whatever reason. If you buy it in tiny little amounts from the grocery store you will go broke quickly, but you can buy a much bigger bag from an Indian or Middle Eastern grocer and it will last you a little longer. So you might want to start small if you don't know what it is, but if you reach junkie status now you know where to go. The smell always makes me want rice pudding, which was the first recipe I ever used cardamom in.
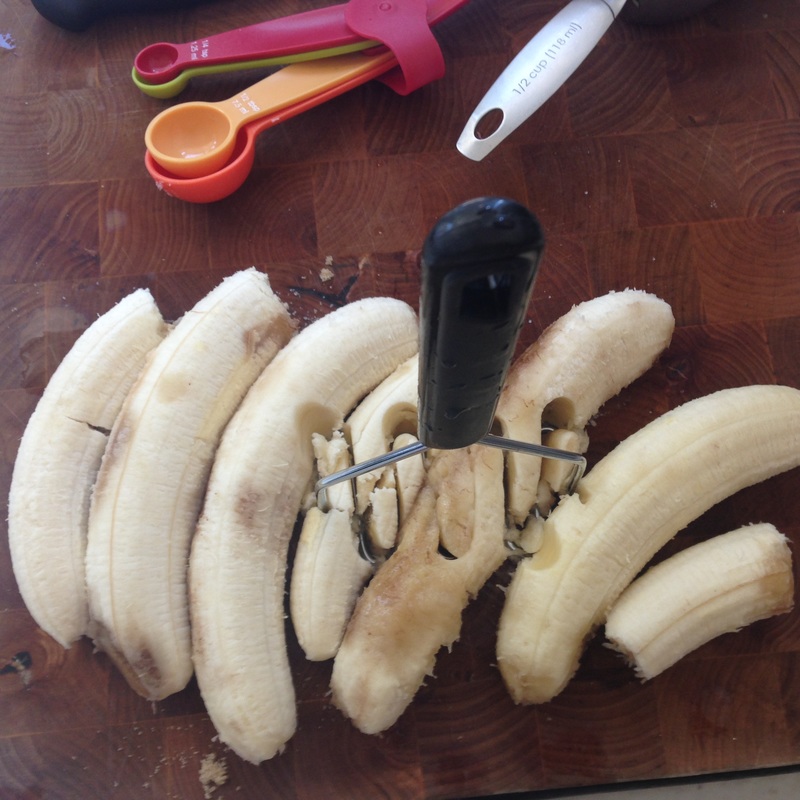
Ingredients: 1-1/2 tablespoons cardamom pods 1 cup heavy cream 1 cup whole milk 1/2 teaspoon vanilla extract 3 ripe bananas, peeled and sliced into 1-inch pieces 8 egg yolks 1/2 cup sugar 1/3 cup honey 1 - 7.5 ounce container crème fraîche (I found this at Trader Joe's) Directions: 1. Dry roast the cardamom pods in a skillet over medium heat. Watch them closely so they don't burn and take them off the heat as soon as they are toasty and fragrant. Break them up with a rolling pin or crush them a little in a mortar and pestle. 2. Heat up the cream and milk in a saucepan over medium-high heat. As soon as it comes to a boil, put in the cardamom, banana slices and vanilla. Cover it with the lid, and take it off the heat. Let it sit for 15 minutes before straining it. Pick out the banana slices from the strainer and blend them in a food processor. Add them back into the cream mixture. 3. In a bowl, beat the egg yolks, sugar, and honey with a handheld mixer until it is lighter in color and slightly foamy. Beat in the creme fraiche and then the cream mixture. Chill it, covered, in the refrigerator for at least an hour before freezing it in your ice cream maker. 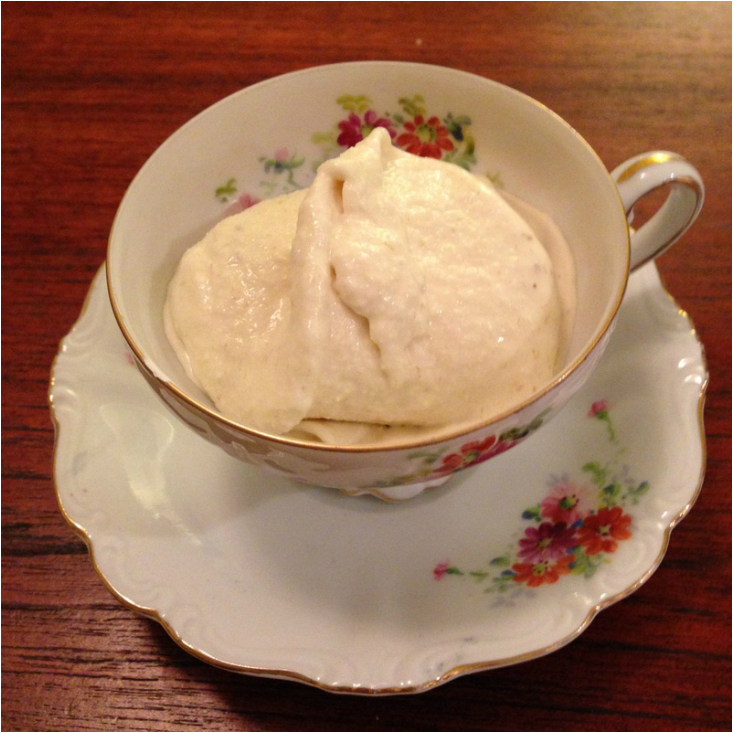 |
AuthorI love trying new foods, cooking, and gardening. I hope to share these experiences on this site. Thanks for taking a look! Categories
All
Archives
May 2020
|


 RSS Feed
Photos from Mechanoid Dolly, Mechanoid Dolly, fidber, Ken_Mayer, eflon, Dendroica cerulea, Urban_Integration
