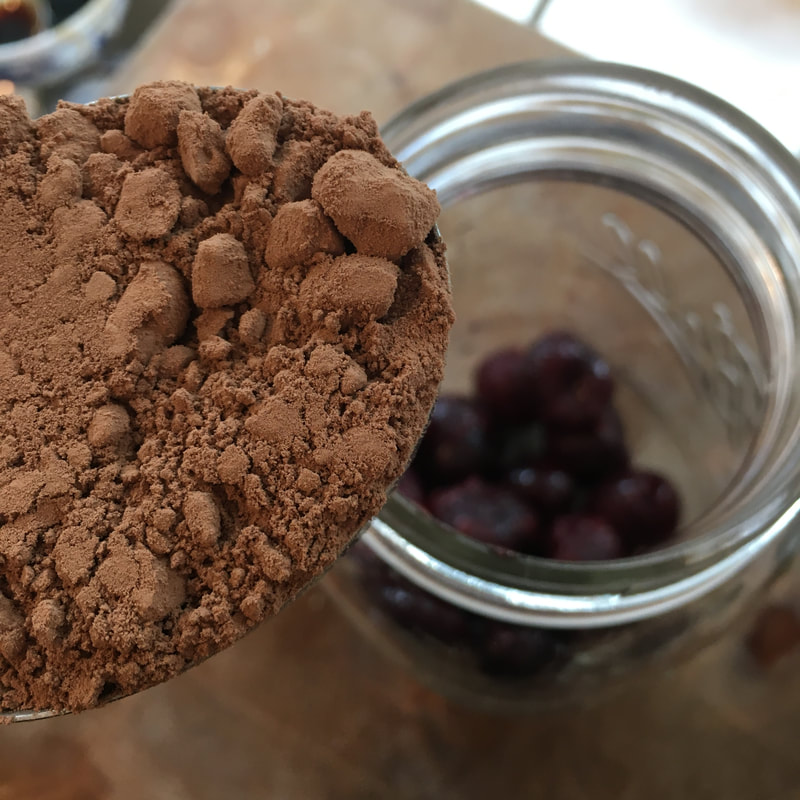
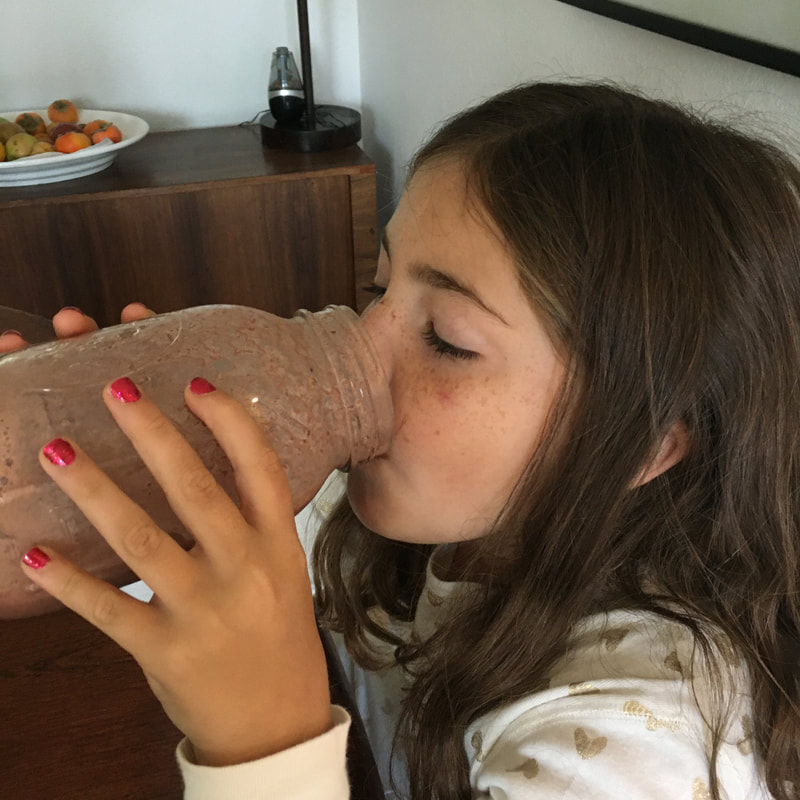
 This isn't very seasonal. November is a month for pumpkin and turkey, I know. But we've had some really hot days recently and I was reminded of how much we enjoy this smoothie. Both my kids love it, and I originally dreamed this idea up when I read about the amazing benefits of antioxidants for skin in summer. It's like healthy, light ice cream. Normally the phrase "light ice cream" would turn me off, but I mean it in a good way this time! An article I read last spring explained the dangers of all sunscreens. If you are as pale as I am, it's a devastating read, but I bought the book by the author and I'm happy to say I made it through a whole summer with no sunscreen. I'll let you read the article for yourself and draw your own conclusions. Here is the link to the article. It was when I was desperately trying to incorporate more berries in our diet (for our skin! so I'll look young-ish forever!) that we started drinking this. We make this with raw goat milk from our goats, but I think it would taste great with any kind of milk. You can play around with the proportions if you like, whether you want it thicker, more chocolate-y, or sweeter, but this is how we like it. Honestly, I never actually measured until this morning, so I don't think you really need to either, but this is a good guideline. Did you know that you can use a mason jar with a standard mouth (NOT wide-mouth) for your blender? I tried this yesterday for the first time and absolutely love it. We made this smoothie a couple times, and then we made a matcha latte using a tiny little pint mason jar. No mess and it came out clump free. In the picture I'm using a quart jar. 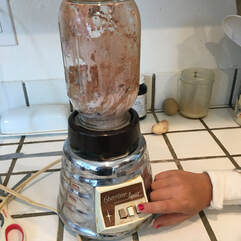 Chocolate Cherry Smoothie Ingredients: 1 cup frozen cherries 1 cup milk 1/4 cup cocoa powder 1-1/2 to 2 Tablespoons maple syrup Directions: Dump it all in the blender (or mason jar) and blend it until it's smooth and frothy. Stop and shake it a few times to make sure all the cocoa powder isn't stuck in a dry clump to the jar. Even if you end up with a few cherry chunks, the results are great. You can make it look pretty in a glass with a straw, but usually we just drink it straight from the jar.
According to my taste testers, this one is good to the last drop.
I haven't tried this yet, but I was thinking about adding some chocolate extract. Or vanilla extract. Or maybe even some powdered astragalus since I sneak it into everything over the winter. Clearly there are more smoothies to come.
1 Comment
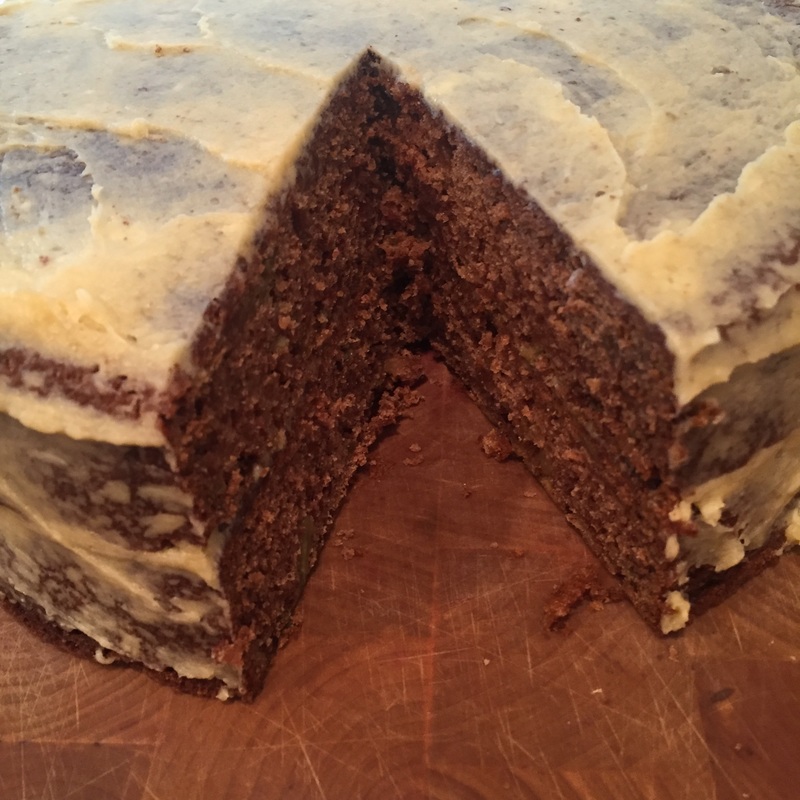 Last year we made apple molasses, apple sauce, apple pie, dehydrated apples, everything apple. This year the trend continues with apple cake. I found the recipe in The San Francisco Ferry Plaza Farmer's Market Cookbook, and it's as easy as making muffins. Dump, dump, stir, bake. The dough tasted a little bitter from the baking soda and I had serious doubts, but it was wonderful the next morning for breakfast. It was not too sweet, and everyone was relieved not to have to eat eggs or oatmeal again. Try it and you'll see. We "iced" the cake with a mixture of butter and honey. Ingredients: 1 Tablespoon unsalted butter or spray for the pan 1-1/2 cups coconut oil, warmed to be soft if necessary 1-1/2 to 2 cups brown sugar 4 eggs 2 cups flour (I used a gluten-free mix) 1 Tablespoon baking soda 2 teaspoons ground cinnamon 1/2 teaspoon ground nutmeg 1 teaspoon salt 3 cups of grated unpeeled Granny Smith apples 1 Tablespoon vanilla extract Directions: Spray or grease two 9 inch cake pans and preheat the oven to 325. Mix the coconut oil, sugar, and eggs in one bowl. Mix the flour and the other dry ingredients in another bowl and then add them to the wet ingredients. Stir until combined, and then add the grated apple and vanilla. Pour half the batter into each cake pan and bake for 35-40 minutes. Test it with a toothpick in the center when you think it's done. After you take the cakes out, let them sit in the pans for about ten minutes before unfolding them and letting them cool. We "iced" our cakes with a mixture of butter and honey. 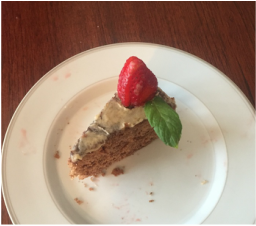 Painstakingly decorated and photographed by my nine year old son.
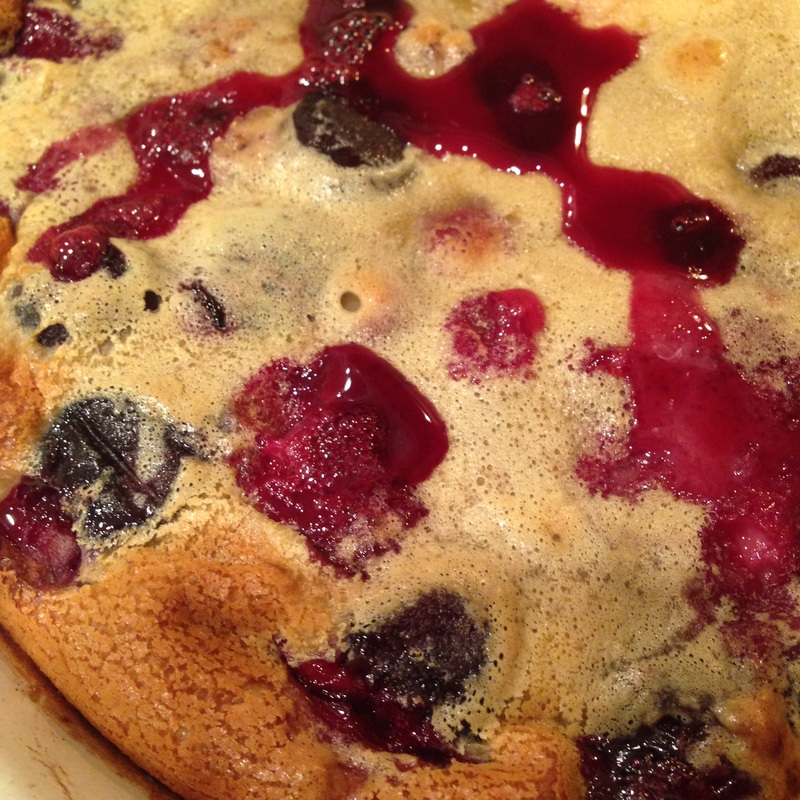
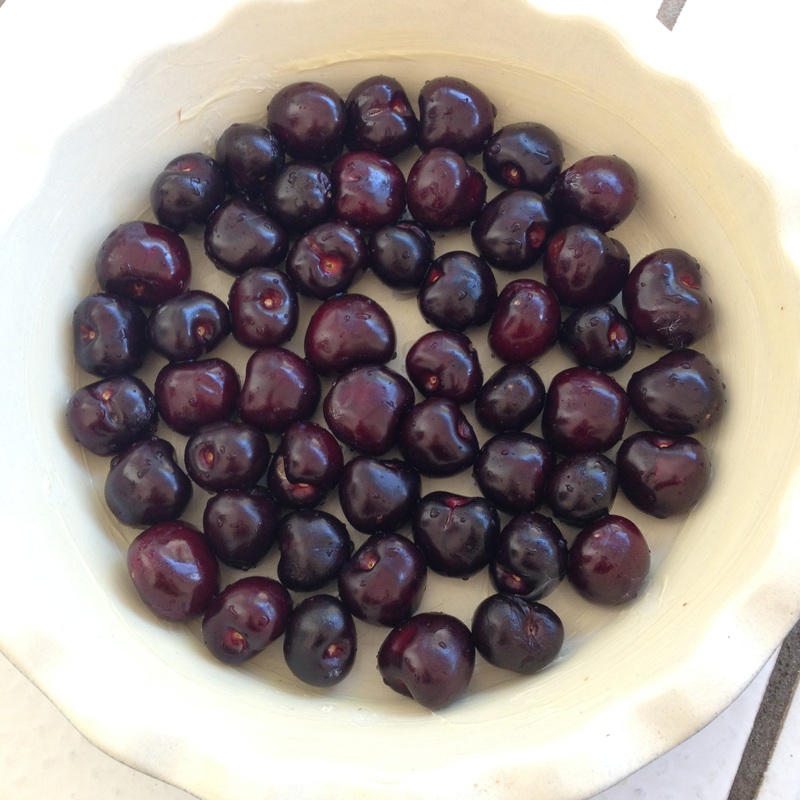
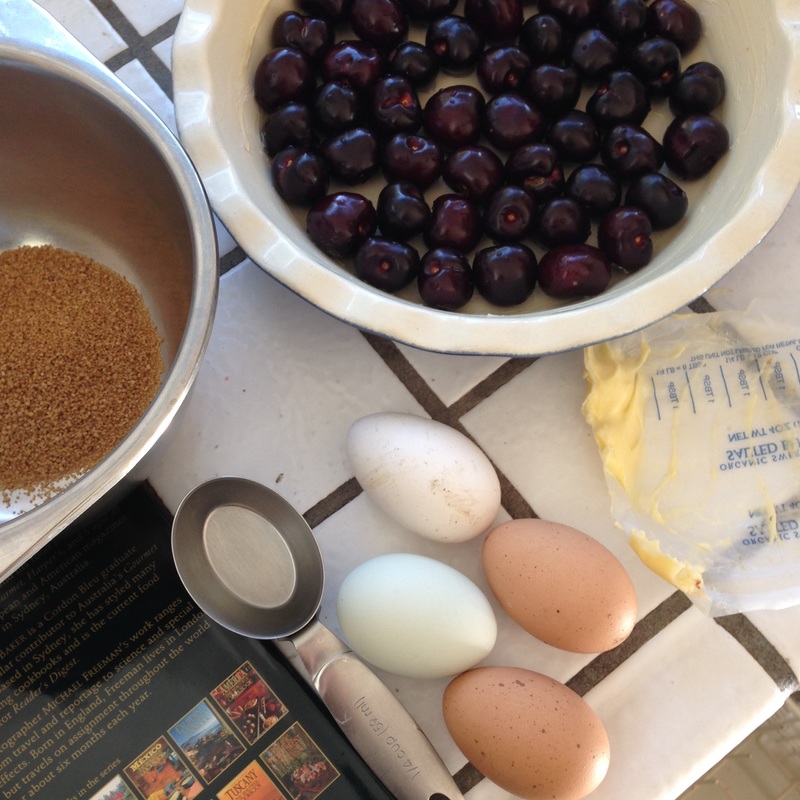
It's cherry season again! This Memorial Day Weekend we found plenty of sweet ripe cherries at a u-pick farm in Brentwood. It's painful to waste a cherry by cooking it, but this is the one exception I believe it. The cherries are baked in a simple sweet custard. This is easy, delicious, quick, and very difficult to mess up. Perfect for me! I tried it with peeled, pitted slices of peach too. Delicious. I substituted the flour for tapioca flour and rice flour. Great! I ran out of milk and substituted an unknown quantity of whipping cream and water. Just fine. I don't own kirsch, so I've never used it, but triple sec worked fine and so did vanilla. I reduced the sugar by half. And that's why this is virtually unbreakable. I'm including the original recipe with my variations in parentheses. This was adapted from Provence the Beautiful Cookbook. Ingredients: 2 Tablespoons unsalted butter 1 pound stemmed cherries, not pitted (unless you want the extra work) 1/2 cup sugar (my cherries were so ripe I only used 1/4 cup) 4 eggs small pinch salt 1/2 cup flour (or 1/3 cup tapioca flour, or 1/2 cup rice flour) 1 cup milk 1/4 kirsch (I used 3 Tablespoons of Triple Sec or vanilla) confectioner's sugar for sprinkling
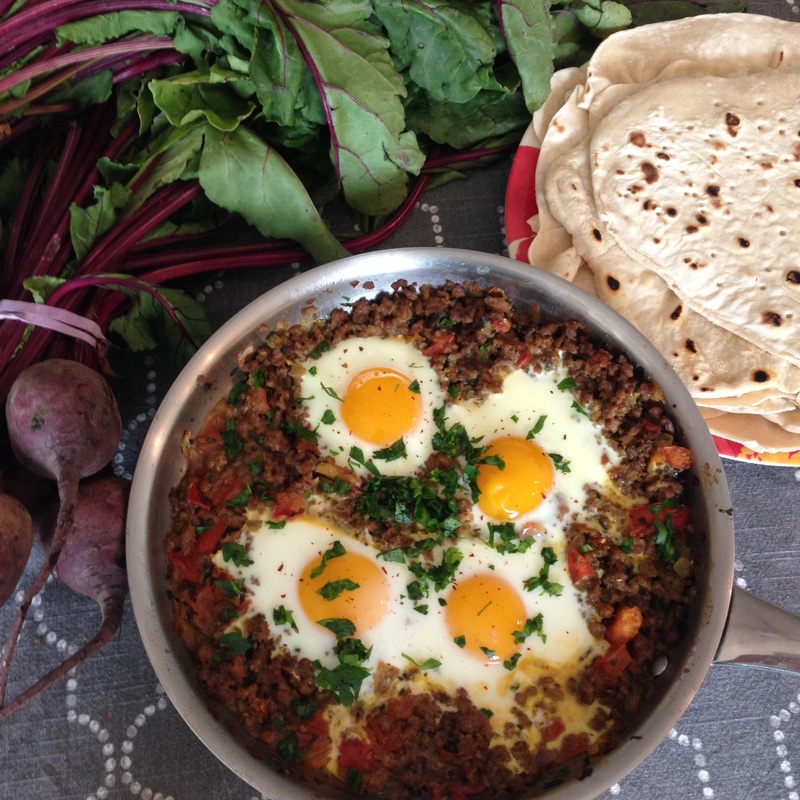
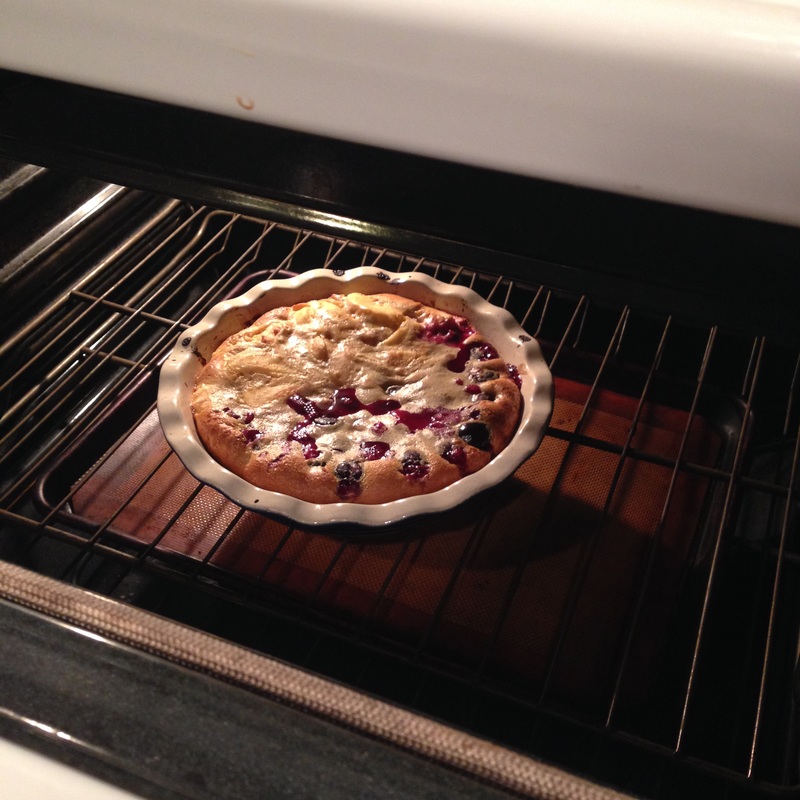
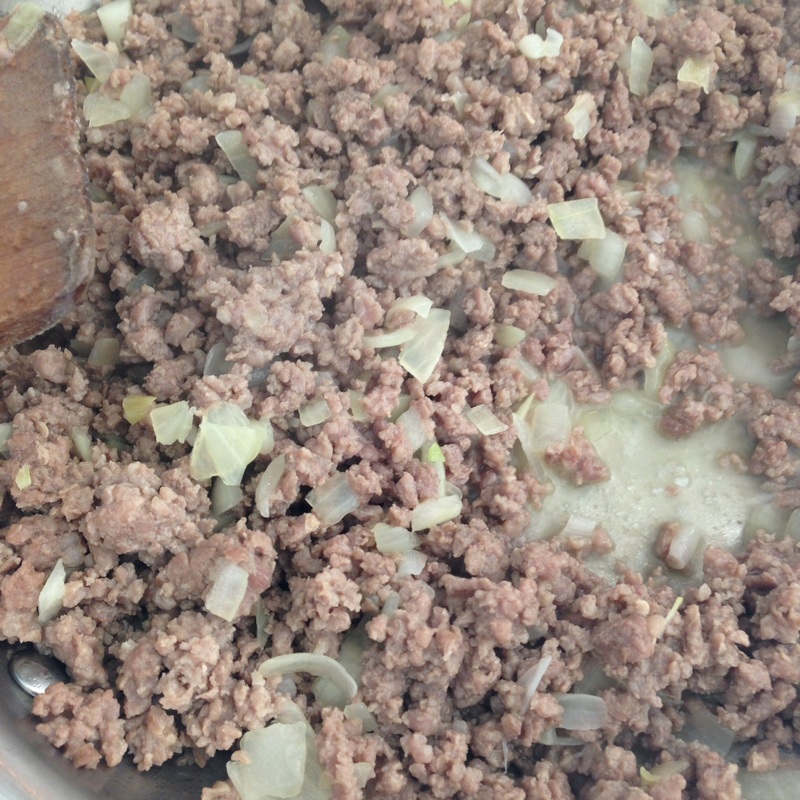
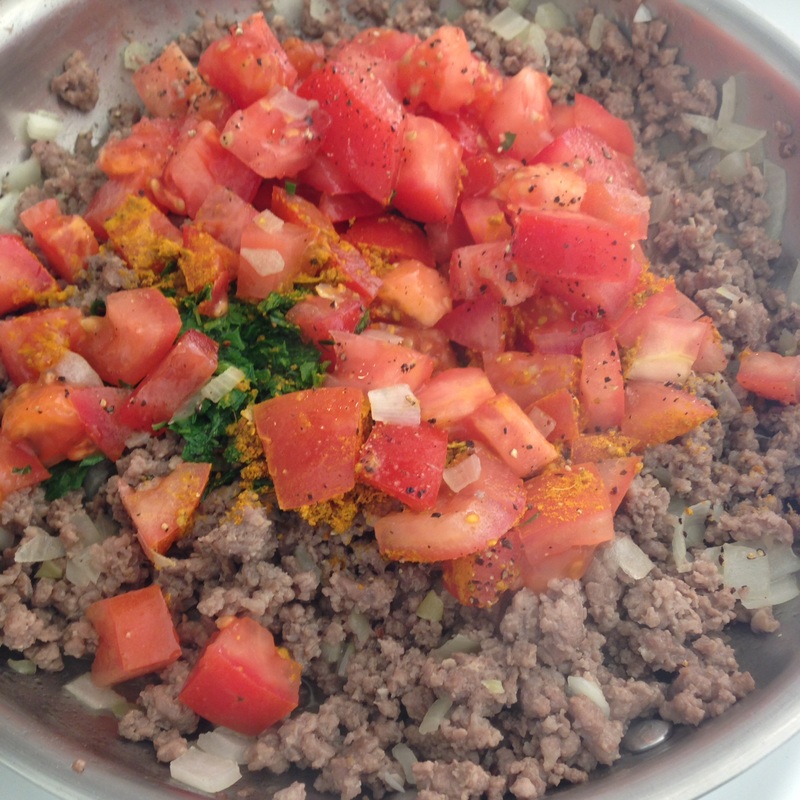
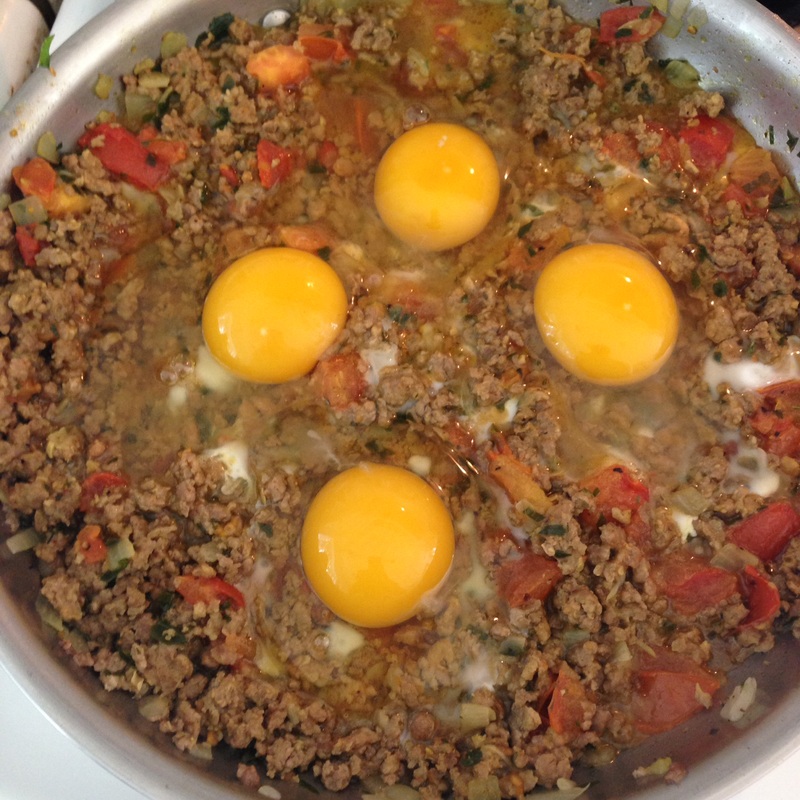
Directions: Preheat the oven to 375. Butter a 9 or 10 inch baking dish with a tablespoon of butter. Put the washed cherries in one layer in the bottom of the baking dish. In a separate bowl, beat together the eggs, sugar, salt, flour, milk, and kirsch. Pour the egg mixture over the cherries, and dot the top with a little butter. Put it in the oven and start checking after twenty minutes. (The outside edges will cook first, sometimes puffing up to improbable proportions, but it will fall down again.) Once the middle looks set but not dry, take it from the oven. Sprinkle with a little confectioners sugar if you like and serve it when it's lukewarm. Any sooner and the cherries will be like molten lava. 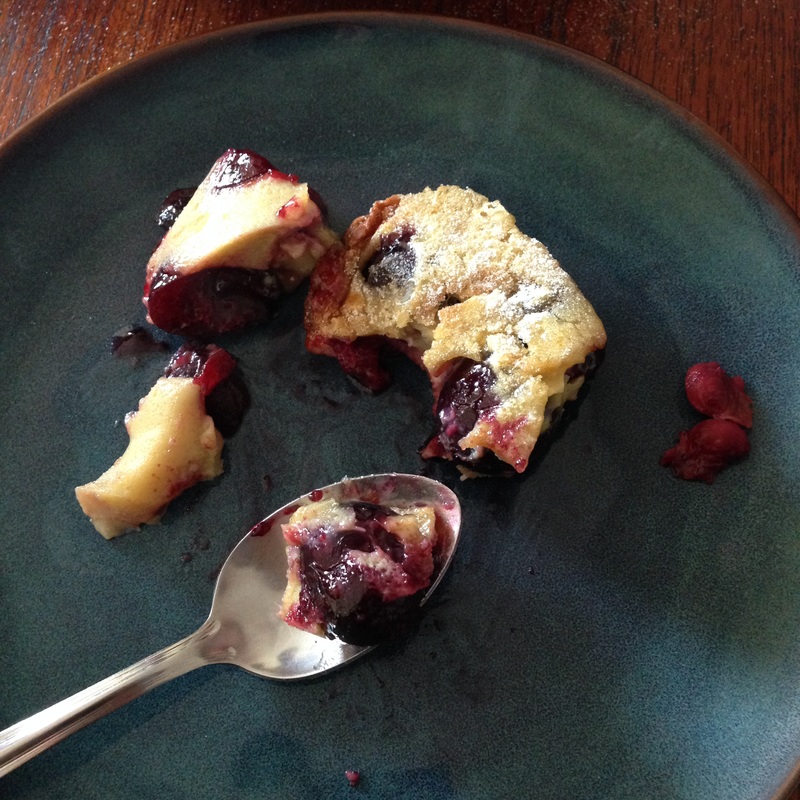 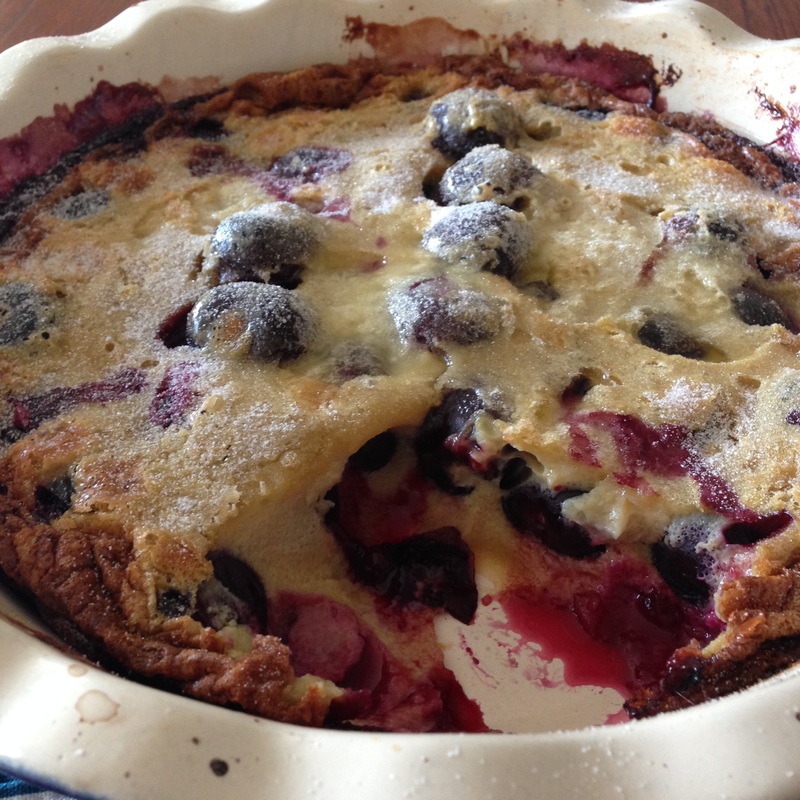 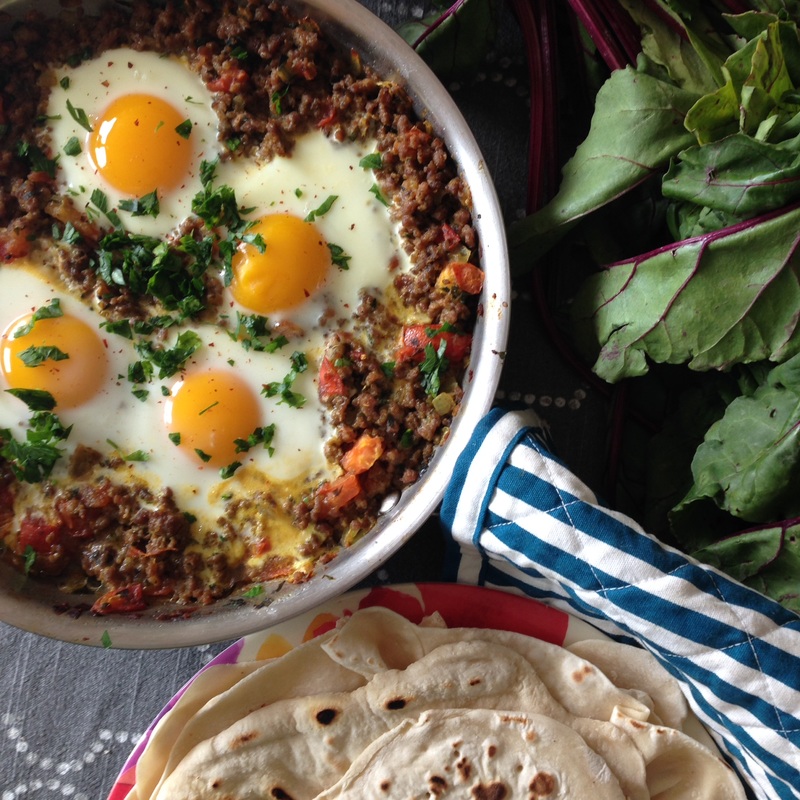 This was like a meaty shakshouka, another dish I love. It is an Iraqi breakfast dish, and a bit meatier and more aromatic than most American breakfasts. If that offends you, make it for lunch or dinner. I tried this with lamb and beef. The lamb is my favorite but it is more expensive and I know not everyone is a fan. This is such an easy recipe that once you try it, you'll see this is the kind of thing you can throw together at the last minute and has lots of possible variations. I kept the original amounts from the original recipe, but I think it should really read more like, "lots of chopped parsley, lamb for four people, plenty of juicy tomatoes, lots and lots of curry powder, etc." According to the Saveur article where I first saw this, this is based on a recipe found in a tenth-century Mesopotamian cookbook. It's called Makhlama Lahm, if that means anything at all to you. Here's a link to the original article. This recipe finishes the eggs in the oven, but if you have really juicy tomatoes, you can just cover the pan and let the eggs finish on the stove. Ingredients: 2 tablespoons olive oil 1 pound ground lamb 1 minced yellow onion 1/3 cup minced parsley 1 teaspoon curry powder 2 chopped tomatoes, or enough to make it moist and juicy salt and pepper 4 eggs crushed red chile flakes to garnish griddle bread or flatbread Directions:
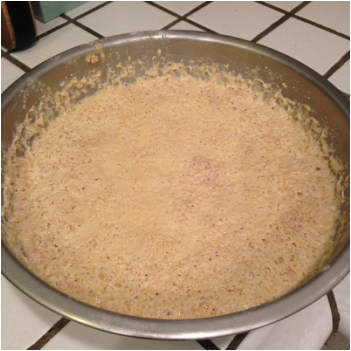
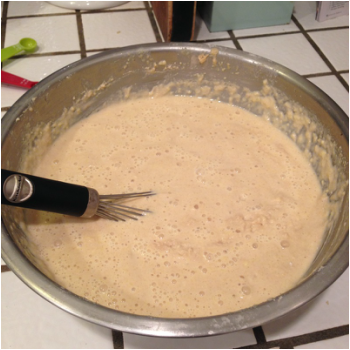
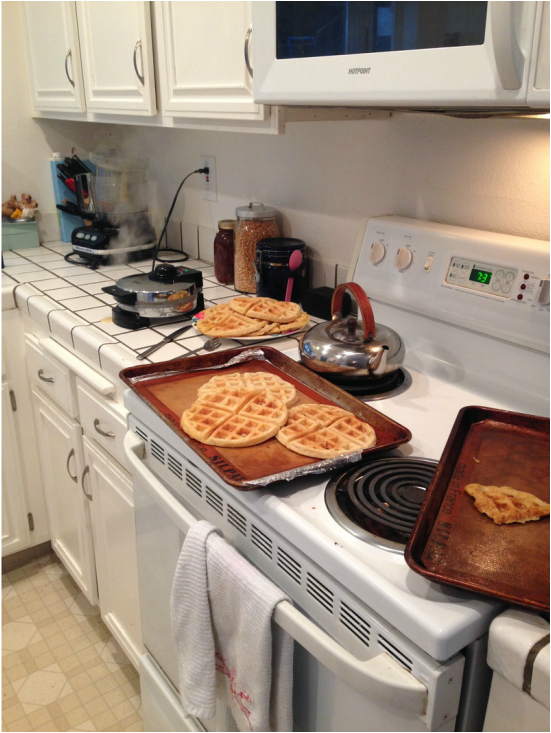
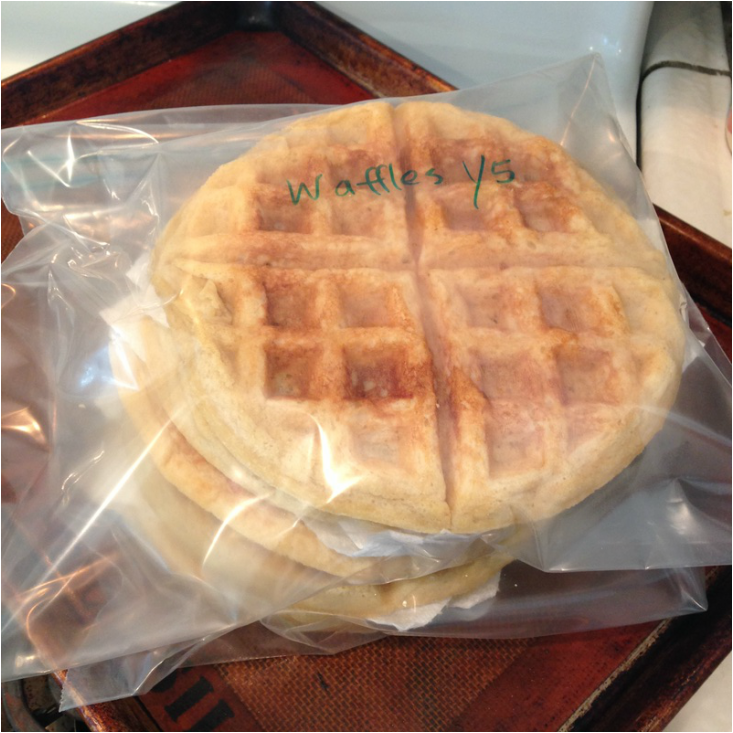
 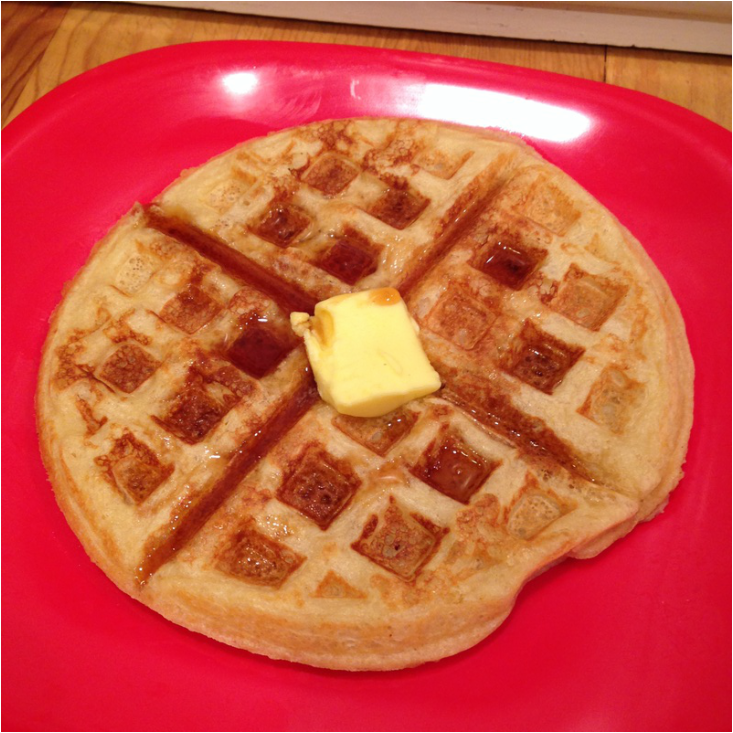 There are probably a million waffle recipes out there, but this is the one I usually use. You prepare everything the night before so it's all ready to go in the morning. I think a lot of waffles taste like cardboard, but because of the whole wheat pastry flour and the little bit of sourness from the overnight fermentation these are a little more interesting. I double everything so that it makes a huge batch and then freeze enough for at least another two breakfasts. I have come upon this same recipe in one form or another at least three times, but most recently as Marion Cunningham's Yeast-Raised Waffles in Saveur Magazine. Here it is now where I can't lose it (doubled and with minor alterations). Ingredients: 1 tablespoon active dry yeast 4 cups milk 1 cup melted butter or coconut oil 2 teaspoons salt 2 teaspoons sugar 2 cups white flour 2 cups whole wheat pastry flour 4 eggs 1/2 teaspoon baking soda
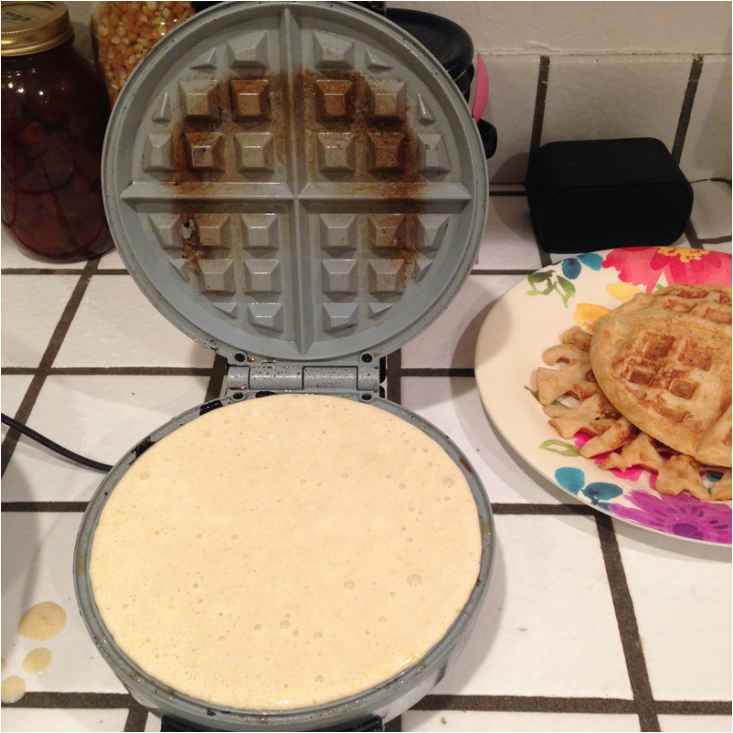
Directions: Dissolve the yeast in a cup of warm water while you get out the rest of the ingredients. In a bowl, mix together all of the ingredients EXCEPT for the baking soda, cover it, and refrigerate overnight. In the morning, whisk in the baking soda and heat up your waffle iron. Cook it however you normally do, but I found that letting it sit for a minute before closing the iron resulted in fuller looking waffles. This made about thirteen waffles. I froze the leftovers for future mornings when I will split them in half and toast them.
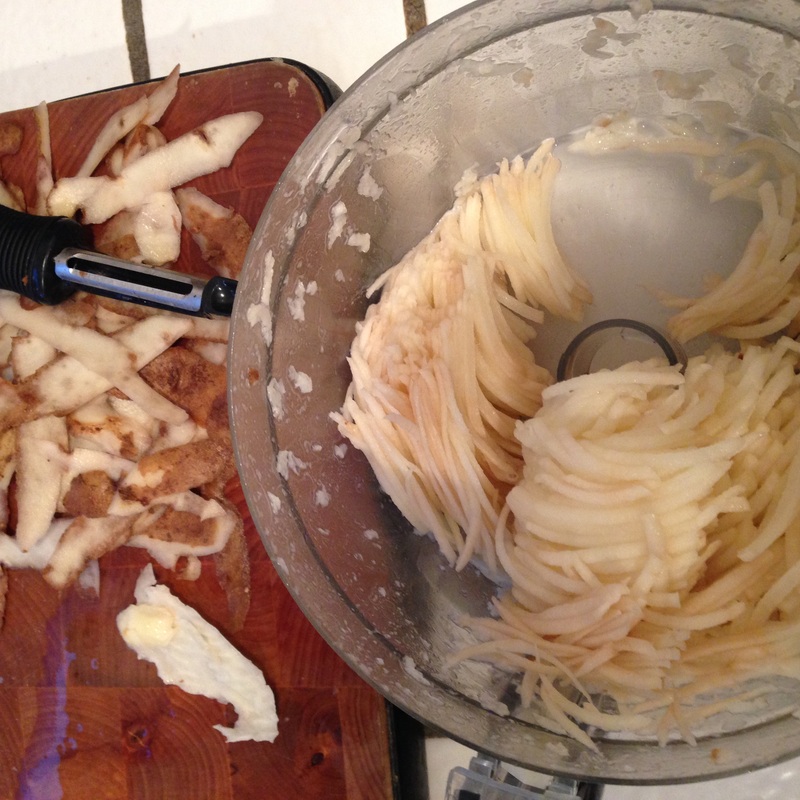
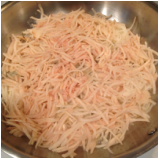
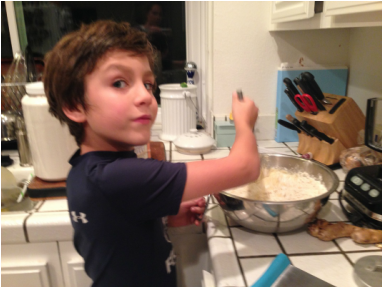 the proud kitchen helper who received the privilege of stirring 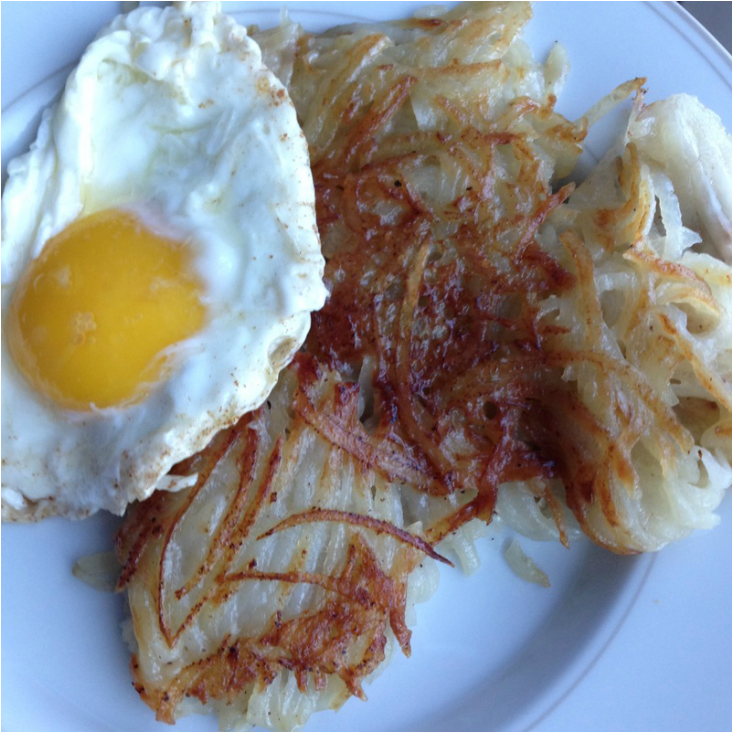 We are a family of bacon-aholics, but I think bacon may have some competition now. At the very least we will have to make room on the weekend breakfast plate. I've always loved the idea of hash browns, but they're rarely as good as their promise. These will live up to your expectations. The only extra step is peeling and grating potatoes. Not hard. The secret ingredient? Cream!! A couple things worth noting- potatoes begin to oxidize almost immediately. Don't worry if they turn a little pink or brown. It won't affect the end result. Also, I did try this with whole milk, and it was ok too, but at least try it with the cream first. After the first time I made this I have had trouble waiting for the potatoes to brown, but the result is better if you can wait it out and let everything crisp up on the outside. I found this recipe in Jennifer Reese's Make the Bread, Buy the Butter.
Ingredients: about 3 large potatoes, peeled and grated on a box grater or in a processor 3 tablespoons of butter salt and pepper 1/3 cup cream Directions:
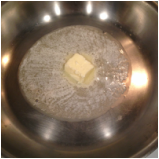
Heat up a big skillet or frying pan and melt the butter in it. When the butter has melted, make sure the bottom of the pan is coated with the butter and spread the potatoes in one layer. Let it sit for about 10 minutes until the bottom is beautifully browned. It takes time, so WAIT! Sprinkle it with salt and pepper and pour the cream over it. Flip it over and let the other side brown. It will probably break up into pieces, but just make sure it all gets flipped. We ate ours with eggs and ketchup.
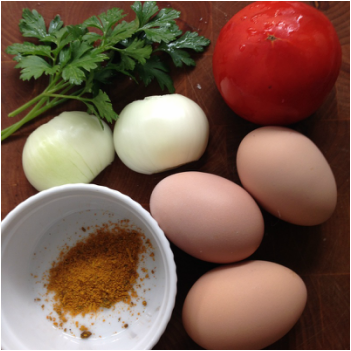
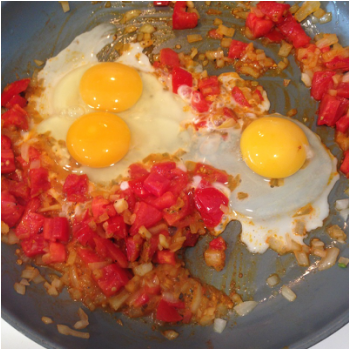
This breakfast started out as an attempt to lose weight, but if you can forgive that, it tastes good anyway. Now I prefer to think of this as an opportunity to wake up my metabolism when it tanks in the late morning and my nose, hands, and feet all get cold. It's filling and 100% good for you. Why? It has fresh eggs from pastured chickens, curry powder loaded with turmeric (anti-inflammatory and supposedly offers some protection from dementia), onion (anti-inflammatory), tomato (lycopene), and parsley (vitamin C). Ingredients: 1-2 tablespoons butter or bacon fat 1 small onion or shallot, chopped 1 tomato or part of a tomato, chopped 2-3 eggs 1 teaspoon curry powder 1 tablespoon parsley or cilantro salt and pepper to taste Directions: Melt the butter, olive oil, or bacon fat in a skillet. Add the chopped onion or shallot. Cook it until the onion is close to transparent. (If the onion is undercooked this will all taste like eggy salsa.) Add the tomato and curry powder. When the tomatoes are done to your liking, break in the eggs and stir. Add in the parsley or cilantro and season with salt and pepper. 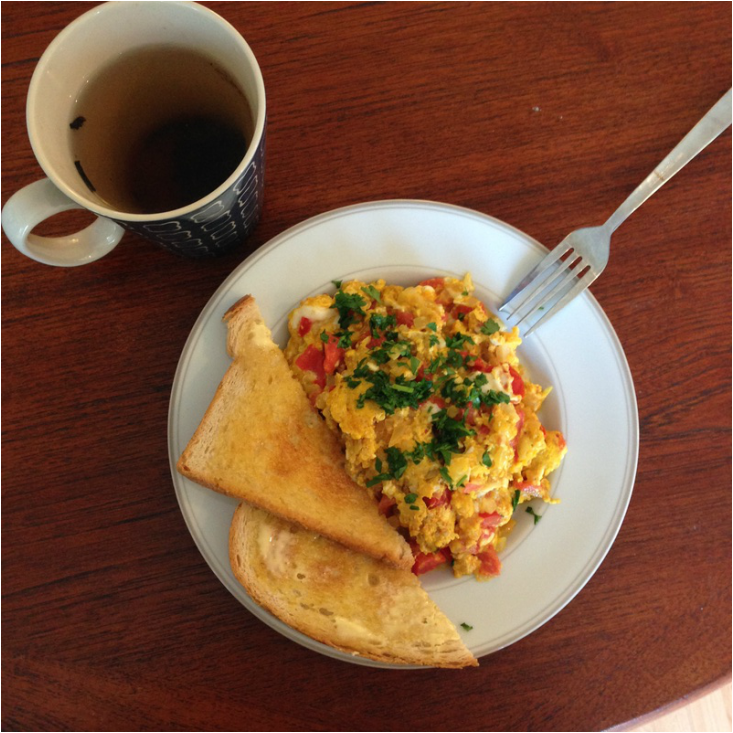  It may still be August, but the mornings are feeling a little Arctic. I know noodle soup sounds to most people like more of a lunch or dinner thing, but this makes a great breakfast. As a kid I ate lots of instant ramen in all of its MSG-laden, salty-fried-brothy glory, but I won't eat that anymore. Here is a great recipe that tastes as good or better. The trick is in the broth. Broth requires little effort to make, but it does have to simmer for a few hours. If you do not have this done beforehand your instant soup replacement will take you hours. The best broth for this seems to be made with a mix of chicken bones, chicken feet, and pork bones. You can buy chicken feet and chicken bones at Berkeley Bowl, and Ranch 99 sells pork bones. If you want pork bones from a healthy pig, try the El Cerrito Natural Grocery Store. The first time I cooked with chicken feet I thought I was going to be ill, but the resulting broth was so good I got over my squeamishness. I don't usually buy anything to make broth, I just keep a gallon size freezer bag with bones from meals, parsley stems, dying carrots, etc. The picture below shows a frozen hunk of whatever was in the freezer bag plus a pound of chicken feet. It is a little gruesome. Sorry. 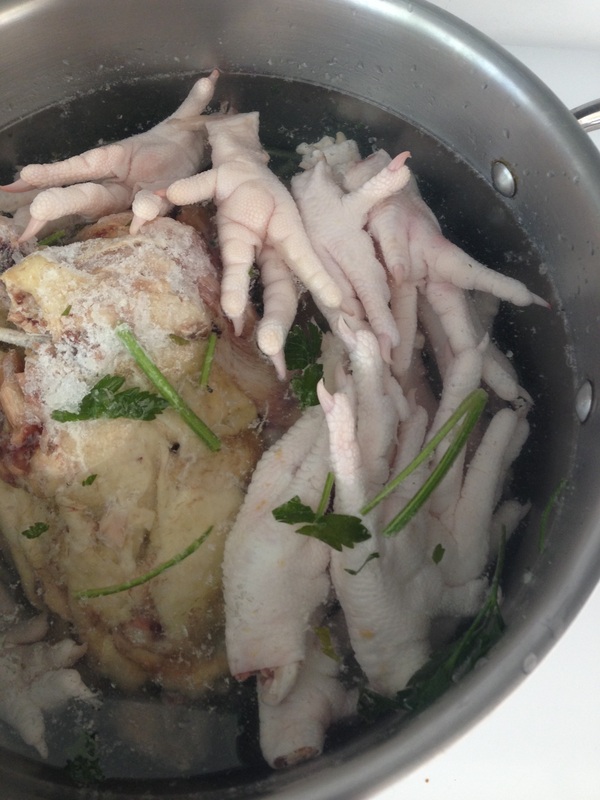 Cover it all with filtered water and bring it to a boil. When the foam forms at the top, skim it off. Lower the heat to the lowest setting you can where you still see the occasional bubble pop up, and then forget about it for a few hours. You can also put it in a slow-cooker and forget about it until morning. When you are ready to use the broth, pour it through a strainer into a bowl. It should look thick and golden. Most people chill their broth and skim off the fat, but don't do that this time. Now for the recipe.
Ingredients: 4 cups of thick golden broth 4 tablespoons of soy sauce 1/2 teaspoon of salt 2 packages of frozen ramen noodles, or any egg noodle 1 green onion sliced very thinly 1-4 peeled boiled eggs or just raw eggs if you are comfortable poaching an egg shichimi togarashi (seven spice powder) or pepper Method: 1. In a small saucepan, heat up the broth and add the soy sauce and salt. If you don't have any boiled eggs, you can poach fresh eggs in the broth. 2. In a larger saucepan, boil water and cook the noodles. When they are done, strain them. 3. Divide the noodles between four bowls. Top each with either slices of boiled egg or a poached egg and some green onion. Pour a cup of the seasoned broth over each bowl and sprinkle on some shichimi or pepper. |
AuthorI love trying new foods, cooking, and gardening. I hope to share these experiences on this site. Thanks for taking a look! Categories
All
Archives
May 2020
|


 RSS Feed
Photos from Mechanoid Dolly, Mechanoid Dolly, fidber, Ken_Mayer, eflon, Dendroica cerulea, Urban_Integration
