|
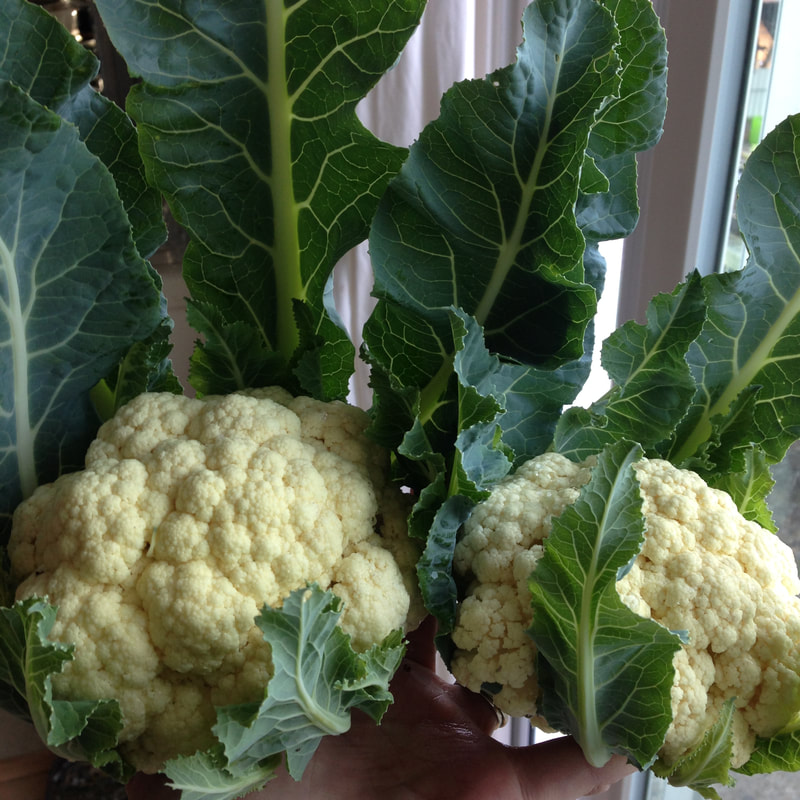
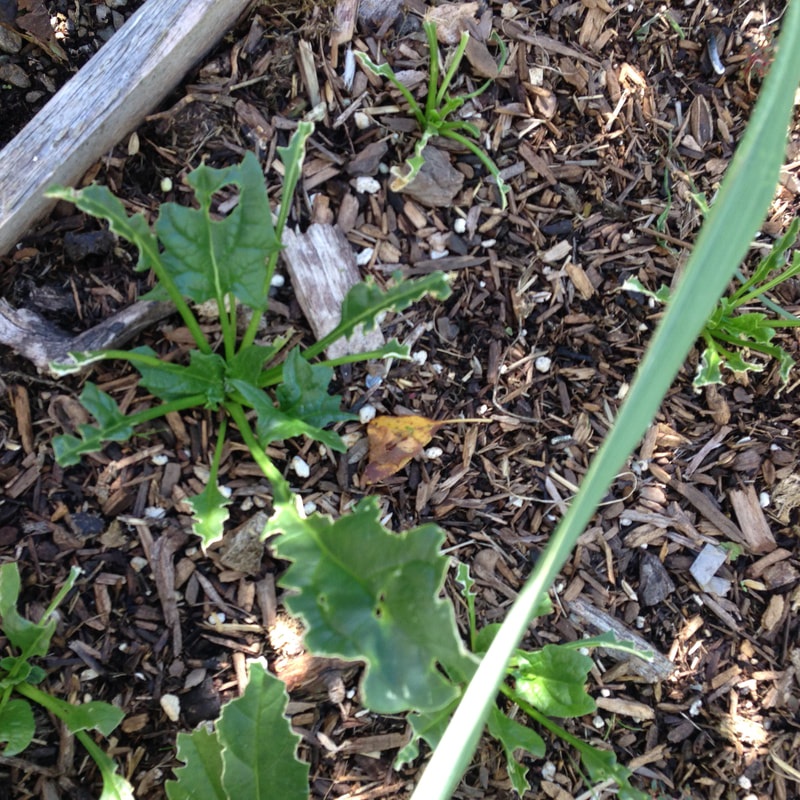
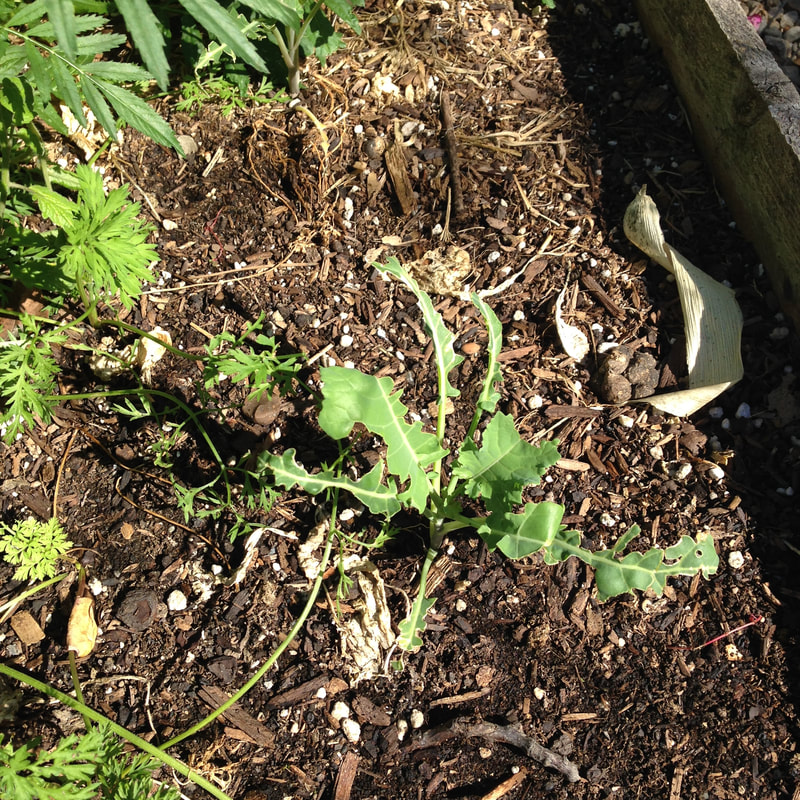
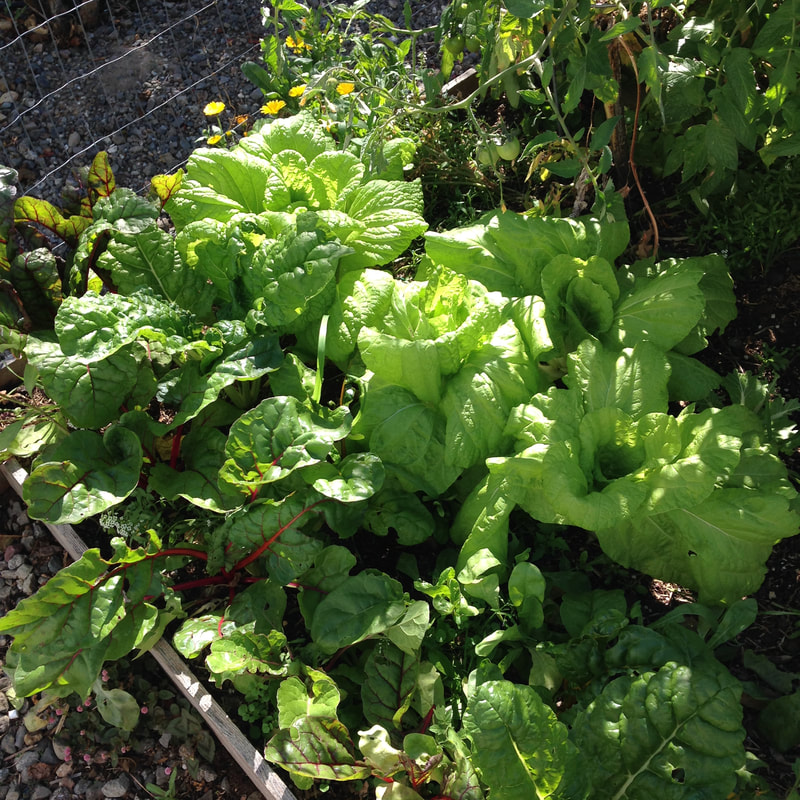
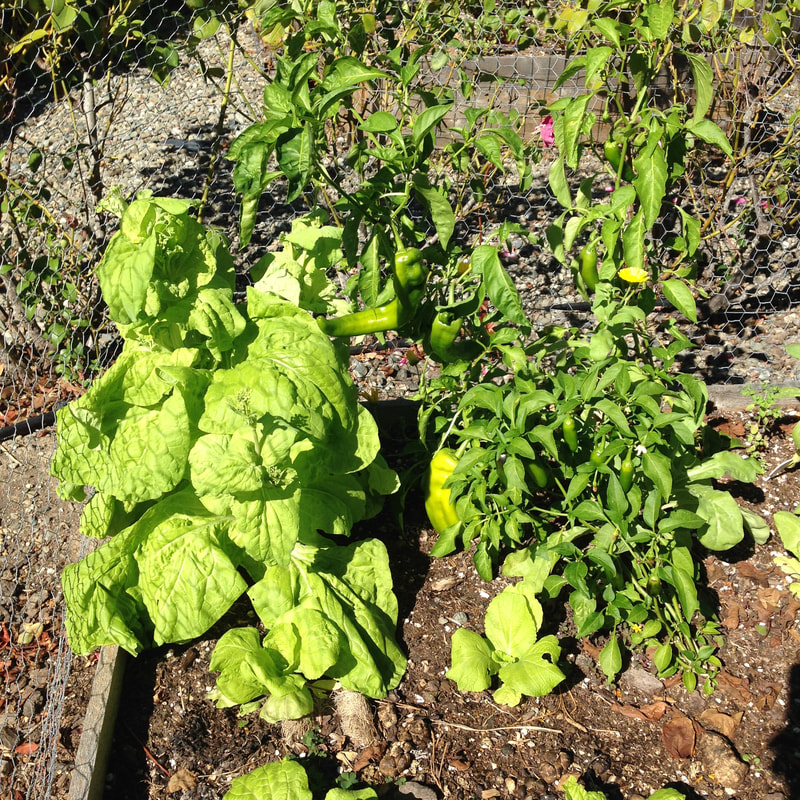
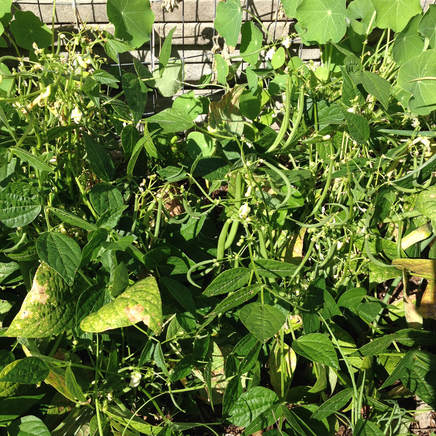
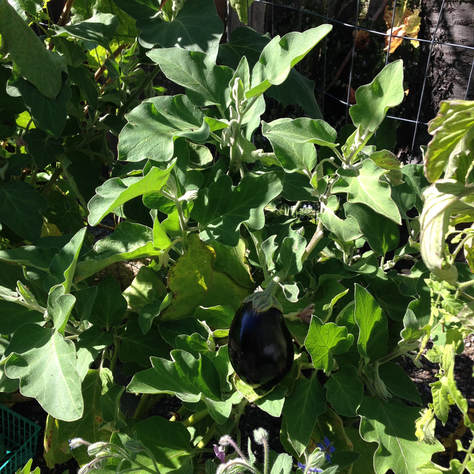
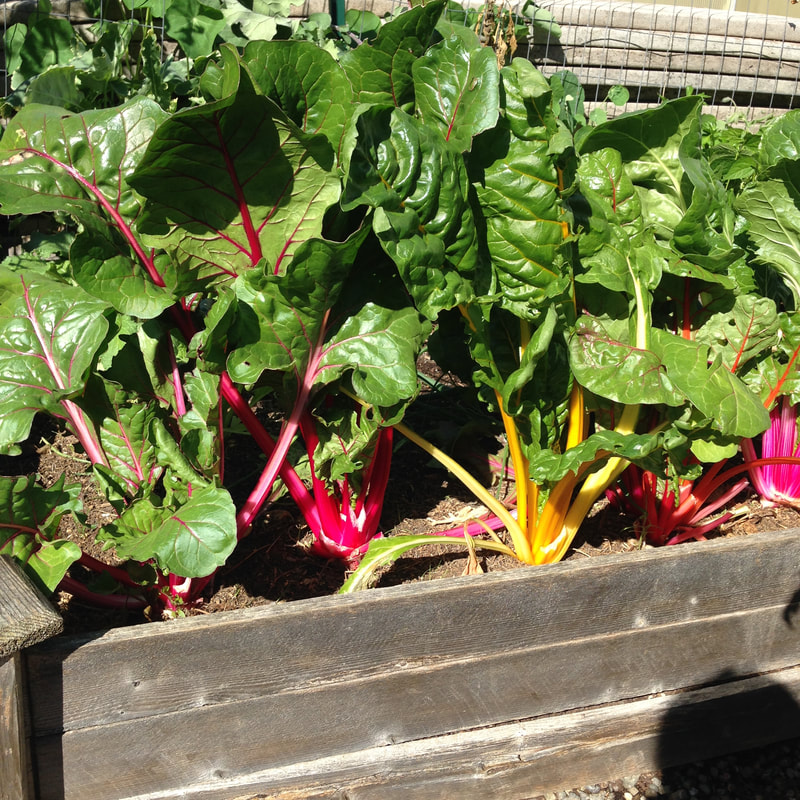
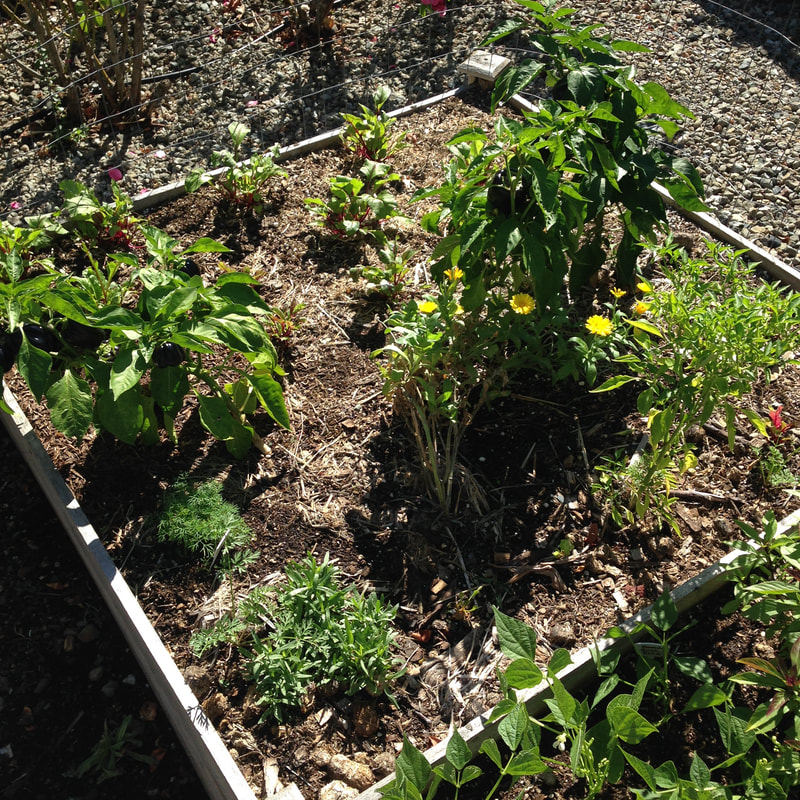
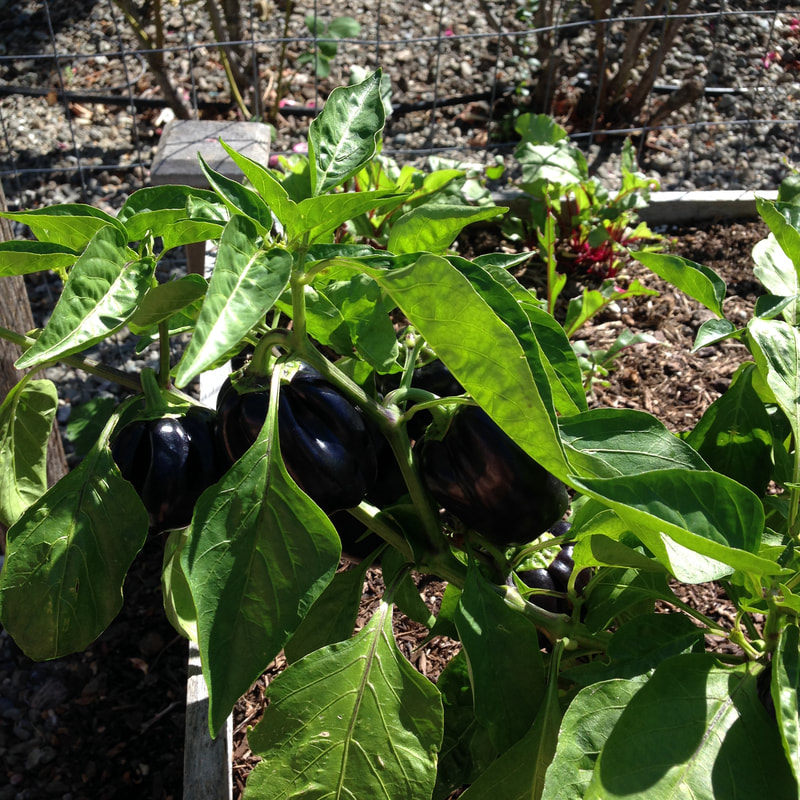
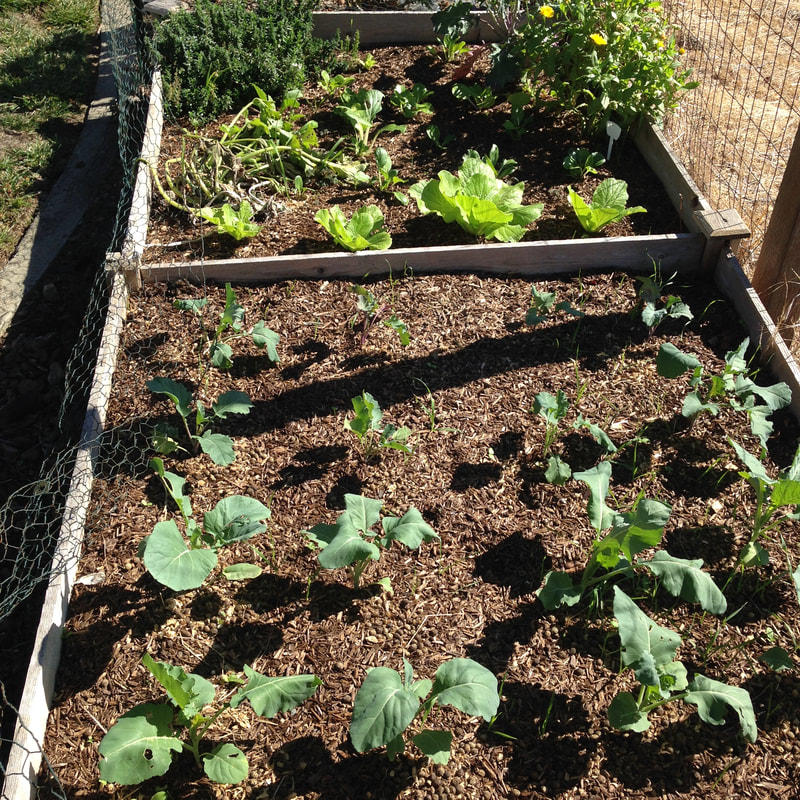
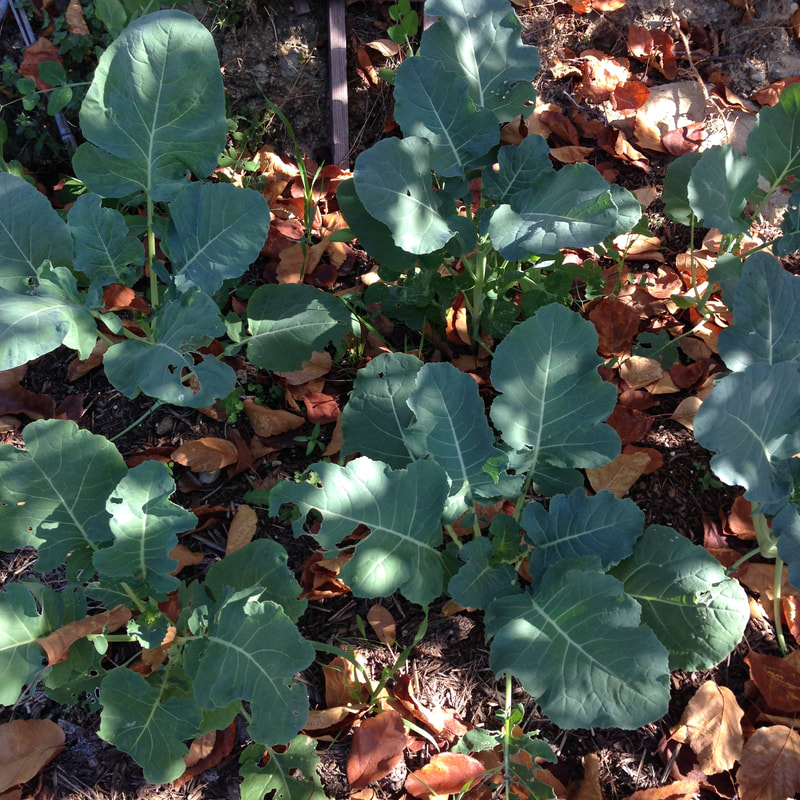
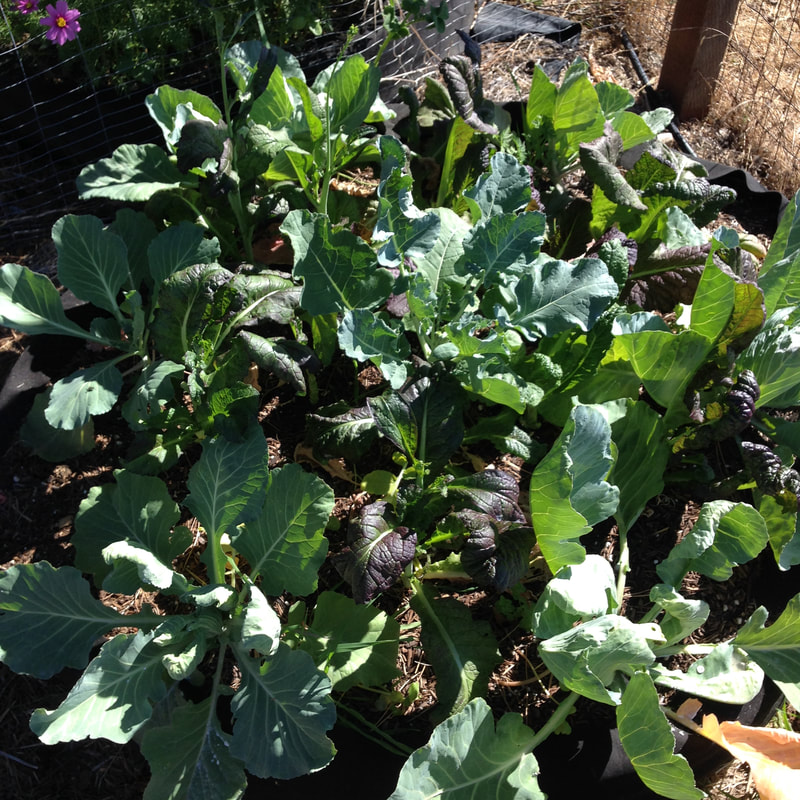
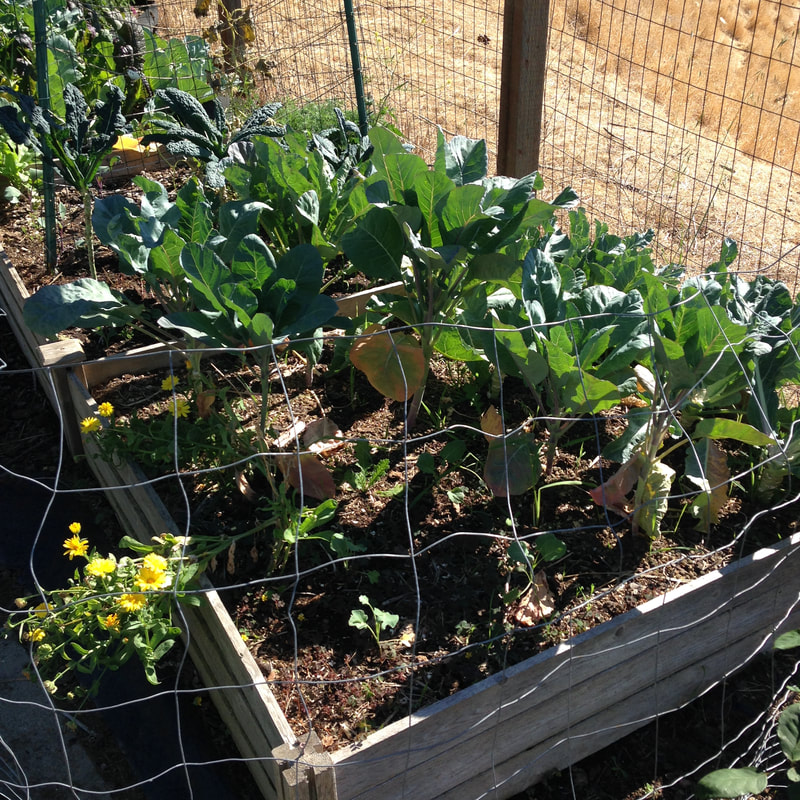
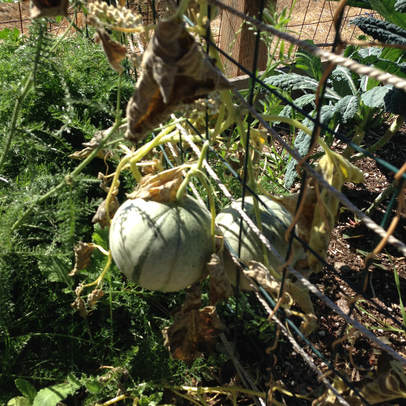
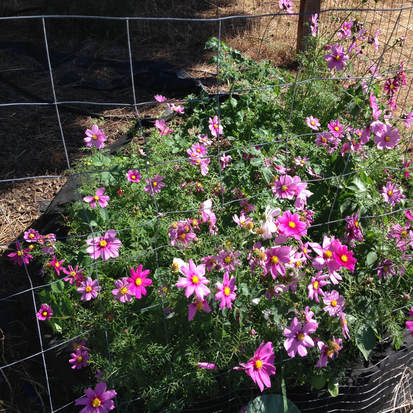
Aaah, the glory. The pride. Two decent looking heads of cauliflower. Does it get any better? Ah, the destruction. The evil little birds that eat my spinach and broccoli. The pain. The suffering. I planted as much as I could of everything. Something has to make it. Meet my new love, chirimen hakusai. It's a loose-leaf napa cabbage. It's beautiful. I don't think the pictures do it justice. Whenever I need some I can pick the outer leaves instead of anxiously hoping the head develops soon and I can eat it before the caterpillars do. Victory! These are darling little French bush beans. They are cute and prolific, just like bunnies. I don't know why I planted mini eggplants again. There's nothing wrong with them, they're just small. It has taken until almost the end of October for the plants to look like the monsters you see in pictures taken by real gardeners. Maybe I should start my eggplants, peppers, etc earlier next year. I think I started them in March... I'll just back it up to January next year. Swiss chard never made anyone happier. It's so bright and cheery! But I planted it last spring and they never really took off until fall. Better late than never. The peppers took forever, just like the eggplant. I had exactly two peppers off of all three purple pepper plants, and then I debated pulling them out. I'm glad I waited, because each plant is growing five to seven peppers now. It took FOREVER! On the left is Purple Sprouting Broccoli and Romanesco I planted at the end of September, and on the right is Calabrese broccoli I planted at the beginning of September. Neither have been discovered by aphids or birds... YET. The cabbage on the left and the cauliflower on the right have have aphids. It's a sad world. I sprinkled diatomaceous earth on all of them and I'm hoping for the best. Worst case scenario it'll all be chicken food. Two charentais melons, and I have no idea when to pick them. Yarrow is growing to the left. It is a superhero herb that stops bleeding immediately. I will grow it forever since I frequently cut chunks out of my fingers with a dull knife. To the right is kale, which has mysteriously NOT been discovered by the aphids. But why not? Google have me no answers. Under the cosmos are potatoes, but the flowers are so pretty I guess I don't care anymore. Happy fall gardening!
0 Comments
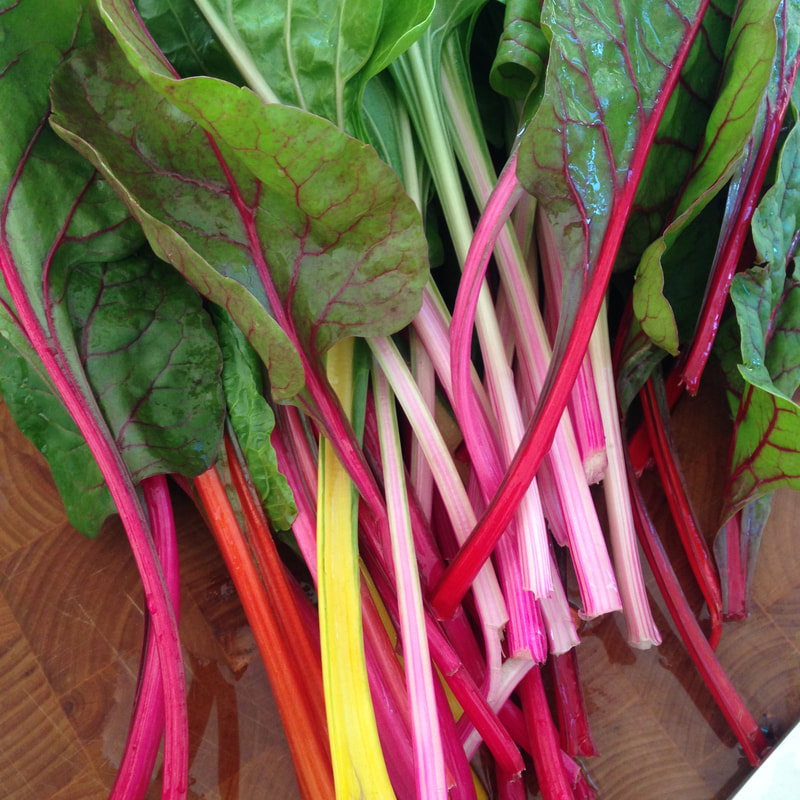
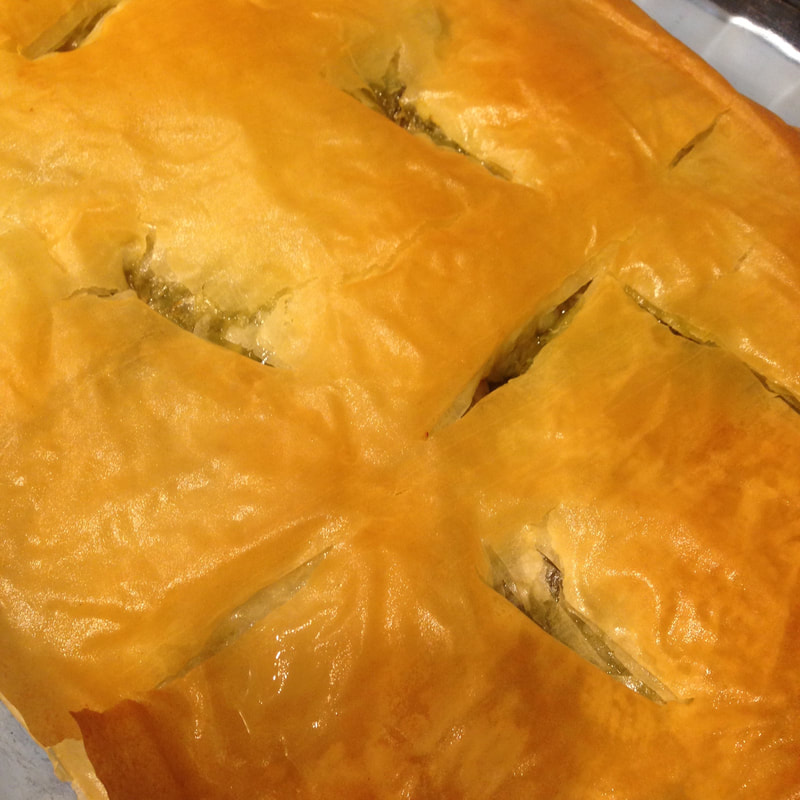
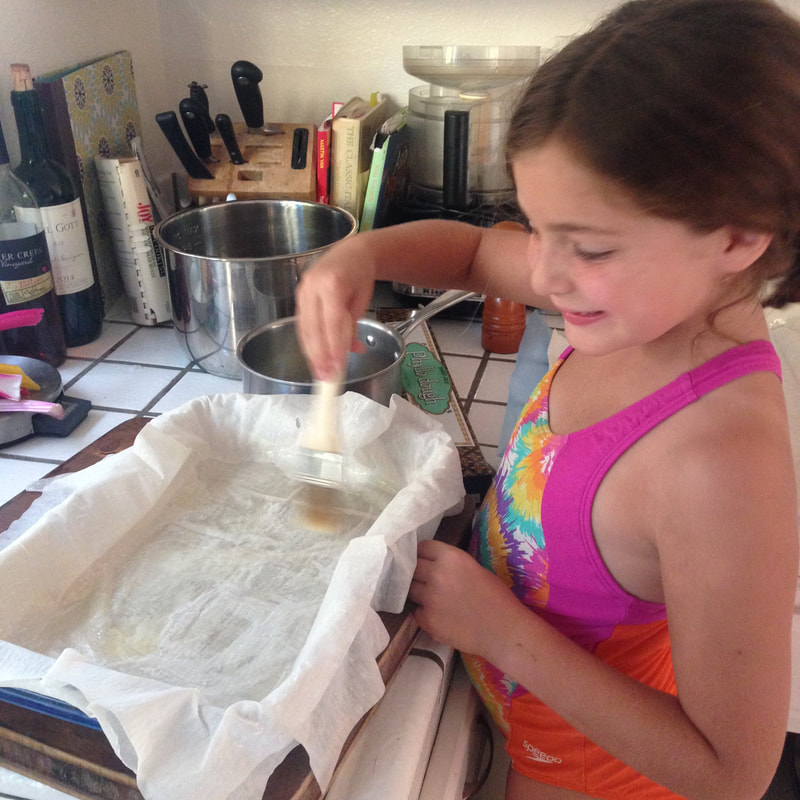
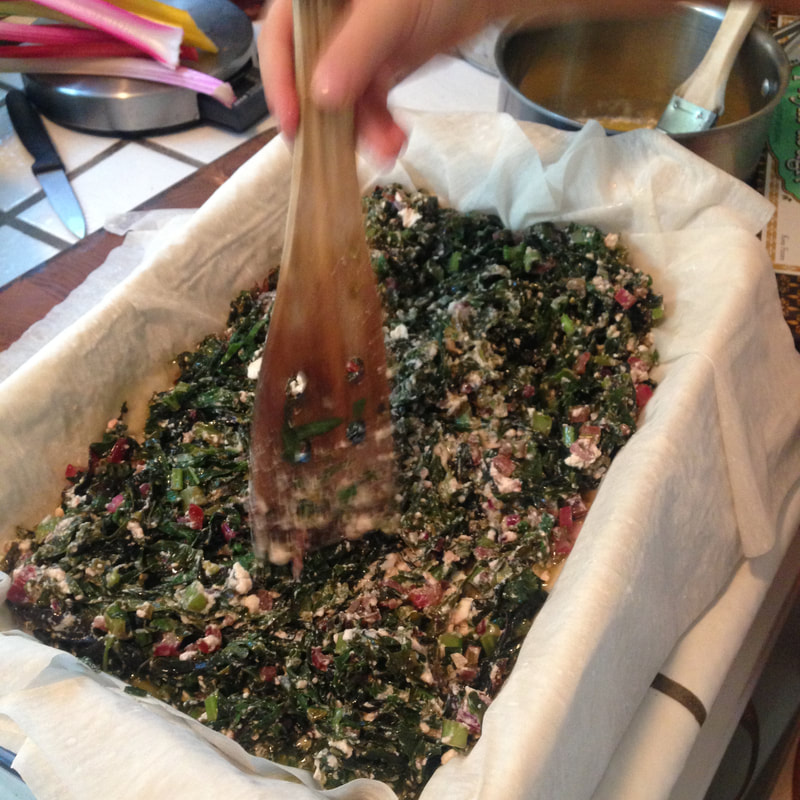
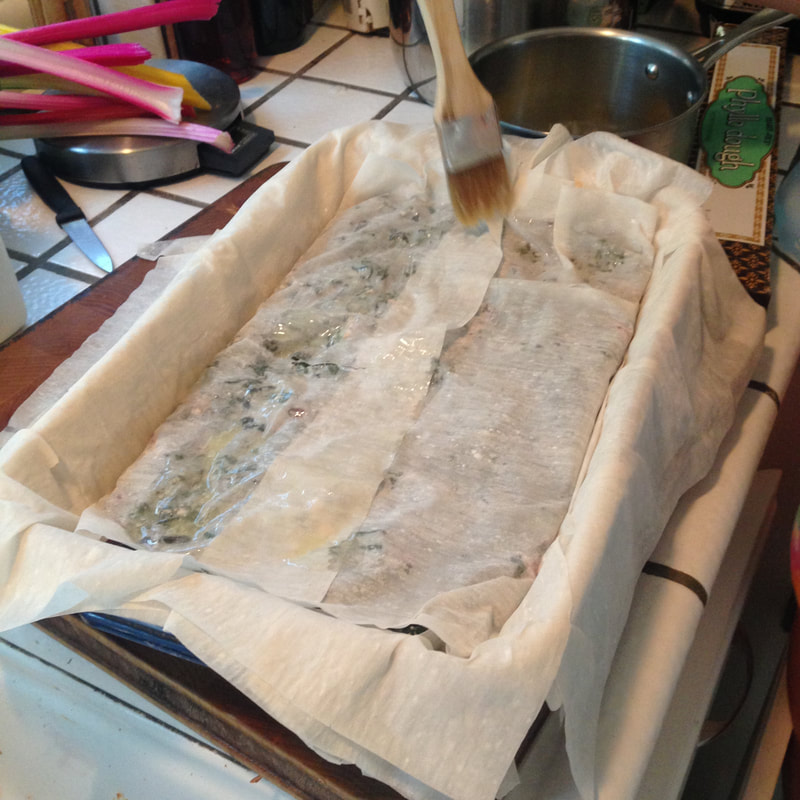
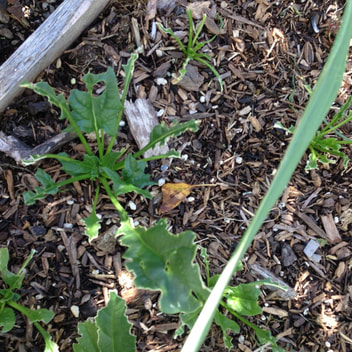
I don't know how it happened, but both my kids ate it! My mom always used to make spanakopita growing up, and I don't remember if we loved it, but we ate it. It's good stuff. I've made some following a recipe, but I tend to get a little hung up on recipes with very exact measurements, and this time I found a method. So simple, and it uses two pounds of greens. And did I mention that MY KIDS ATE IT!? I have had an abundance of swiss chard and mustard greens in my garden this fall, and I've been running out of new ways to cook it. Here is a great way to eat your greens. Ingredients: 1 package of phyllo dough 1 stick of butter, melted a few cloves of garlic olive oil roughly 2 pounds of chopped greens (spinach, swiss chard, mustard greens, dandelion greens, whatever) 1-2 cups of sliced green onion or a combination of green onion, dill, mint, or parsley 1/2-1 cup crumbled feta or ricotta, or a mix salt and pepper to taste Directions: 1. Saute the garlic in a little olive oil. When it turns golden, add the scallions and stir them. Once they start to wilt, add the greens. Season with a little salt and pepper as they cook, and once they are all wilted and ready to be eaten, take the pan off the heat and stir in the cheese. Taste it again after you've added the cheese and add more salt and pepper if it needs it. 2. Preheat the oven to 400 degrees Fahrenheit. Select a pan to bake this in, whether it's a pie pan or an 8.5" by 11" pan, and unroll your phyllo dough. You will be stacking and overlapping the dough, so plan for about 6 sheets, overlapping them in such a way that they will cover the bottom and enough of the dough sheets will hang over to provide a top to your pie as well. (Take a look at the pictures above. We weren't very creative, but it worked.) Brush your dish with a thin layer of butter, then lay a sheet of phyllo down and butter it completely with a brush. Layer and brush another five sheets, and then fill your "pie" with the cooked greens. Fold the layers down over the top, being sure to brush them with butter between each layer. Now you should have what looks something like a pie. Take a knife and score the top layer so that it will be easy to cut after it's cooked. Phyllo can be a real mess once it's crisp and delicious. 3. Bake it until the top is golden brown. I wish I had set a timer, but I wasn't paying attention. Maybe 20 minutes? If you are baking this right away, the filling will still be warm and it won't be much of an issue. If you made the pie ahead of time, you may have to bake it longer at a lower temperature so that the filling can heat up before the top burns. (I know that was terribly specific and helpful, sorry!) None of my spinach plants made it. The little birds struck again. I resentfully remind myself every day that God cares for the sparrow too.
|
AuthorI love trying new foods, cooking, and gardening. I hope to share these experiences on this site. Thanks for taking a look! Categories
All
Archives
May 2020
|
 RSS Feed
